
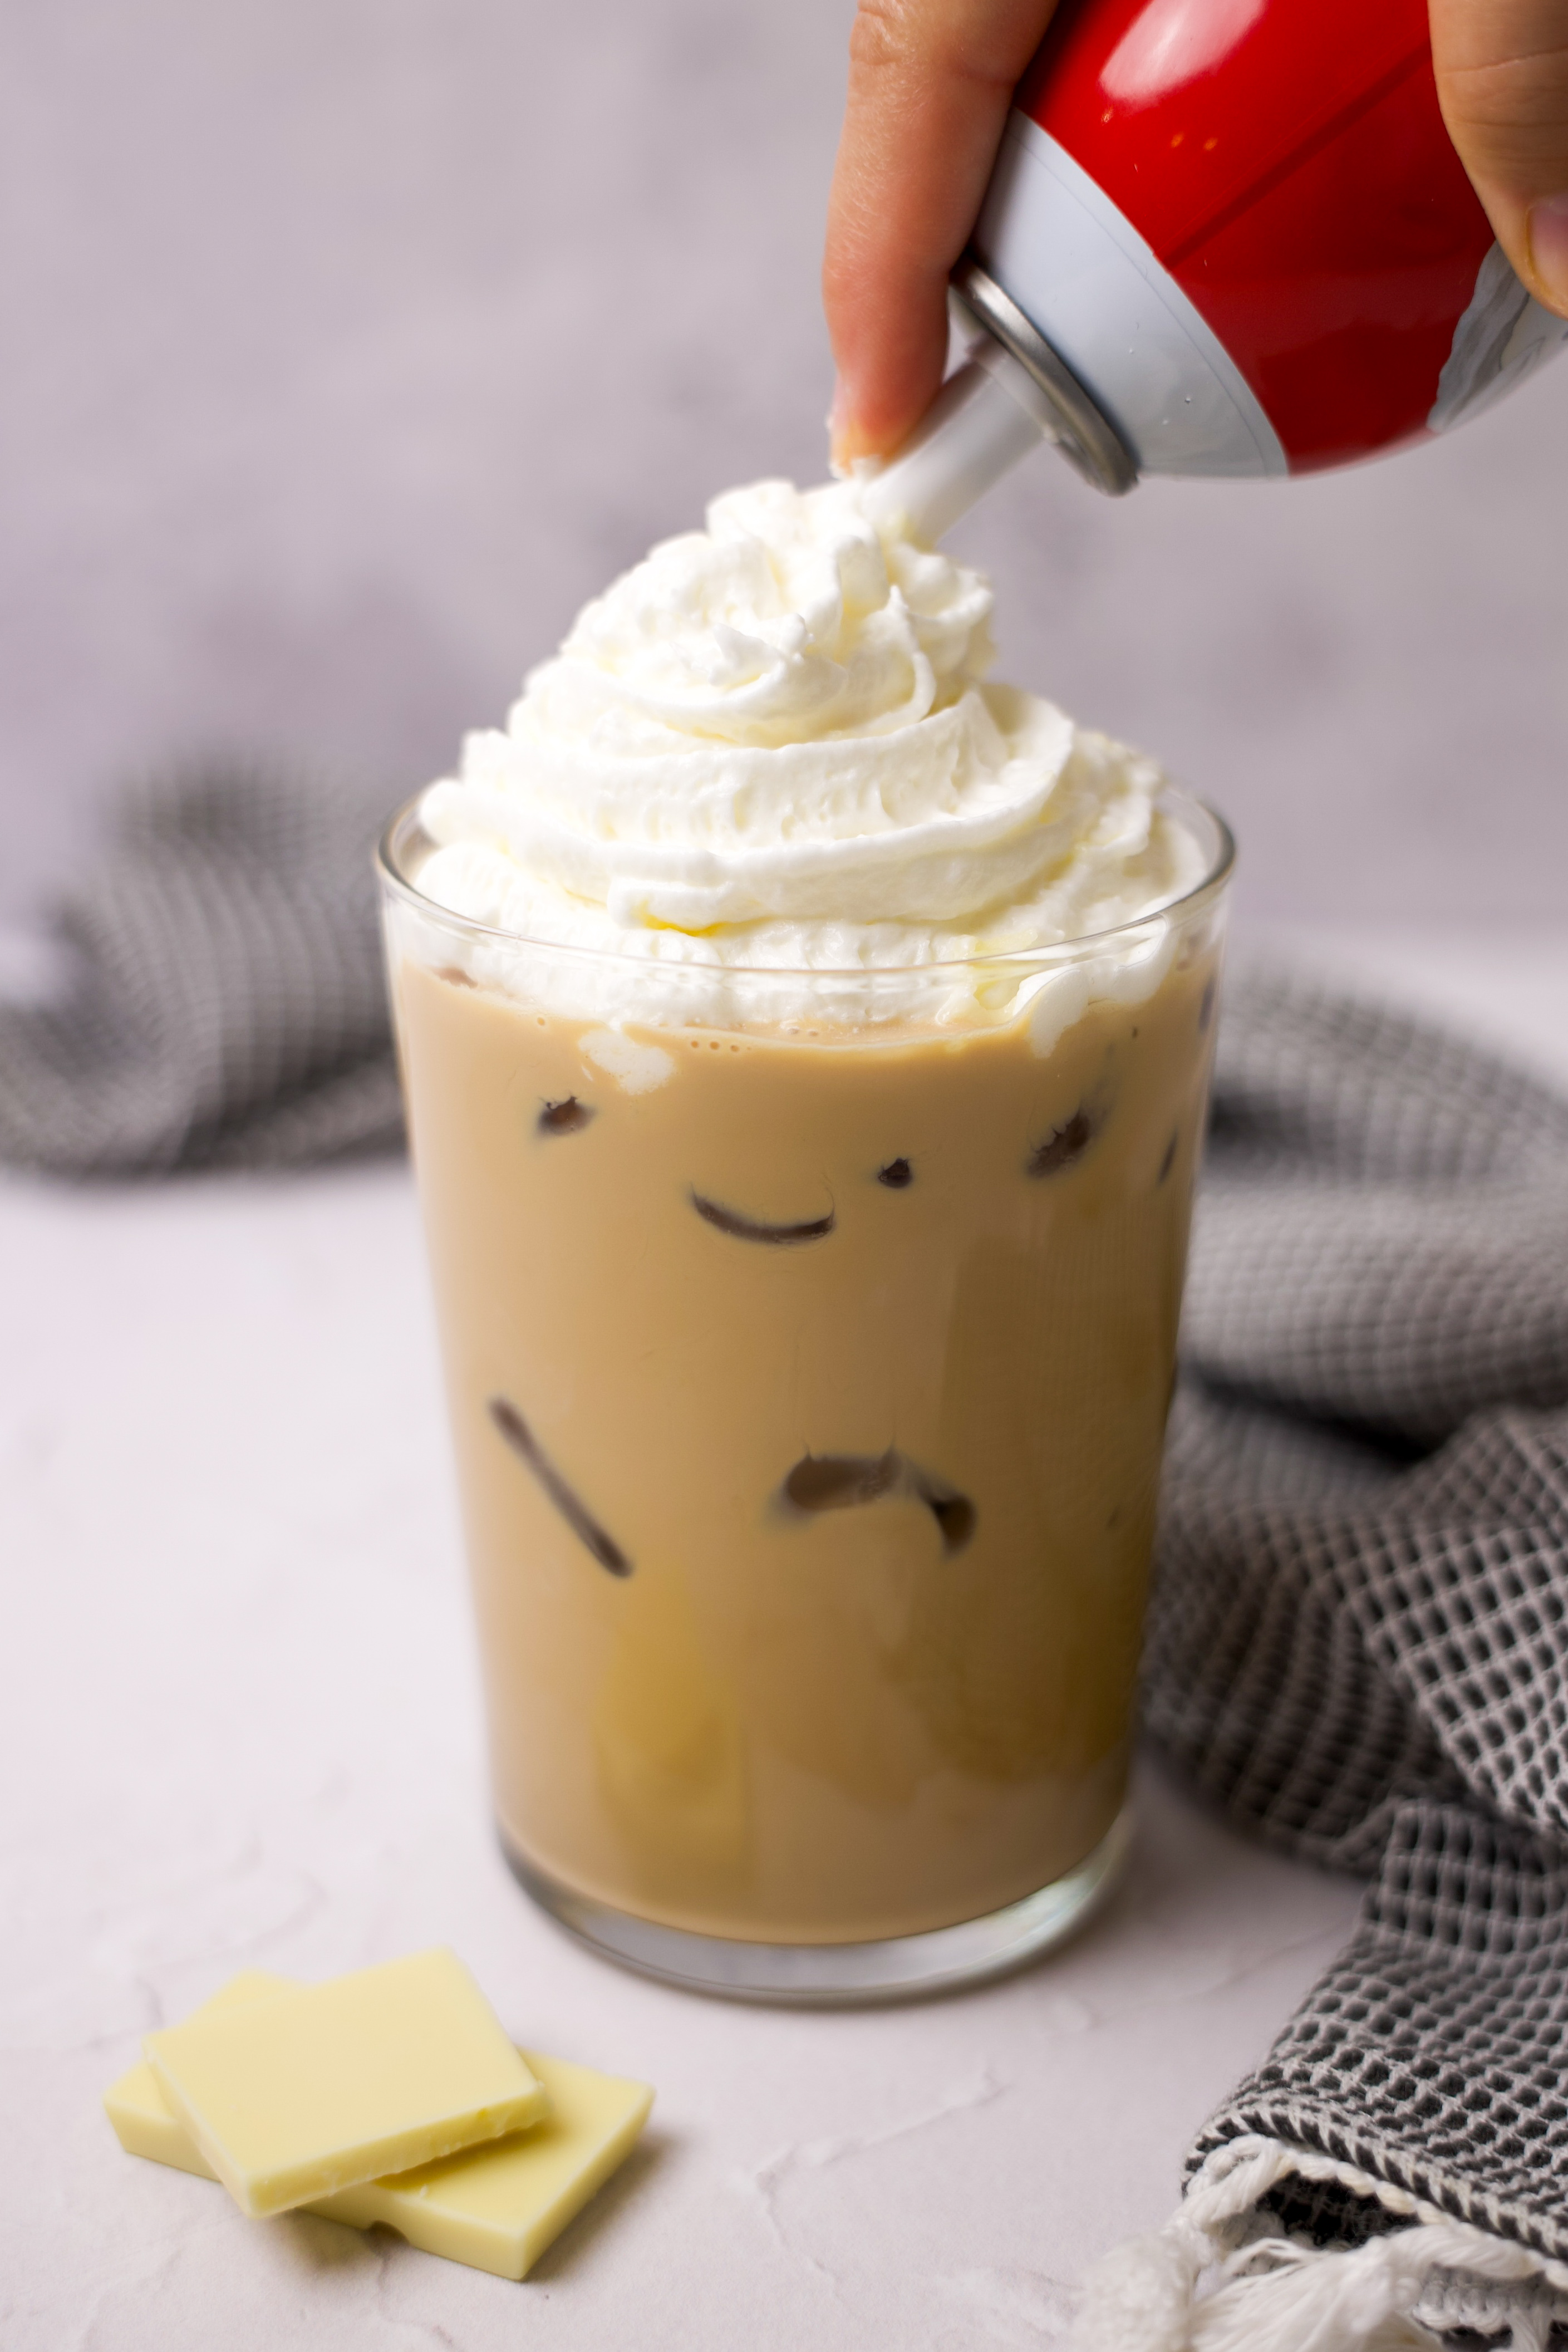
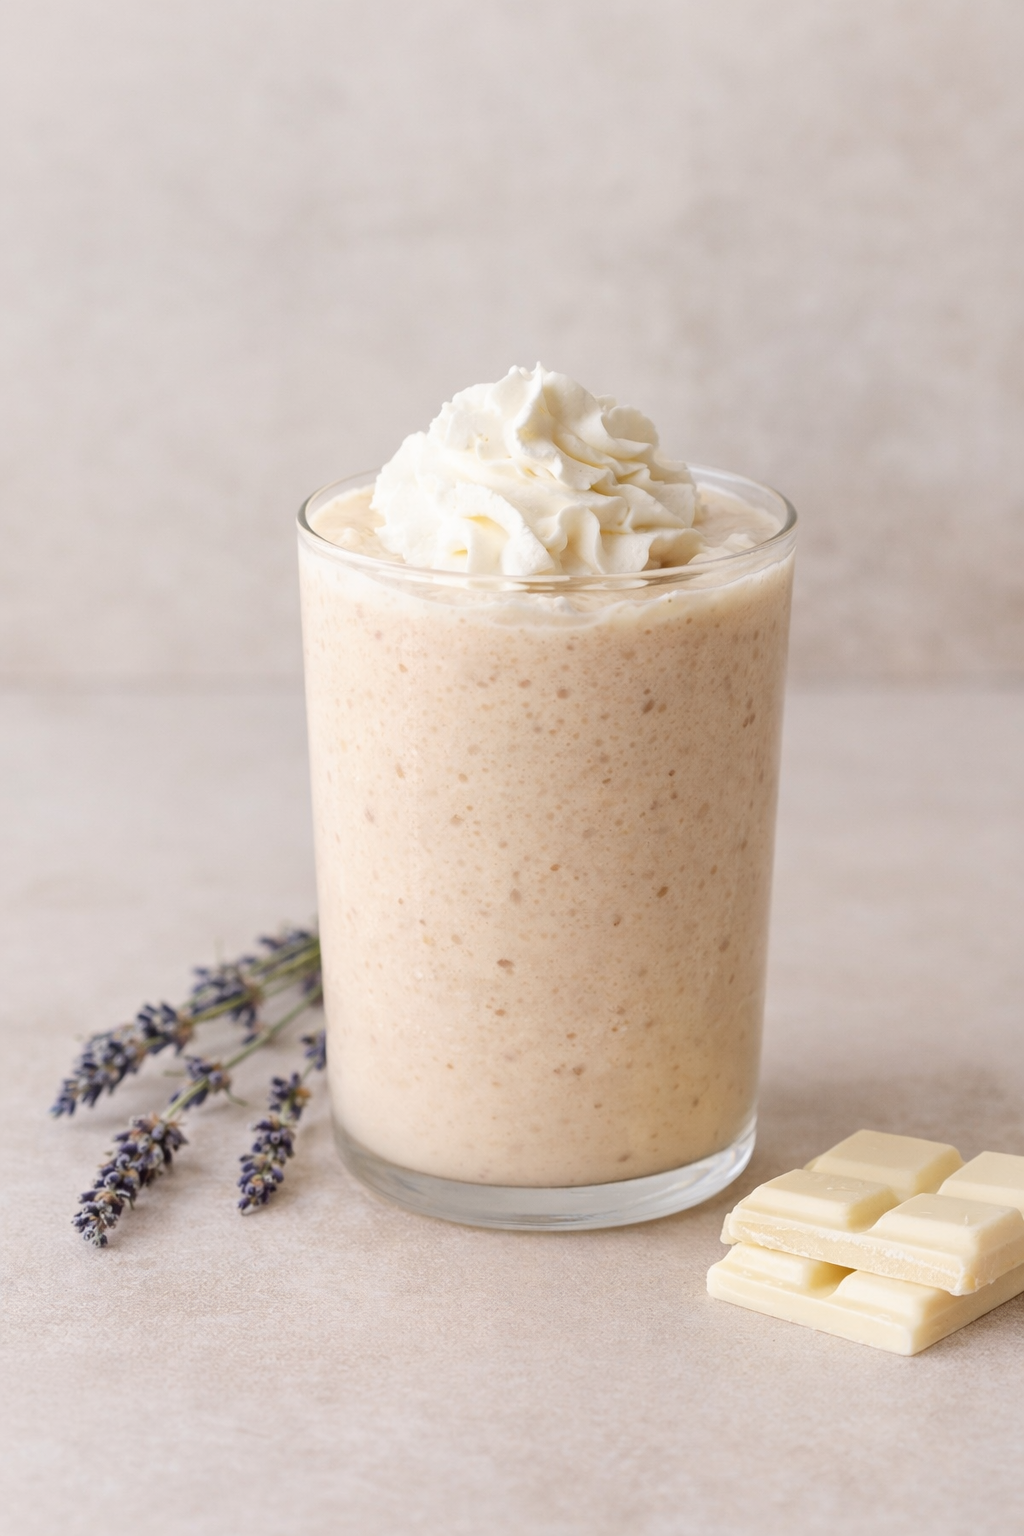
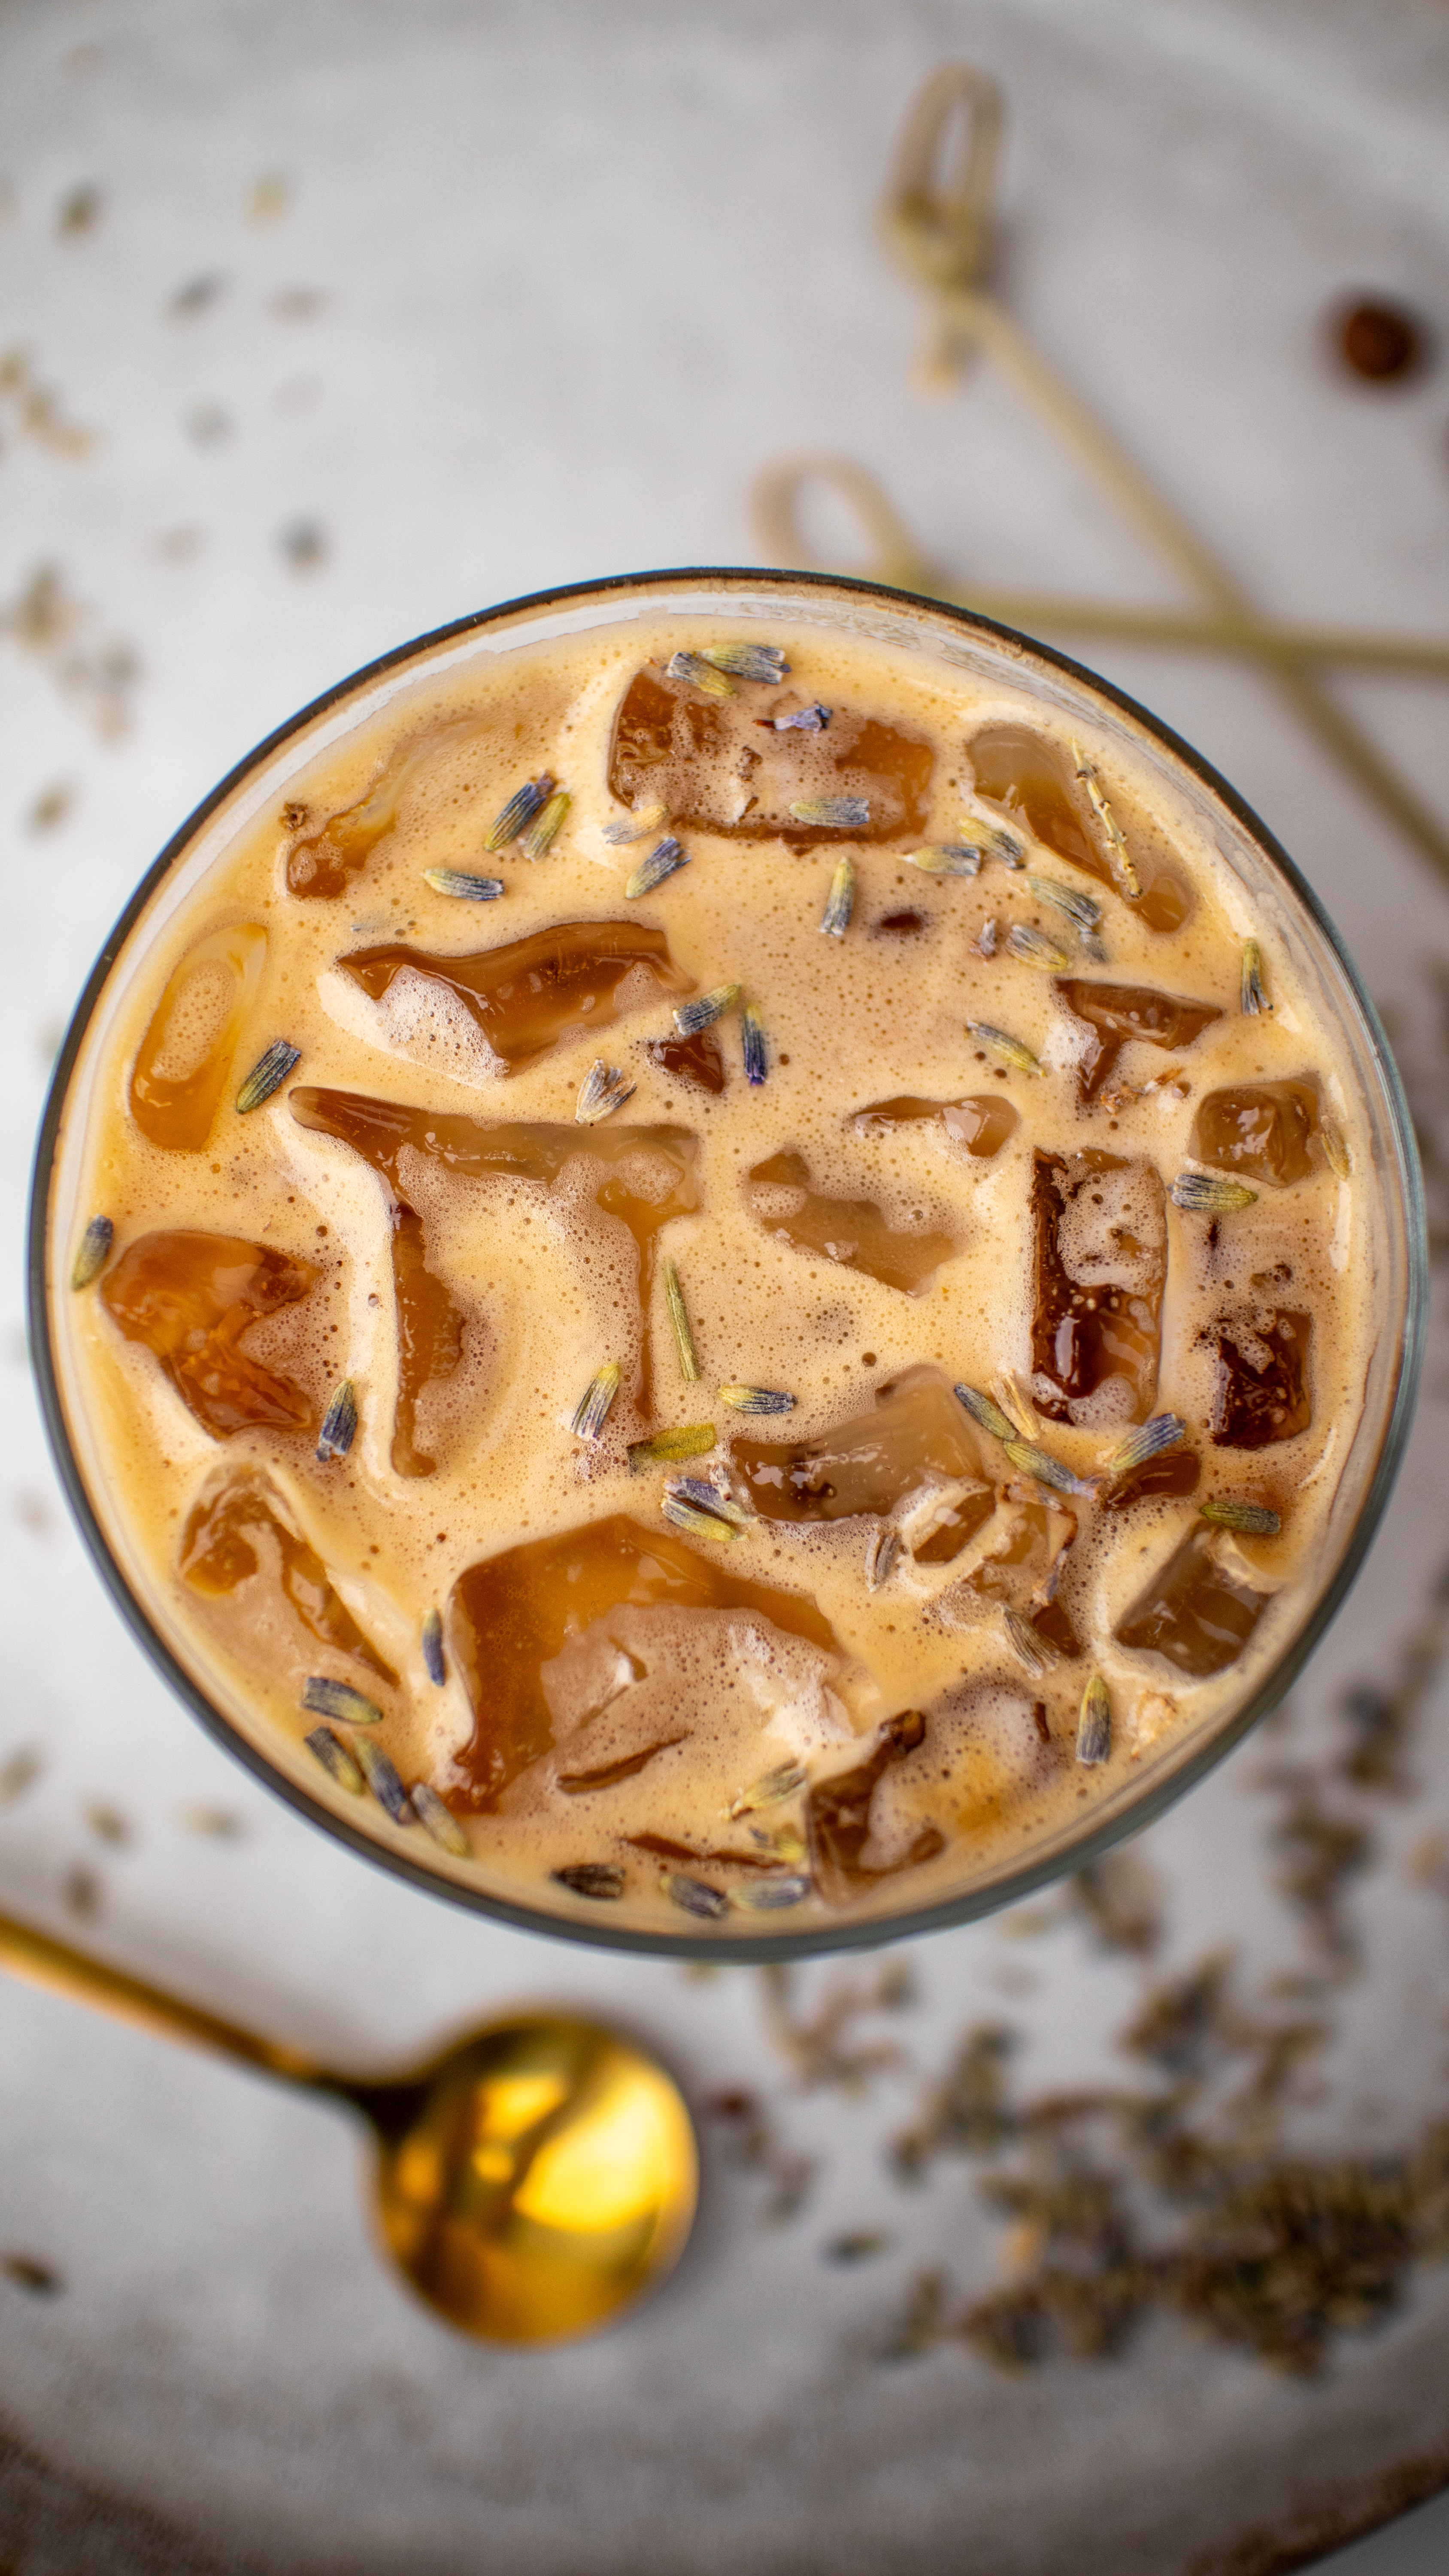
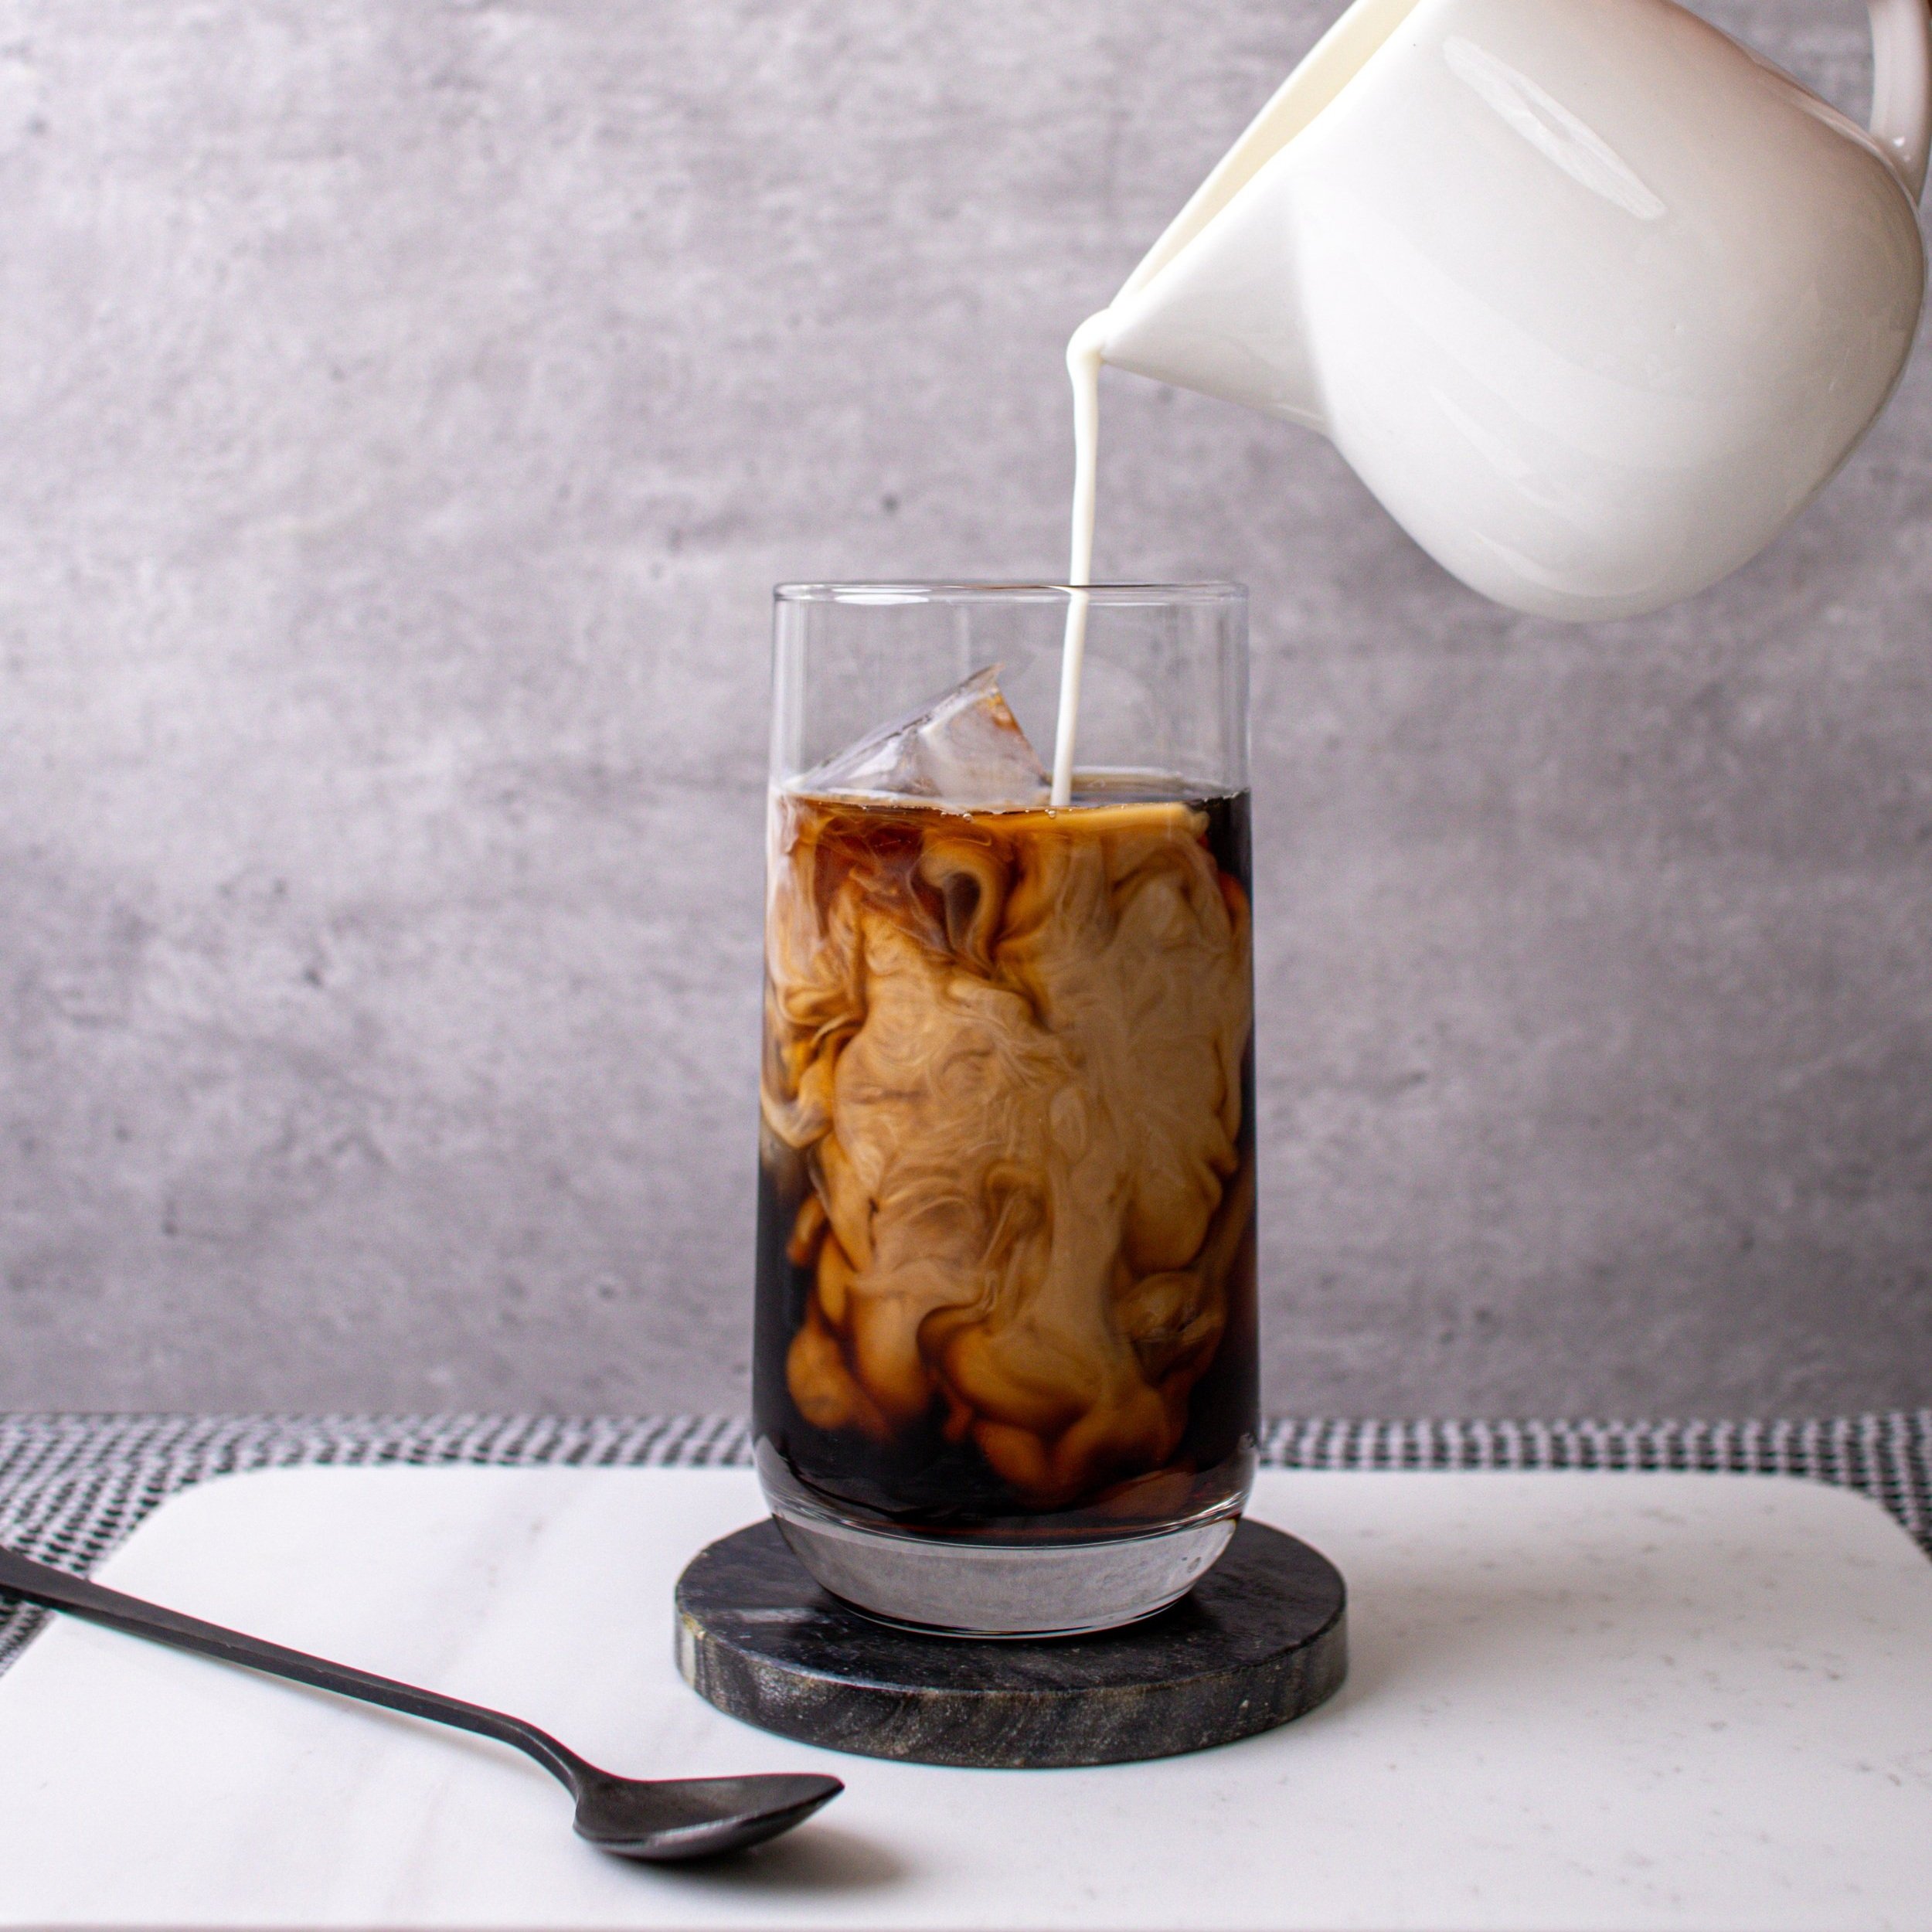
If you’re like me, and you love the Starbucks Caramel Brûlée Latte, you are going to love this rich, buttery, and luxurious Homemade Starbucks Caramel Brûlée Sauce. This sauce is so simple to make at home, requires only five simple ingredients, and will elevate any drink or dessert you make this holiday season. So let’s dive into the ingredients you’ll need to make this sauce at home, so you can save your money, and make your own amazing Caramel Brûlée drinks like lattes, cold foams, or Frappuccinos!
Ingredients You’ll Need:
Granulated Sugar: Granulated sugar is the key to all fantastic caramel sauces.
Salted Butter: I love a salty caramel sauce, so I like to use salted butter AND flaky sea salt in this recipe. If you prefer a sweeter caramel sauce, use unsalted butter, or feel free to skip the salt! For a dairy free version, use a dairy free butter!
Heavy Cream: Use chilled heavy whipping cream, no need to bring to room temperature for this recipe. For a dairy free sauce, use a dairy free whipping cream!
Vanilla Extract: A tiny amount of vanilla gives the Caramel Brûlée Sauce an extra layer of dimension and subtle sweetness!
Flaky Sea Salt: I always love adding flaky sea salt to my caramel sauce to bring out the sweetness!


How To Make Homemade Starbucks Caramel Brûlée Latte Sauce

- Add the granulated sugar to a saucepan. Place the saucepan over medium heat, stirring occasionally with a rubber spatula. As the sugar heats, you’ll notice it starting to stick and clump at the bottom. This process usually takes around 3-5 minutes.
- Continue stirring until the sugar fully melts and turns a beautiful golden brown. This caramelization process is essential for getting that perfectly rich caramel brûlée flavor and color.
- Once your sugar is an amber caramel color and all the sugar has turned to liquid, grab a whisk, remove the pan from the heat, and immediately add the salted butter to the saucepan. Expect a bit of intense bubbling, and just keep mixing until the butter is entirely melted and incorporated.
- Once the butter is incorporated, pour in the heavy cream. Again, expect some intense bubbling, and mix it well to ensure a smooth consistency throughout.
- Add in the vanilla extract and sprinkle in the flaky sea salt. Stir thoroughly, making sure everything is well combined.
- Transfer your Homemade Starbucks Caramel Brûlée Sauce into a mason jar or an airtight container. Allow it to cool down for about 1 hour at room temperature.
- Once cooled, seal the jar with a lid and place it in the refrigerator. Your sauce will continue to thicken over time and can be stored for up to 3-4 weeks.
- When you’re ready to indulge, simply run the container under warm water for 1-2 minutes to soften the sauce or place the amount you’d like to use in the microwave for 30 seconds to soften, and then drizzle directly into your favorite drinks, onto desserts, or even straight into your mouth, no judgement here!

How Can I Make A Sugar Free Caramel Brûlée Sauce?
For a sugar free Homemade Starbucks Caramel Brûlée Sauce, simply use a sugar free substitue like monk fruit or stevia instead of the granulated sugar in this recipe.
What Recipes Can I Make With This Sauce?
There you have it—a rich and delicious, Homemade Starbucks Caramel Brûlée Sauce that’s sure to impress! Whether you’re looking to elevate your morning coffee, create a decadent dessert, or gift a jar to a fellow coffee lover, this recipe is a must-try. Enjoy, and let the caramel-y goodness sweep you off your feet!

Starbucks Caramel Brûlée Sauce
Equipment
Ingredients
- 1 cup granulated sugar
- 6 tablespoons salted butter
- 1/2 cup heavy cream
- 1/2 tablespoon vanilla extract
- 1/4 teaspoon flaky sea salt
Instructions
- Add the granulated sugar to a saucepan. Place the saucepan over medium heat, stirring occasionally with a rubber spatula. As the sugar heats, you’ll notice it starting to stick and clump at the bottom. This process usually takes around 3-5 minutes.
- Continue stirring until the sugar fully melts and turns a beautiful golden brown. This caramelization process is essential for getting that perfectly rich caramel brûlée flavor and color.
- Once your sugar is an amber caramel color and all the sugar has turned to liquid, grab a whisk, remove the pan from the heat, and immediately add the salted butter to the saucepan. Expect a bit of intense bubbling, and just keep mixing until the butter is entirely melted and incorporated.
- Once the butter is incorporated, pour in the heavy cream. Again, expect some intense bubbling, and mix it well to ensure a smooth consistency throughout.
- Add in the vanilla extract and sprinkle in the flaky sea salt. Stir thoroughly, making sure everything is well combined.
- Transfer your Homemade Starbucks Caramel Brûlée Sauce into a mason jar or an airtight container. Allow it to cool down for about 1 hour at room temperature.
- Once cooled, seal the jar with a lid and place it in the refrigerator. Your sauce will continue to thicken over time and can be stored for up to 3-4 weeks.
- When you’re ready to indulge, simply run the container under warm water for 1-2 minutes to soften the sauce or place the amount you’d like to use in the microwave for 30 seconds to soften, and then drizzle directly into your favorite drinks, onto desserts, or even straight into your mouth, no judgement here!


Leave a Comment