
There’s nothing better than a smooth, refreshing cold brew, especially when you can make it at home exactly how you like it. If you’ve ever felt like your cold brew tastes weak, bitter, or just off, the good news is it’s usually a simple fix.
In this guide, I’ll walk you through exactly how to make cold brew at home, including the best coffee-to-water ratio, step-by-step instructions, and tips to help you get café-quality results every time.
What Is Cold Brew Coffee?
Cold brew coffee is made by steeping coarsely ground coffee in room temperature or cold water for an extended period of time, typically 12 to 24 hours. Unlike traditional iced coffee, which is brewed hot and then cooled, cold brew is never exposed to heat. This results in a smoother, less acidic flavor with a naturally slightly sweet taste, making it perfect for iced coffee drinks.
Cold Brew Coffee Ratio
My personal preference leans toward a 1:9 coffee-to-water ratio. This means for every one part of coffee, you use 9 parts water.
A simple recipe I like to follow is:
- 100 grams of coffee (about 1 cup)
- 900 grams of room temperature water (about 32-34 ounces)
If you’re looking for more of a cold brew concentrate where you add water to the concentrate to dilute it, consider using a 1:4 or 1:6 ratio.
Cold brew coffee ratios are very personal, so I recommend testing out different ratios to see what you like best.
Best Coffee for Cold Brew
Good cold brew is a direct result of good coffee. If you’re using old, stale grocery store beans (or even worse, grocery coffee grounds), your cold brew will taste stale and bitter, and nothing like a coffee shop.
Instead, I recommend buying fresh coffee, ideally coffee that is roasted to order so you know exactly when that coffee was roasted, exactly how fresh it is, and that will genuinely taste as good, if not better than the coffee shop.
Because at the end of the day, the goal is to love your at home coffee so much, you won’t even want to buy coffee from the coffee shop. So why not invest your money in great coffee that will give you great cold brew at home?
Here are my favorite coffees that I’ve tried and loved for homemade cold brew:
- Peixoto Cold Brew Blend (Brazil)
- PERC Coffee Octo Libre Cold Brew
- Portrait Coffee Southern Hospitality Cold Brew
- Panther Coffee Cold Brew


How to Make Cold Brew at Home (Step-by-Step)
This cold brew bag method is my favorite way to make cold brew at home because I find it produces a perfectly balanced and smooth taste.
What You’ll Need:
- 100 grams whole bean coffee (about 1 cup)
- Cold brew bag
- 2 Large containers or pitchers with a lid (at least 32 ounces)
- 900 grams room temperature water (about 32-34 ounces)
- Spoon
- Mesh filter
I recommend starting with whole bean coffee and grinding the beans fresh for the best tasting cold brew. Make sure your coffee is coarsely ground, similar to raw sugar. Using a finer grind can make cold brew taste muddy or bitter.
My favorite coffee grinder is the Fellow Opus Conical Burr Coffee Grinder, it’s pricey but worth every penny for accurate coffee grinding for all brewing methods like cold brew, espresso, or pour over. My favorite more affordable coffee grinder is the OXO Brew Conical Burr Coffee Grinder.
Steps:
- Weigh out your coffee and water (1:9 ratio).
- Grind the coffee beans to a coarse grind. If your coffee is already pre-ground, skip this step. (Make sure the coffee grind is coarse like raw sugar, not medium fine like for drip coffee, as you’ll see with most grocery store ground coffees).
- Place a cold brew bag inside a mason jar or large container, and add the ground coffee into the bag.
- Carefully pour water into the bag, over the ground coffee, ensuring the grounds are fully immersed.
- Use a long spoon to gently stir the coffee, making sure there are no dry pockets.
- Cover the container with a lid, and place on the counter, away from sunlight. Let the coffee brew for 18-20 hours. Brew less time for a weaker cold brew, and brew longer for a stronger cold brew.
- Once the coffee is brewed, carefully remove the cold brew bag from the container, squeezing the bag to extract out any extra liquid.
- Pour the cold brew through a mesh or paper filter to filter out any extra coffee solids. (I’ve found a mesh filter works best here since paper filters will take much longer to filter). I like to pour the cold brew through 2 filters to get the cold brew extra smooth.
- Once filtered, you can drink the cold brew right away, or add a lid and store in the fridge for up to one week.
How to Serve Cold Brew
You can enjoy your homemade cold brew any way you like, but here are a few of my preferred options:
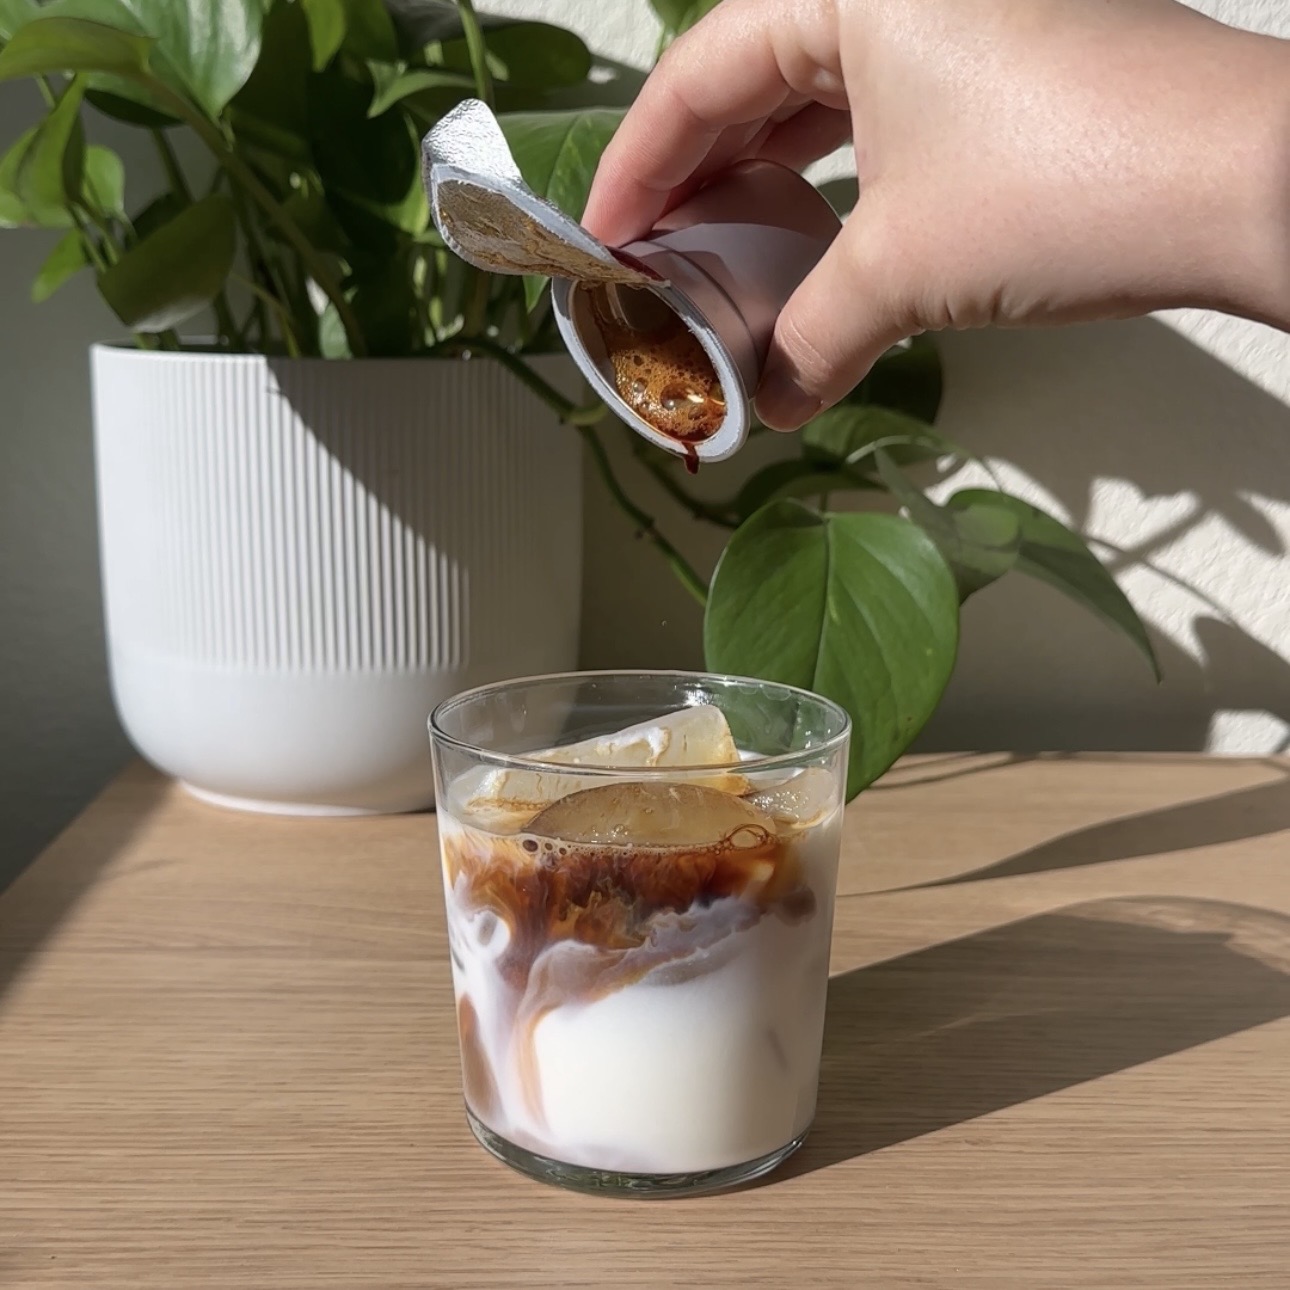
- 10-12 ounces cold brew + 1-2 ounces homemade creamer
- 10-12 ounces cold brew + 1-2 ounces half & half/heavy cream
- if you’re dairy free, use a dairy free half & half or dairy free heavy cream
- 10-12 ounces cold brew + 1 tablespoon syrup + 1-2 ounces half & half/heavy cream
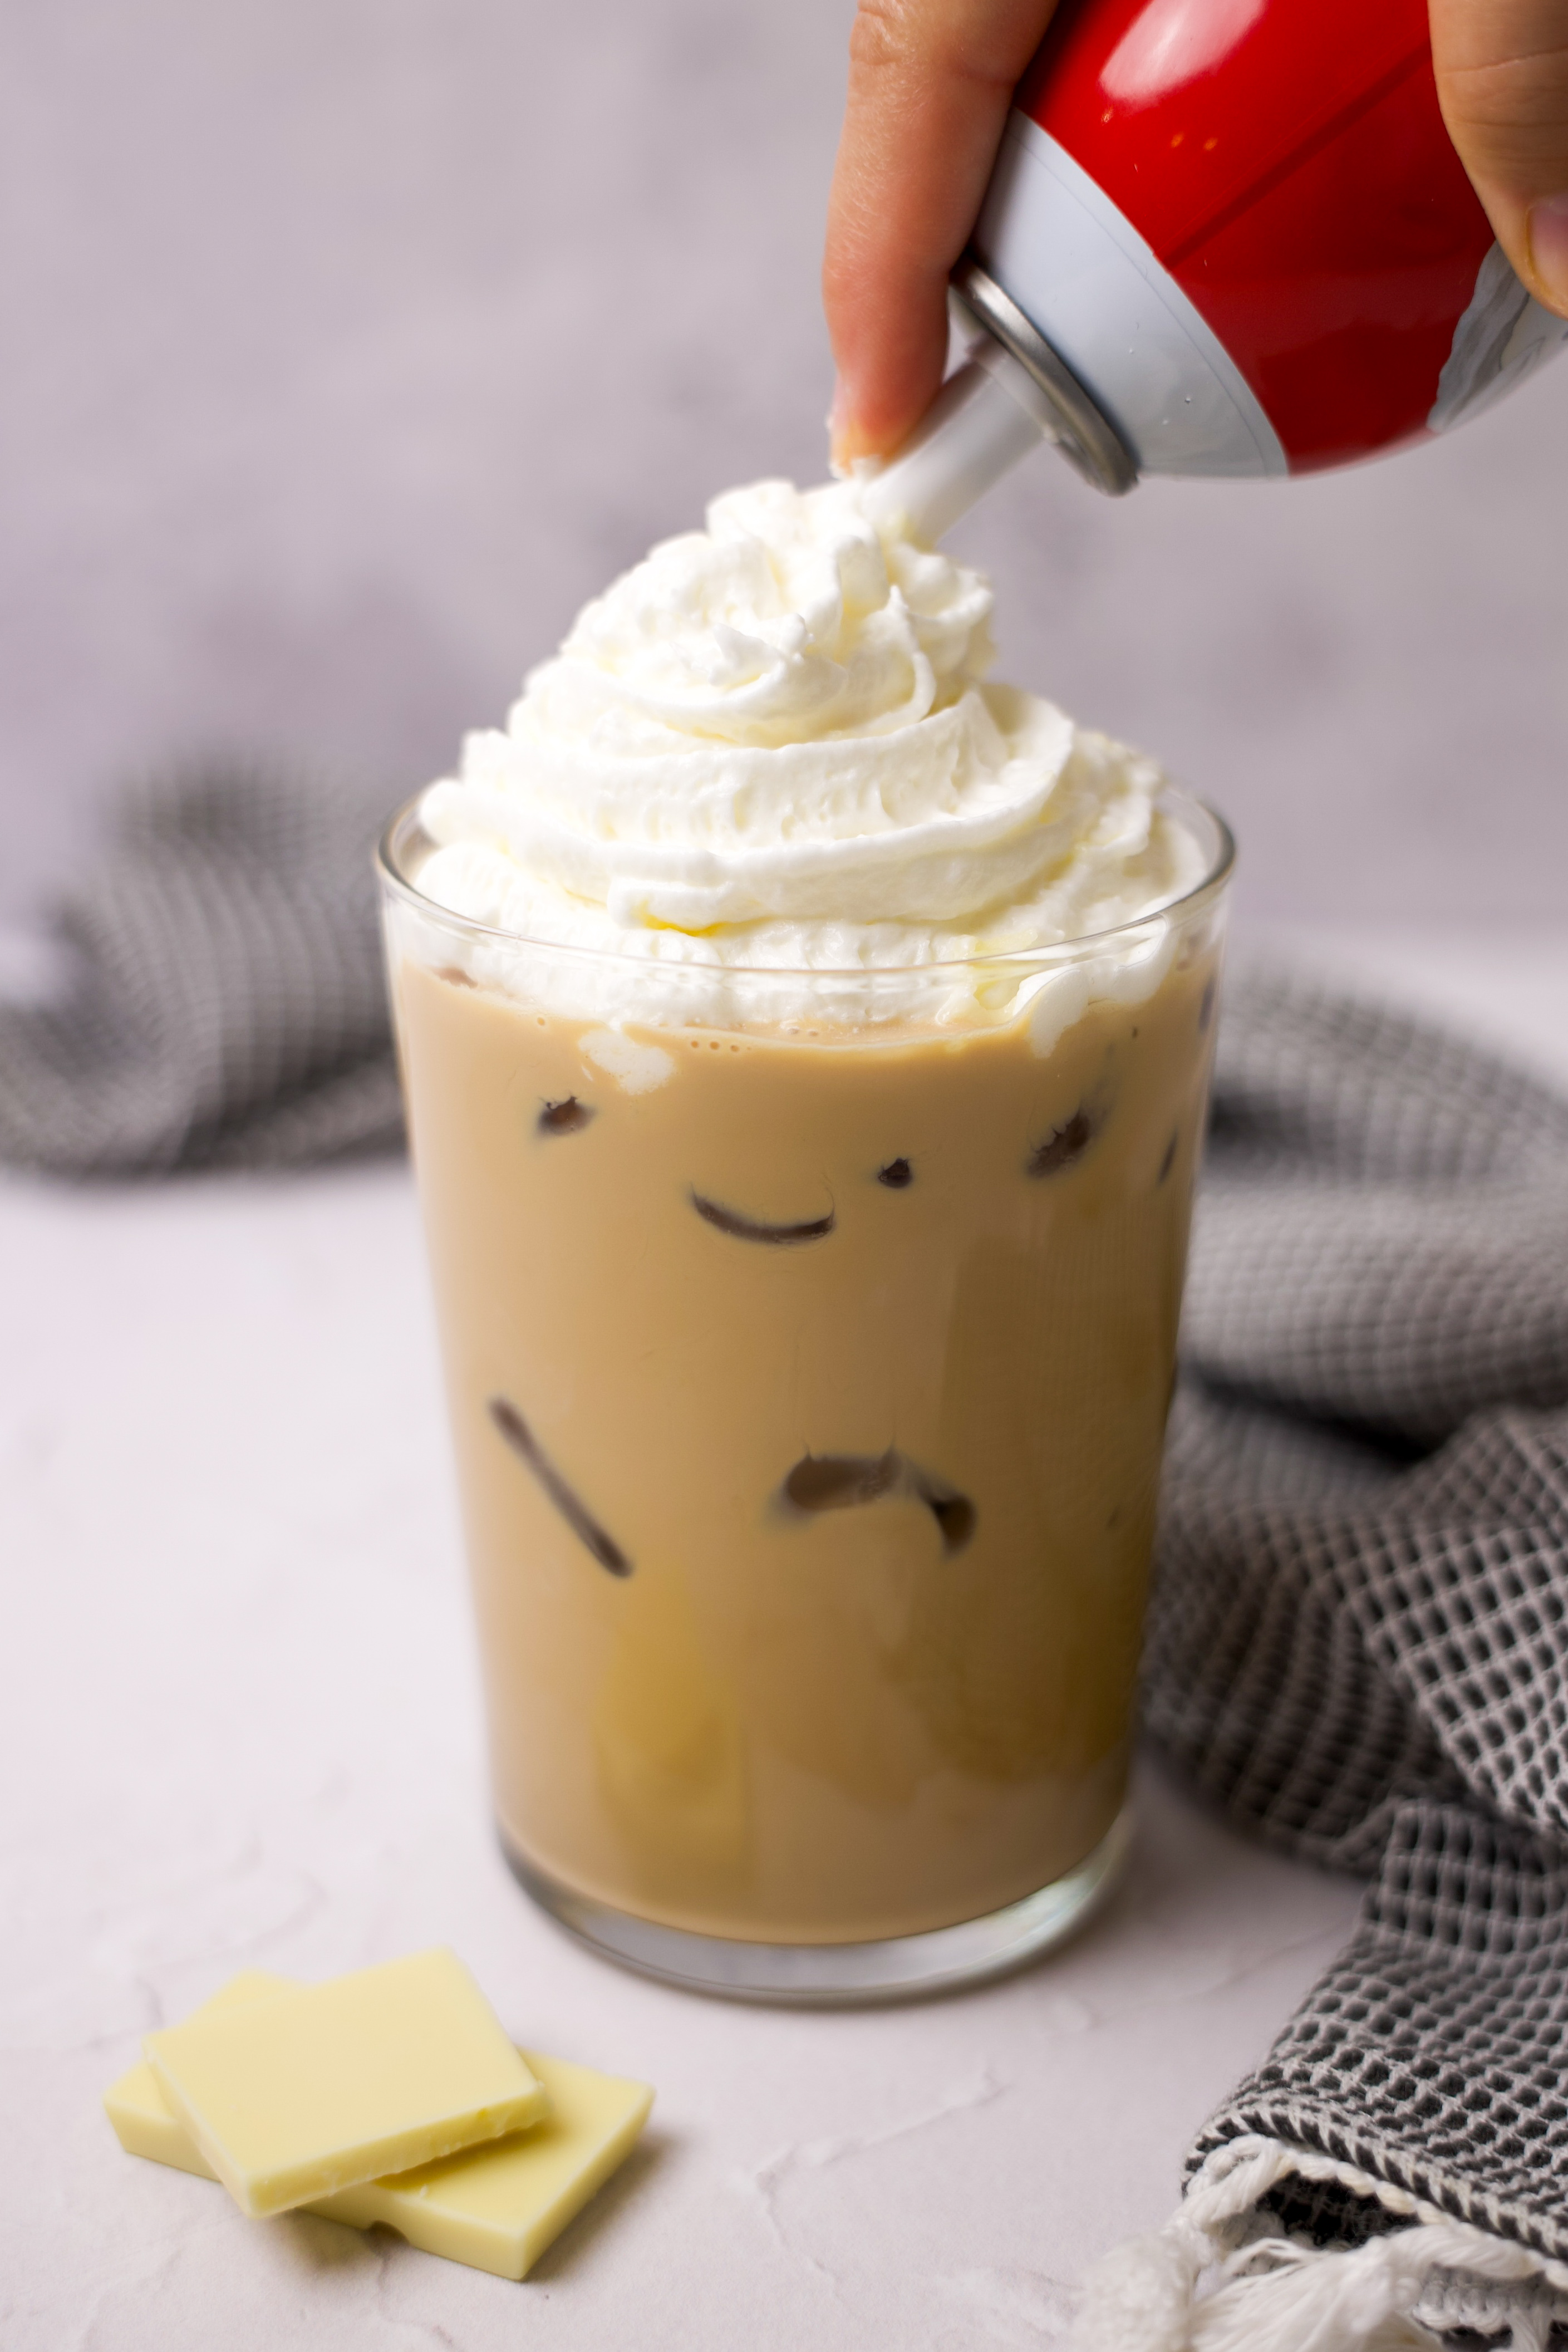
- 1-2 ounces half & half/heavy cream + cold foam

How to Make Decaf Cold Brew
The process for making decaf cold brew is exactly the same as regular cold brew, you simply use a decaf coffee. Follow the same 1:9 ratio, grind coarse, and use the cold brew bag process above for all the same cold brew goodness, but without the caffeine.
My favorite decaf coffees:


Common Cold Brew Mistakes
If your cold brew doesn’t taste quite right, a few small mistakes could be the reason.
- The most common issue is using old or stale coffee—fresh, high-quality beans make a huge difference in flavor.
- Grinding your coffee too fine can also lead to a bitter or muddy taste, so stick to a coarse grind similar to raw sugar. Note, most grocery store coffees are too fine and are meant for drip coffee rather than cold brew. Look for coffees specifically ground coarse for cold brew, or buy whole beans and grind them yourself.
- Not filtering the coffee well enough can leave behind sediment and make your drink feel gritty. I pour my cold brew through a mesh filter 1-2 times to strain out any extra coffee sediment for a smoother cold brew.
- Another mistake is placing your cold brew in the refrigerator while it steeps—cold temperatures slow down the extraction process, which can result in a weaker, underdeveloped flavor. For the best results, let your cold brew sit on the counter at room temperature, away from direct sunlight.
- And finally, using the wrong ratio or not adjusting to your taste can result in cold brew that’s too strong or too weak, so don’t be afraid to tweak it until it’s just right.
Alternative Ways to Make Cold Brew
My preferred cold brew making method is the cold brew bag method mentioned above, but here are two other methods you can use depending on the equipment you have at home.
French Press Method (cold brew concentrate)
Measurements:
- 1½ cups coarse coffee
- 24 ounces room temperature water
Steps:
- Add coffee + water to a French press, stir to ensure the grounds are fully saturated
- Place the plunger on top to cover (don’t plunge down yet), and let steep 18–20 hours on the counter, away from sunlight
- After 18-20 hours, plunge down slowly + pour the coffee through a mesh filter into a large pitcher or container (leave the last ounce of cold brew in the French press to avoid sediment)
- Dilute 1:2 with water before serving + refrigerate the cold brew for one week
Nut Milk Bag Method
Measurements:
- 1 cup coarse coffee
- 32 ounces room temperature water
Steps:
- Combine coffee + water in a large mason jar or pitcher and stir
- Steep 18–20 hours on the counter, away from sunlight
- After 18-20 hours, strain through a nut milk bag (gently squeeze)
- Discard grounds + refrigerate the cold brew for one week
The Best Store-Bought Cold Brews
If the thought of brewing your own cold brew feels a tad overwhelming, don’t worry! There are great store-bought options that will get the job done if you’re short on time or energy. These are some of my favorites:


I prefer using unsweetened cold brew options so I can add my own sweetener, but find the flavor option that works best for you.
Cold Brew Recipes You’ll Love
- Starbucks Vanilla Sweet Cream Cold Brew
- Peppermint Mocha Cold Brew
- Starbucks Toasted Coconut Cream Cold Brew
- Horchata Cream Cold Brew
- Starbucks Raspberry Cream Cold Brew
- Sugar Free Cinnamon Roll Cold Brew
- Starbucks Copy Kat Pistachio Cream Cold Brew

Making cold brew at home is one of the easiest ways to upgrade your daily coffee routine while saving money at the same time. Once you dial in your ratio and start using fresh, high-quality coffee, you’ll be surprised at just how good it can taste.
Whether you keep it simple or experiment with different flavors and creamers, homemade cold brew gives you full control over your cup, no coffee shop required.

Homemade Cold Brew
Ingredients
- 100 grams coffee beans
- 900 grams room temperature water
Instructions
- Weigh out your coffee and water (1:9 ratio).
- Grind the coffee beans to a coarse grind. If your coffee is already pre-ground, skip this step. (Make sure the coffee grind is coarse like raw sugar, not medium fine like for drip coffee, as you’ll see with most grocery store ground coffees).
- Place a cold brew bag inside a mason jar or large container, and add the ground coffee into the bag.
- Carefully pour water into the bag, over the ground coffee, ensuring the grounds are fully immersed.
- Use a long spoon to gently stir the coffee, making sure there are no dry pockets.
- Cover the container with a lid, and place on the counter, away from sunlight. Let the coffee brew for 18-20 hours. Brew less time for a weaker cold brew, and brew longer for a stronger cold brew.
- Once the coffee is brewed, carefully remove the cold brew bag from the container, squeezing the bag to extract out any extra liquid.
- Pour the cold brew through a mesh or paper filter to filter out any extra coffee solids. (I’ve found a mesh filter works best here since paper filters will take much longer to filter). I like to pour the cold brew through 2 filters to get the cold brew extra smooth.
- Once filtered, you can drink the cold brew right away, or add a lid and store in the fridge for up to one week.


Leave a Comment