
Fall is officially here, and there’s no better time to embrace all the cozy flavors in your coffee drinks! If you’re a fan of nutty, sweet, and rich syrups, then this Homemade Pecan Syrup is about to become your new favorite.
Made with real pecan halves, a touch of sugar, and a hint of sea salt, this syrup adds the perfect balance of warmth and sweetness to your favorite lattes, iced coffees, and even breakfast recipes like pancakes or oatmeal. The best part? It’s super simple to make, and you can whip up a batch in just a few steps!
Let’s dive into how to make this irresistible pecan syrup at home.
Ingredients Needed to Make This Homemade Pecan Syrup

PECAN HALVES: This delicious syrup recipes uses actual pecans! I like using pecan halves but you could absolutely use full pecans or crushed pecan pieces for this recipe. Make sure the pecans are raw and unsalted.
SUGAR: You need regular cane sugar for this recipe, but absolutely feel free to use a sugar substitute like stevia or monk fruit.
WATER: For this syrup recipe, I recommend using filtered or purified water rather than tap water.
SALT: I love adding a small pinch of flaky sea salt to the syrup to bring out the sweet pecan flavor of the syrup!


How To Make Homemade Pecan Syrup

- Add the pecan halves to a saucepan and heat over medium heat. Let the pecans toast for 3-5 minutes, stirring often to keep them from burning.
- After 3-5 minutes, add in the sugar, water, and salt and stir the mixture until the sugar and salt are fully dissolved.
- Bring the mixture to a simmer, and simmer for 7-10 minutes, stirring often.
- Remove the saucepan from the heat and pour the syrup through a strainer into a mason jar or heat proof container, catching the pecans inside the strainer. You can throw away the pecans or save to use as a topping for oatmeal, pancakes, chia pudding, or the pecan crunch topping.
- Let the syrup cool completely before adding a lid or cap, and store in the fridge for up to 2 weeks.
- Note, you can use the leftover pecans for a pecan crunch topping. Add the pecans to a baking sheet and let cool before adding to a Ziploc bag and crushing the pecans with a rolling pin. Add the crushed pecans to the to the top of any coffee or tea beverage.


Ways You Can Enjoy This Homemade Pecan Syrup:
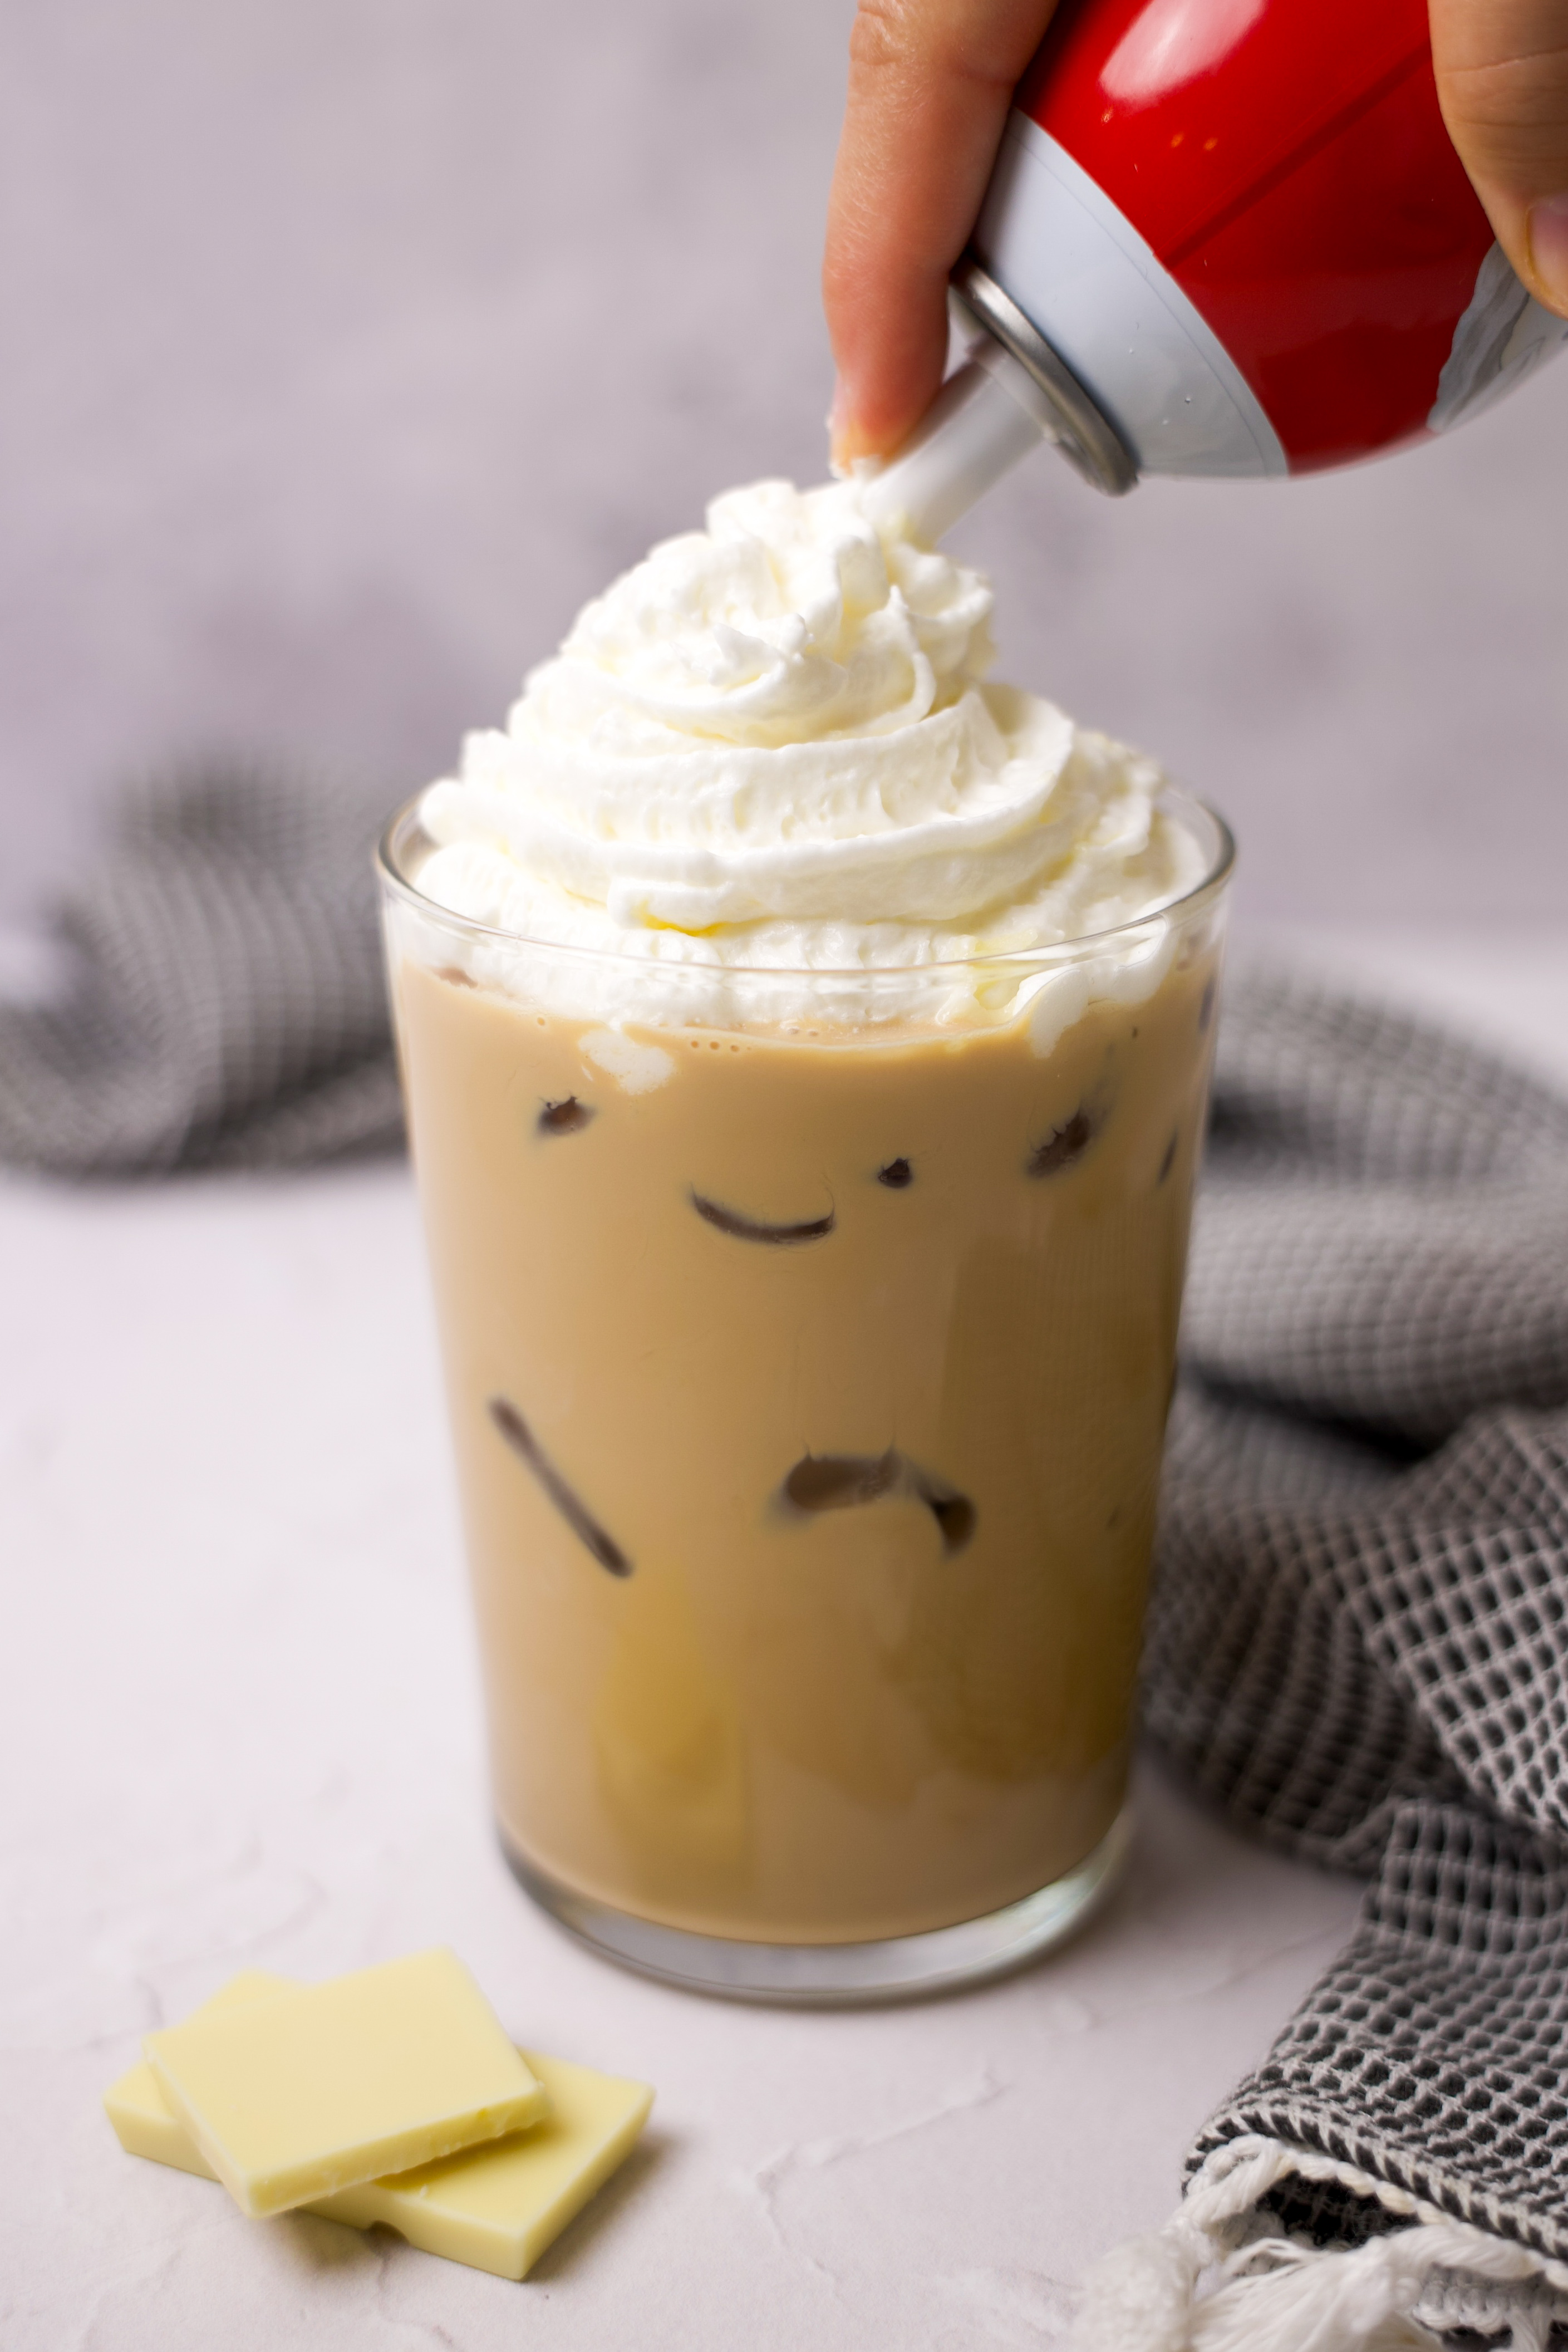
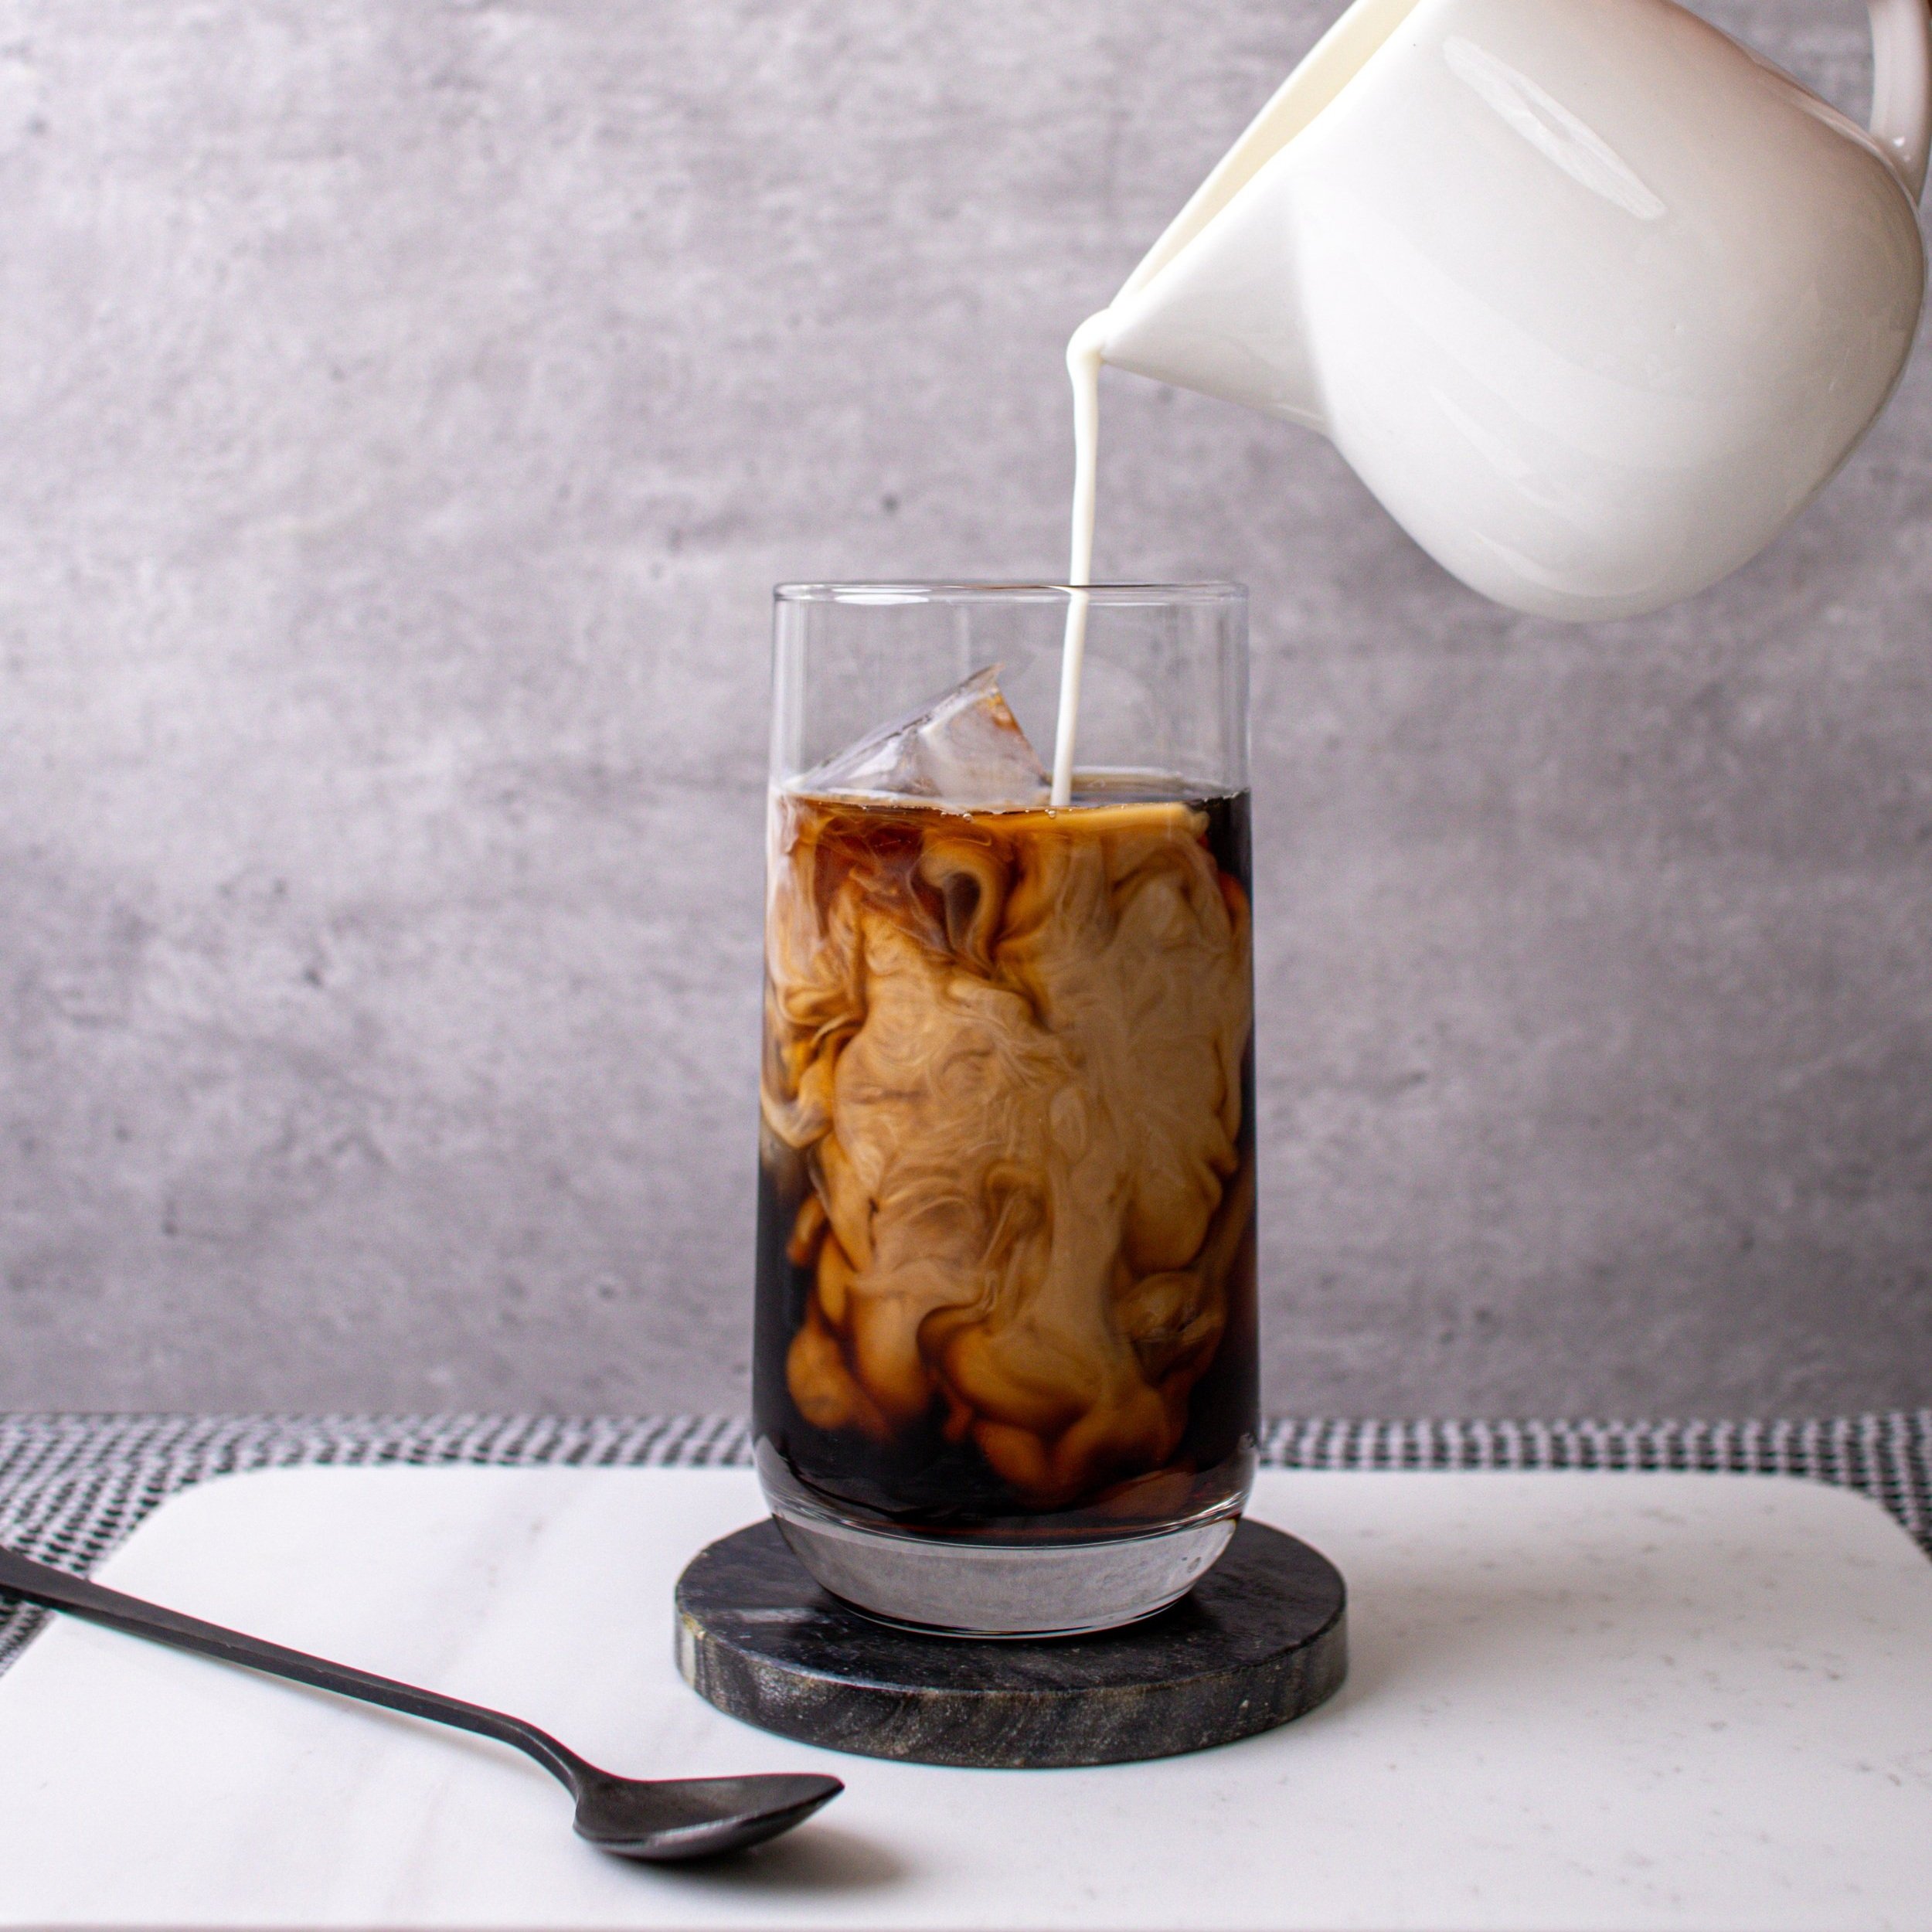
- Add the syrup to any latte like this Starbucks Pecan Crunch Oatmilk Latte
- Make a Salted Pecan Cream Cold Foam and pour over any drink!
- Starbucks Salted Pecan Crunch Cold Brew
- Cinnamon Pecan Dirty Chai
- Add the syrup to a chai latte
- Add the syrup to your matcha latte
- Use the syrup to make a Pecan Crunch Frappuccino
- Swap the traditional maple syrup for this Homemade Pecan Syrup on waffles or pancakes
- Add a drizzle to your morning oatmeal or your night time ice cream dessert

Now that you know how easy it is to make homemade pecan syrup, you’ll want to have it on hand for all your fall coffee creations!
Whether you’re stirring it into a latte, drizzling it over pancakes, or using it as a sweet topping for your oatmeal, this rich, nutty syrup is sure to elevate your favorite recipes. Plus, with the added crunch of toasted pecans, you can enjoy a little extra texture in your dishes. So, go ahead and make a batch—you’ll love the warm, cozy flavors it brings to your kitchen all season long!

Homemade Pecan Syrup
Equipment
- syrup bottle or mason jar
Ingredients
- 1 cup pecan halves
- 1 cup water
- 1 cup sugar
- 1/2 teaspoon salt I like flaky sea salt
Instructions
- Add the pecan halves to a saucepan and heat over medium heat. Let the pecans toast for 3-5 minutes, stirring often to keep them from burning.
- After 3-5 minutes, add in the sugar, water, and salt and stir the mixture until the sugar and salt are fully dissolved.
- Bring the mixture to a simmer, and simmer for 7-10 minutes, stirring often.
- Remove the saucepan from the heat and pour the syrup through a strainer into a mason jar or heat proof container, catching the pecans inside the strainer. You can throw away the pecans or save to use as a topping for oatmeal, pancakes, chia pudding, or the pecan crunch topping.
- Let the syrup cool completely before adding a lid or cap, and store in the fridge for up to 2 weeks.
- Note, you can use the leftover pecans for a pecan crunch topping. Add the pecans to a baking sheet and let cool before adding to a Ziploc bag and crushing the pecans with a rolling pin. Add the crushed pecans to the top of any coffee or tea beverage.


Leave a Comment