
Homemade Eggnog Coffee Creamer was my #1 most requested creamer flavor this year, and I am SO excited to finally share this recipe with you!
This easy homemade coffee creamer has all the delicious flavors of traditional holiday eggnog, but without the eggs! It’s rich, creamy, perfectly sweet, and made with just 7 simple ingredients that you can blend together in minutes.
The best part? You can customize it to fit your preferences! Whether you want a lower-sugar option, a dairy-free alternative, or a lighter coffee creamer, I’ve included plenty of substitutions below.
Add a splash to your morning coffee, use it to make a homemade eggnog latte, or stir it into your favorite cold brew for a festive coffee shop experience right in your own kitchen.
And trust me, once you start making your own holiday coffee creamers, you might never want to buy the store-bought versions again!

Why You’ll Love This Homemade Eggnog Creamer
- No eggs required! Enjoy all the classic flavors of eggnog without making traditional eggnog from scratch (all thanks to eggnog extract!).
- Ready in 3 minutes. Just blend, pour, and refrigerate. It really is that easy!
- Only 7 ingredients. No complicated steps or fancy equipment required.
- Perfect for hot or iced coffee. Use it in everything from your morning drip coffee to homemade iced lattes.
- Easy to customize. Make it dairy-free, lower in sugar, or lighter in calories with a few simple swaps.
- Budget-friendly. Skip the expensive seasonal coffee shop drinks and make your favorites at home!
- Available year round. Whip up a batch mid-April when you need a little eggnog joy!

Ingredients You’ll Need
You only need a handful of ingredients to make this rich and creamy homemade eggnog coffee creamer.
Half & Half — 16 ounces
Half & half gives this homemade eggnog creamer its rich, smooth texture without being quite as heavy as using all heavy cream. It’s my favorite base for homemade coffee creamers because it blends beautifully with sweetened condensed milk. Opt for dairy-free half & half, like Nutpods, or your favorite plant-based milk for a dairy-free version.
Sweetened Condensed Milk — 1 (14-ounce) can
Sweetened condensed milk adds sweetness, richness, and that thick, creamy consistency we love in coffee creamer. It also means you don’t need to add any additional sugar! For a dairy-free version, use sweetened condensed oat milk or coconut milk. If you prefer a lower-sugar or lower-calorie option, use half the can or substitute your favorite sweetener, such as monk fruit, maple syrup, or agave.
Ground Cinnamon — ½ teaspoon
Cinnamon adds that warm, cozy holiday flavor that pairs perfectly with coffee! It’s one of the classic spices found in traditional eggnog and helps give this creamer its delicious seasonal flavor.
Ground Nutmeg — ½ teaspoon
Nutmeg is one of the signature flavors of traditional eggnog, so don’t skip it! It adds a warm, slightly nutty flavor that makes this homemade creamer taste extra festive. I also love sprinkling a little extra nutmeg on top of my finished coffee!
Salt — ¼ teaspoon
A little salt helps balance the sweetness of the condensed milk and enhances all those delicious warm spices and vanilla flavors.
Vanilla Extract — 1 teaspoon
Vanilla adds a sweet, smooth flavor that complements the cinnamon and nutmeg beautifully. I recommend using a good-quality vanilla extract for the best results. Vanilla bean paste will also work here!
Eggnog Extract — ¾ teaspoon
THIS is the secret ingredient! Eggnog extract is what gives this creamer that unmistakable, pronounced eggnog flavor, and trust me, it’s SO worth it! While cinnamon, nutmeg, and vanilla create a delicious holiday spice blend, the eggnog extract is what really makes this taste like traditional eggnog rather than just a spiced vanilla creamer. If you love eggnog, I highly recommend grabbing a bottle!

Don’t Skip the Eggnog Extract!
If there is ONE ingredient I highly recommend using in this recipe, it’s the eggnog extract!
While cinnamon, nutmeg, and vanilla help create those familiar holiday flavors, eggnog extract is what really brings everything together and gives this creamer its distinct eggnog taste.
Without it, you’ll still have a delicious spiced vanilla coffee creamer, but it won’t have quite the same pronounced eggnog flavor.
I know it’s an extra ingredient you might not already have in your pantry, but trust me, it’s SO worth it! Especially if you love making homemade holiday coffee drinks.
How to Make Homemade Eggnog Coffee Creamer
Making homemade coffee creamer couldn’t be easier! No cooking, simmering, or complicated preparation required.
Step 1: Add your ingredients.
Add the half & half, sweetened condensed milk, cinnamon, nutmeg, salt, vanilla extract, and eggnog extract to a blender.
Step 2: Blend until smooth.
Blend until all the ingredients are fully combined and the sweetened condensed milk has completely incorporated into the half & half.
You don’t need to blend for very long! We’re simply mixing everything together, not trying to whip or thicken the creamer.
Step 3: Transfer to a jar.
Pour the creamer into a clean glass jar or airtight container. I like these LARGE CREAMER BOTTLES to store a full batch for yourself, but if you’re gifting to friends and family, these SMALL CREAMER BOTTLES are perfect!
Step 4: Refrigerate and Enjoy!
Store the creamer in the refrigerator and give it a good shake before each use, as the spices may naturally settle at the bottom.
How to Make Eggnog Creamer Without a Blender
IMPORTANT: No matter which method you choose, we’re simply trying to MIX the ingredients together, not whip them into a thick or fluffy consistency!
1. Immersion Blender
Add all your ingredients to a large mixing container or pitcher and use an immersion blender to combine everything until smooth.
2. Hand Mixer
Combine the ingredients in a large mixing bowl and mix on low speed until the sweetened condensed milk is fully incorporated.
3. Mason Jar Method
Add all the ingredients to a large mason jar with plenty of room for mixing. Secure the lid tightly and shake vigorously until everything is combined.
If needed, stir the condensed milk into a small amount of half & half first to help it dissolve before adding the remaining ingredients.
How to Make Dairy-Free Eggnog Coffee Creamer
You can easily make this homemade eggnog coffee creamer completely dairy-free with just two ingredient swaps.
For a dairy-free version:
- Replace the half & half with 16 ounces of your favorite dairy-free half & half or plant-based milk (coconut/oat/almond). Keep in mind, lower fat milks will result in a thinner creamer texture.
- Replace the sweetened condensed milk with one can of sweetened condensed coconut milk or sweetened condensed oat milk.

How to Make Lower-Sugar Eggnog Creamer
- Use a dairy free half & half AND use half a can of sweetened condensed milk
- OR skip the sweetened condensed milk and use your favorite alternative sweetener instead: monk fruit, stevia, allulose, sugar free syrups, etc
A quick note on consistency: Sweetened condensed milk contributes both sweetness and thickness, so replacing it with another sweetener will result in a thinner creamer. That’s completely normal, and it will still taste delicious in your coffee!
How to Make Lower-Calorie Eggnog Creamer
- Use 16 ounces of Nutpods dairy-free half & half instead of traditional half & half.
- Reduce the sweetened condensed milk to 1/4 or 1/2 of the 14-ounce can.
- Keep the spices and extracts the same.
This will create a lighter creamer that’s still sweet and flavorful, without using the full amount of sweetened condensed milk.
3 Delicious Ways to Use Homemade Eggnog Coffee Creamer
Now for the fun part: making coffee!
This homemade eggnog creamer is incredibly versatile and works beautifully in both hot and iced coffee drinks.
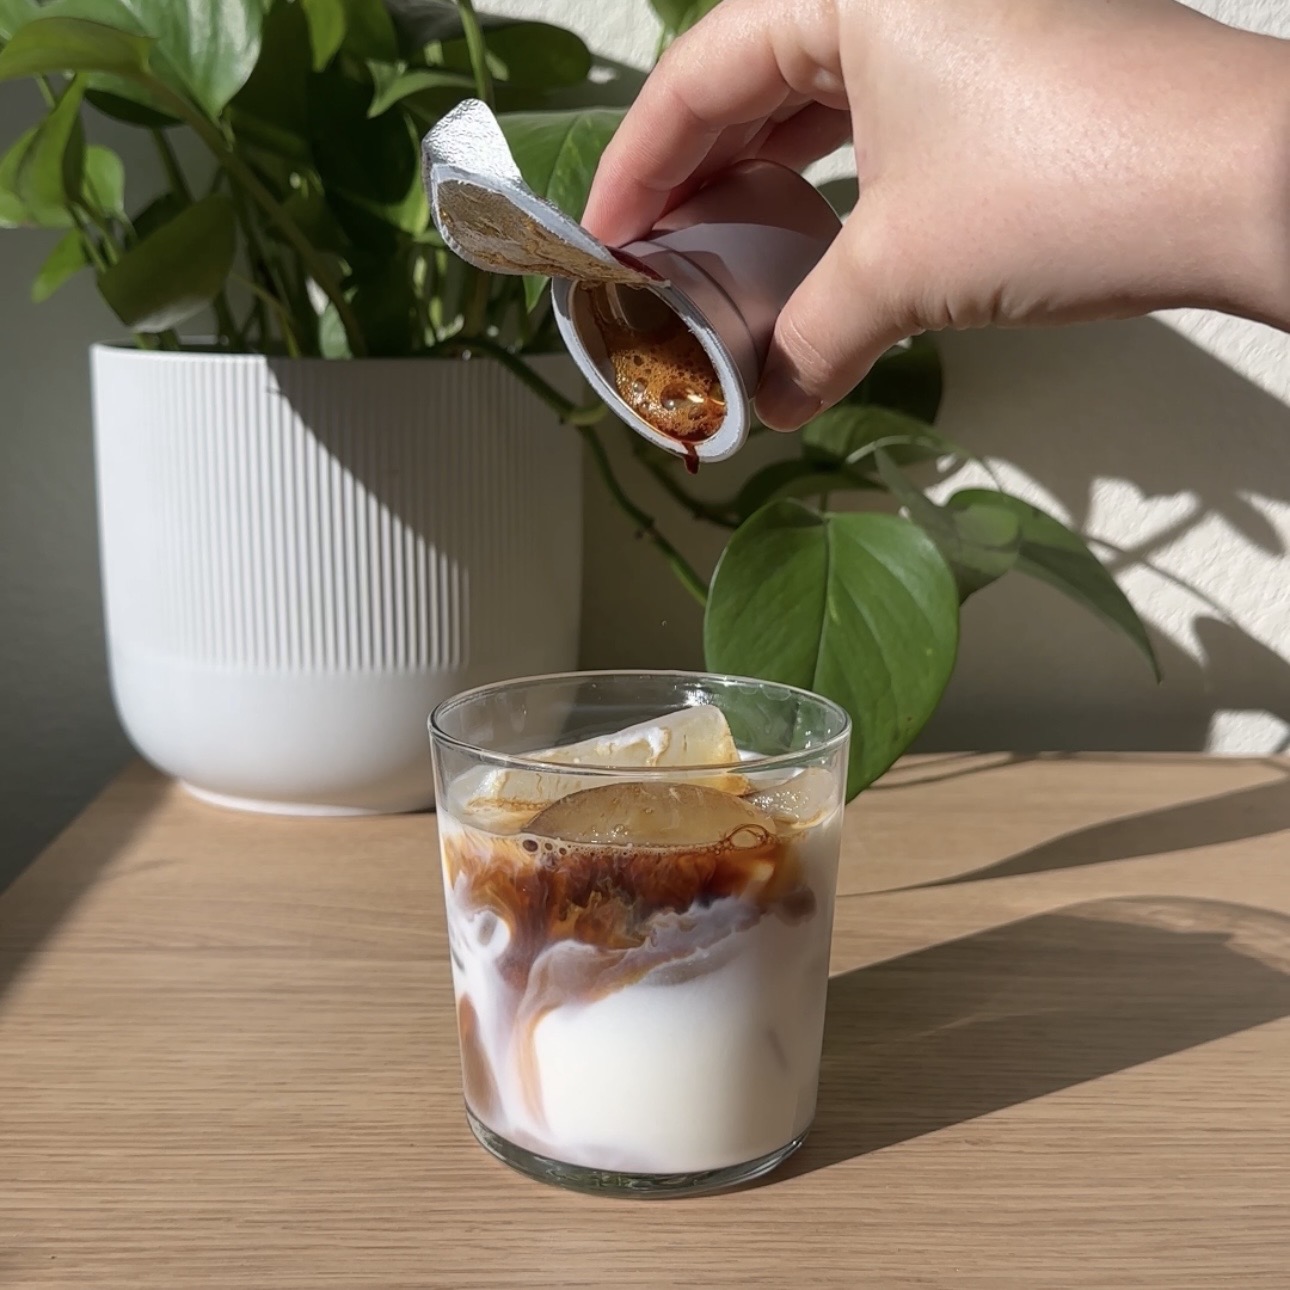
1. Eggnog Iced Coffee or Cold Brew
You’ll need:
- 8-10 ounces chilled coffee or cold brew
- 1–2 ounces homemade eggnog creamer, or to taste
- Ice
- Optional: Sprinkle of ground nutmeg
Instructions:
- Fill a glass with ice.
- Pour in your coffee or cold brew.
- Add your homemade eggnog creamer.
- Stir until combined and finish with a sprinkle of nutmeg if desired.
This is such an easy way to turn your everyday iced coffee into a festive holiday treat!

2. Homemade Eggnog Latte (Hot or Iced)
Want something a little more coffee shop-inspired? Make yourself a delicious homemade eggnog latte!
You’ll need:
- 1–2 ounces homemade eggnog creamer
- 2 shots espresso
- 4–6 ounces milk of choice
- Ground nutmeg, for topping
- Ice, if serving iced
For an Iced Eggnog Latte:
- Add 1–2 ounces of homemade eggnog creamer to a glass.
- Brew 2 shots of espresso and pour over the creamer.
- Stir to combine.
- Add 4–6 ounces of your favorite milk.
- Fill with ice and finish with a sprinkle of nutmeg.
For a Hot Eggnog Latte:
- Brew 2 shots of espresso into your favorite mug.
- Stir in 1–2 ounces of homemade eggnog creamer.
- Steam or heat 4–6 ounces of milk until hot and frothy.
- Pour the milk over the espresso mixture.
- Finish with a sprinkle of nutmeg and enjoy!
You can use dairy milk, oat milk, almond milk, or whatever milk you prefer!
3. Hot Eggnog Coffee
Sometimes the simplest coffee is the best coffee!
If you’re using a traditional drip coffee maker, Keurig, French press, or another brewing method, you can easily turn your regular morning coffee into a festive holiday drink.
You’ll need:
- 8–10 ounces freshly brewed hot coffee
- 1–2 ounces homemade eggnog creamer, or to taste
- Optional: Sprinkle of cinnamon or nutmeg
Instructions:
- Brew your favorite hot coffee.
- Add your homemade eggnog creamer and stir until combined.
- Taste and adjust the amount of creamer to your preference.
- Finish with a little cinnamon or nutmeg if desired.
No espresso machine required!
Tips for the Best Homemade Eggnog Creamer
Use eggnog extract for the best flavor. I can’t emphasize this enough! The extract is what really gives this creamer its pronounced eggnog flavor rather than simply tasting like cinnamon and vanilla.
Don’t over blend. You only need to blend long enough for the ingredients to combine. We’re not making whipped cream!
Adjust the sweetness to your preference. If you prefer a less sweet creamer, start with half the can of sweetened condensed milk and adjust from there.
Shake before serving. Cinnamon and nutmeg can naturally settle at the bottom of the bottle, so give your creamer a quick shake before adding it to your coffee.
Use a clean, airtight container. This helps keep your homemade creamer fresh in the refrigerator.
Make it your own! Add a little extra nutmeg for a stronger spice flavor or adjust the amount of eggnog extract to suit your taste.
Frequently Asked Questions
Does homemade eggnog creamer contain eggs?
Nope! This recipe is completely egg-free. Instead of using traditional eggnog, we’re recreating those classic holiday flavors using cinnamon, nutmeg, vanilla, and eggnog extract.
Can I make eggnog creamer without sweetened condensed milk?
Absolutely! You can replace the sweetened condensed milk with your preferred sweetener, such as maple syrup, agave, monk fruit, or a sugar-free alternative.
Just keep in mind that the consistency will be thinner without the condensed milk.
Can I use regular milk instead of half & half?
Yes! You can substitute regular milk, although the creamer will be thinner and less rich. Whole milk is a great option if you want to maintain some creaminess.
How long does homemade eggnog creamer last?
Store your homemade creamer in a clean, airtight bottle in the refrigerator for up to 2 weeks.
Can I use this creamer in hot and iced coffee?
Yes! This homemade eggnog creamer works beautifully in hot coffee, iced coffee, cold brew, and espresso-based drinks.
Is eggnog extract really necessary?
For the most pronounced eggnog flavor, YES!
More Homemade Coffee Creamer Recipes to Try
Homemade Sugar Cookie Creamer
Sweet, buttery, and filled with cozy sugar cookie flavor. Perfect for recreating your favorite holiday sugar cookie lattes!
Homemade Cookie Butter Creamer
Rich, warmly spiced, and inspired by the delicious flavor of cookie butter. Perfect for adding a cozy, bakery-inspired twist to your morning coffee!
Homemade Brown Butter Chocolate Chip Cookie Creamer
A rich, buttery, chocolatey creamer inspired by freshly baked chocolate chip cookies. It’s like having dessert in your coffee!
Homemade Peppermint Mocha Creamer
A delicious combination of chocolate and peppermint that’s perfect for making your favorite holiday peppermint mochas at home!
Homemade Gingerbread Creamer
Sweet, warmly spiced, and inspired by classic holiday gingerbread cookies. A delicious addition to your morning coffee!
Homemade Salted Caramel Creamer
Rich, buttery caramel flavor with just the right amount of salt. Perfect for hot coffee, iced coffee, and homemade caramel lattes!


Final Thoughts
Making delicious holiday coffee at home doesn’t have to be complicated or expensive!
With just a handful of ingredients and five minutes of your time, you can make a rich, creamy, and flavorful homemade eggnog coffee creamer that tastes like the holidays in every sip.
And the best part? You can customize the ingredients, sweetness, and creaminess to make it exactly how YOU like it.
So grab your favorite coffee, sprinkle on a little extra nutmeg, and enjoy your very own coffee shop at home this holiday season!

Homemade Eggnog Coffee Creamer
Equipment
Ingredients
- 16 ounces half & half
- 1 14-ounce can sweetened condensed milk
- 1/2 teaspoon ground cinnamon
- 1/2 teaspoon ground nutmeg
- 1/4 teaspoon salt
- 1 teaspoon vanilla extract
- 3/4 teaspoon eggnog extract
Instructions
- Add all ingredients to a blender.
- Blend until completely smooth and well combined.
- Pour into a clean, airtight creamer bottle or glass jar.
- Store in the refrigerator for up to 14 days, shaking before each use.
- Add 1–2 ounces to your favorite hot or iced coffee, cold brew, chai, or matcha latte, adjusting to taste.
Notes
- Dairy-free: Substitute dairy-free half & half or extra creamy oat milk, along with dairy-free sweetened condensed milk.
- Lower sugar: Reduce the amount of sweetened condensed milk or replace it with your preferred lower sugar sweetener.
- Storage: Keep refrigerated in an airtight container and use within 14 days, or sooner if ingredient dates require it.




Leave a Comment