
If you’ve been following me on Instagram for any length of time, you know espresso is my preferred type of coffee. I drink an iced or hot latte just about everyday throughout the year, with the occasional cold brew here and there, so I am well versed in the espresso making world.
Most people hear the word espresso and think they need a super expensive machine to make their favorite espresso based drinks at home. While a fancy and expensive machine can absolutely give you great espresso at home, there are tons of ways to get espresso at home, all at various price points.

If you’re unsure if you need espresso for your drinks, here are all the espresso based drink options:
- Iced or hot lattes
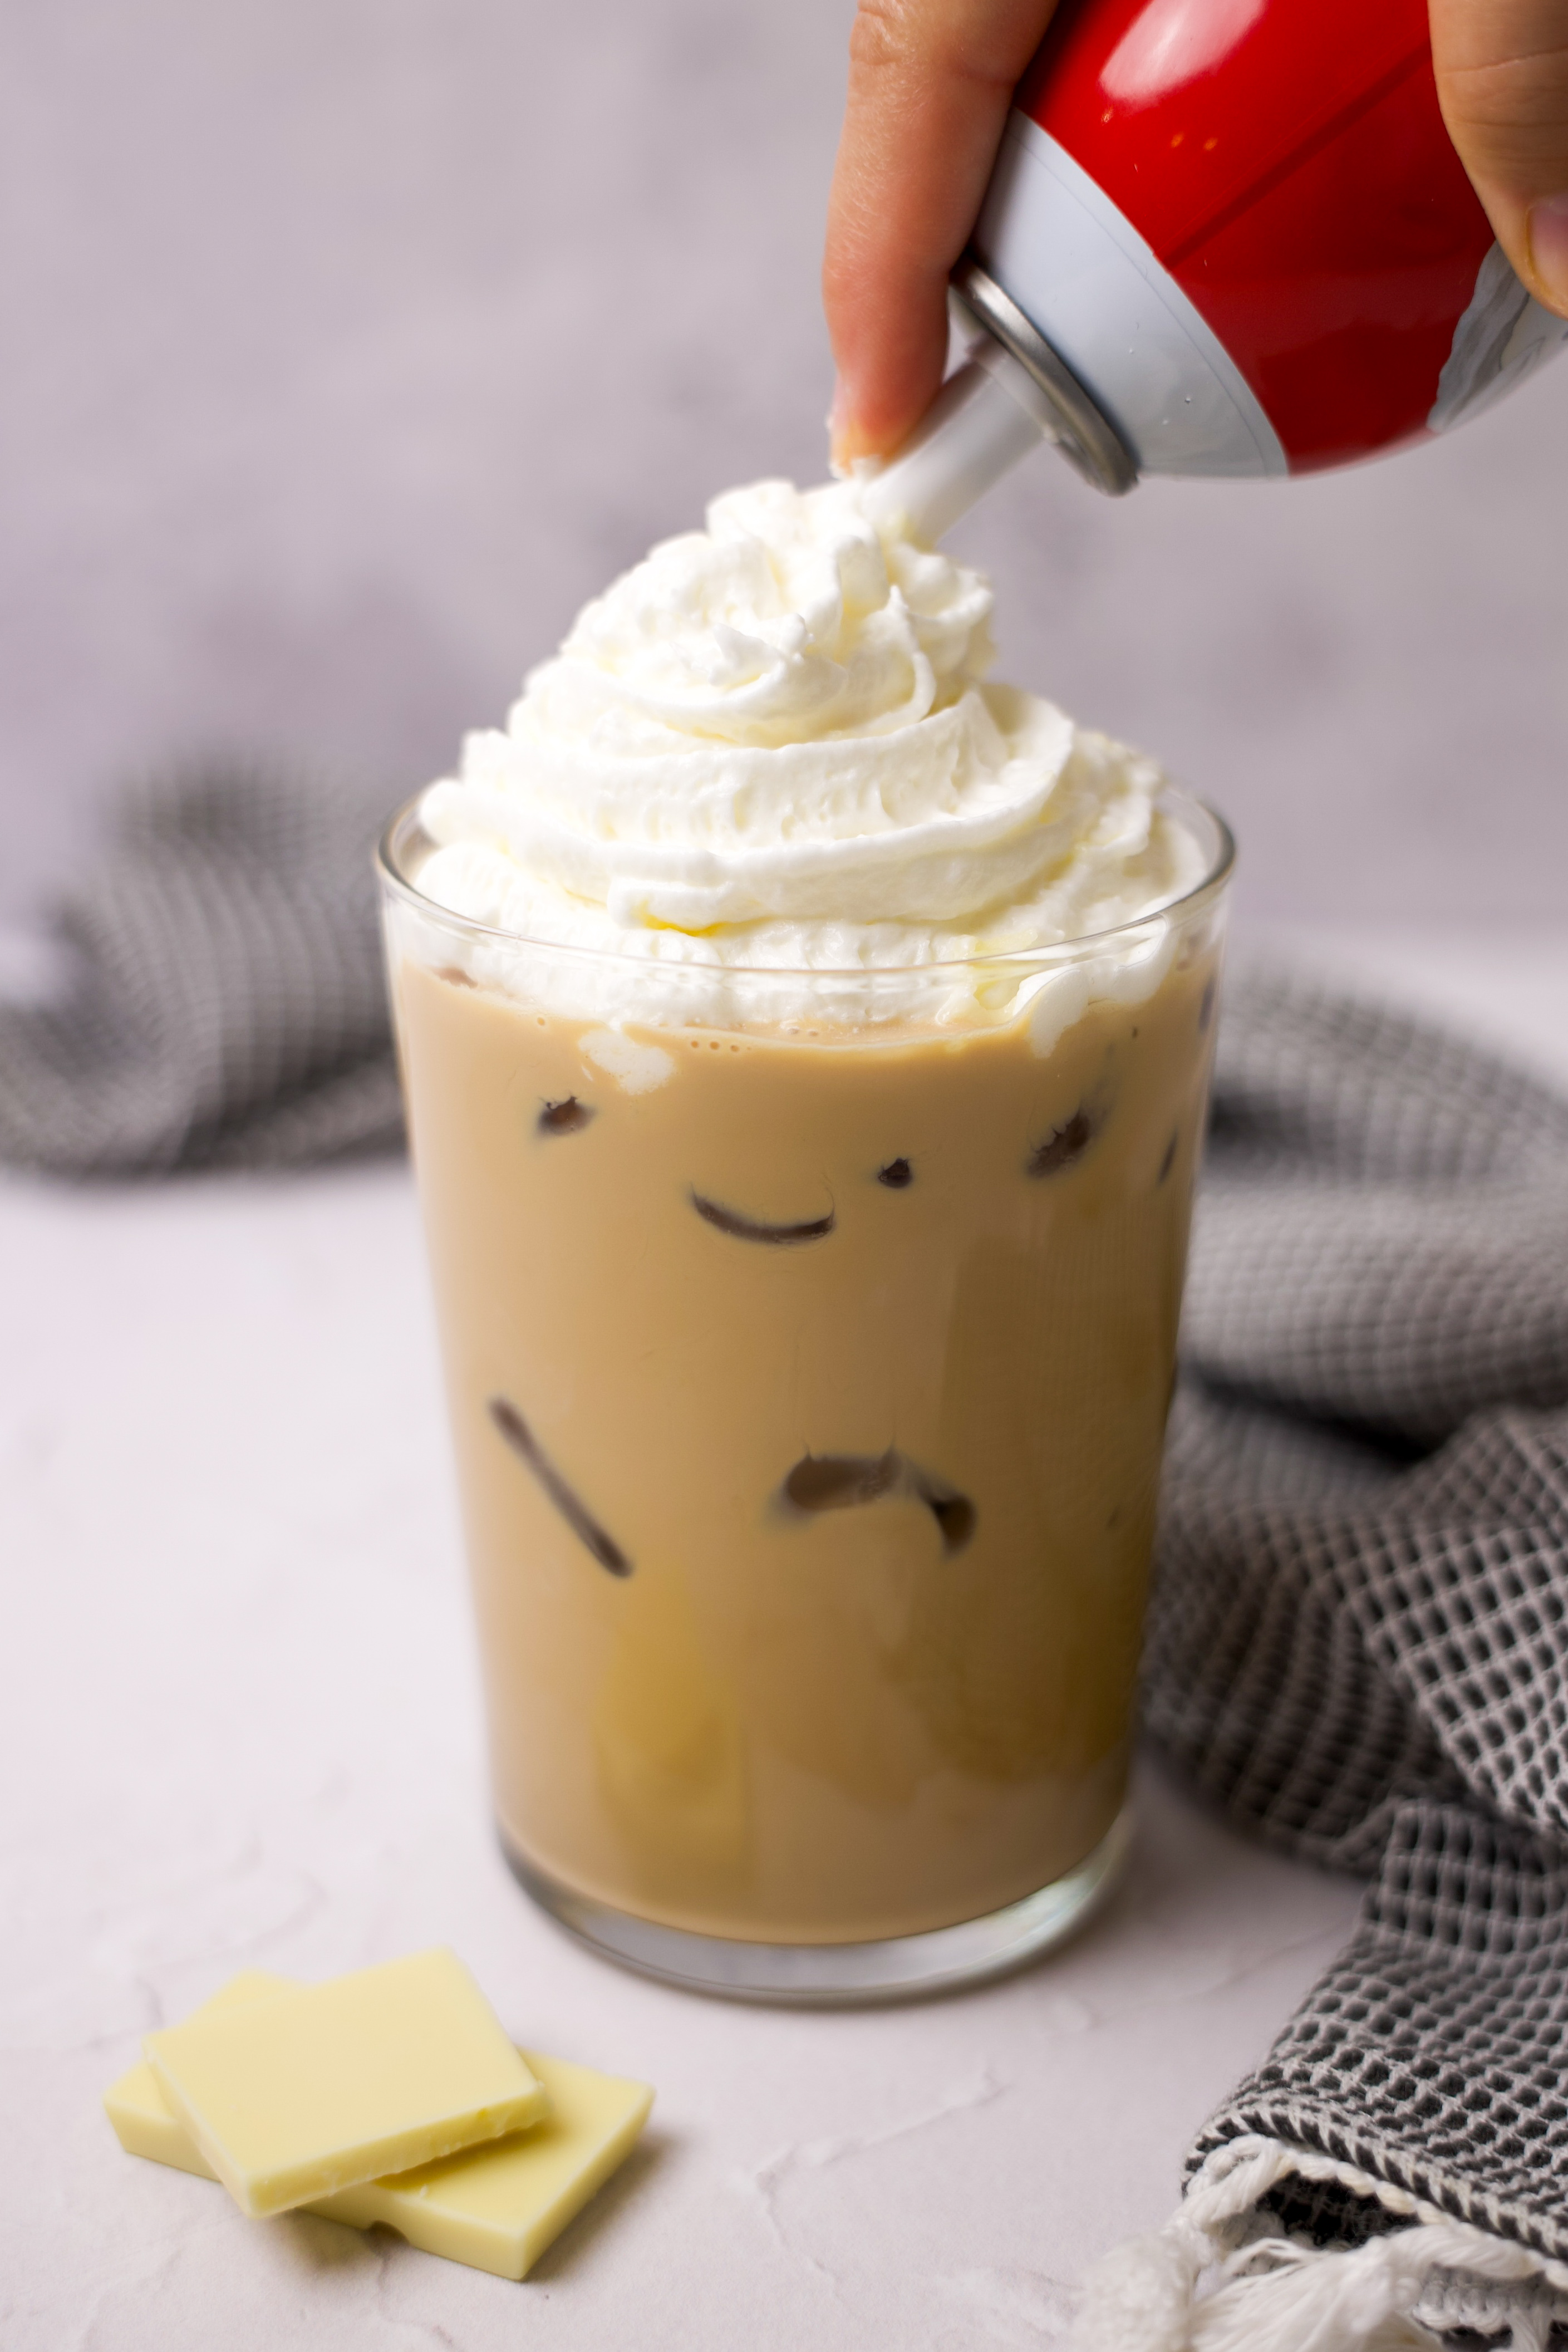
- Iced or hot mochas/white mochas
- Iced or hot americanos
- Iced or hot flat whites
- Iced or hot caramel macchiatos
- Iced shaken espressos
- Cortado
- Affogato
- Breve
To make each of the drinks above, you need espresso. Below you’ll see a list of my recommended machines and products for espresso at home, from most budget friendly options to most expensive!
INSTANT ESPRESSO


While instant espresso technically isn’t a machine, I like to include it in this list since it is the most budget friendly option for espresso at home! This product is made from brewing espresso with coffee grounds, and then taking those grounds and dehydrating them to become a crystallized powder or crystallized granules. You can then rehydrate those granules with hot water to get espresso at home!
Simply combine the instant espresso with warm water, mix until the powder dissolves, and then use it in any espresso based recipe you’d like!
For instant espresso, I use the following ratios:
- Single shot: 1/4 tablespoon instant espresso + 1.25 ounces warm water
- Double shot: 1/2 tablespoon instant espresso + 2.5 ounces warm water
- Triple shot: 3/4 tablespoon instant espresso + 3.75 ounces warm water
- Quad shot: 1 tablespoon instant espresso + 5 ounces warm water
Depending on your taste preference, you may want to make minor adjustments to these ratios, but these ratios will be the most similar to the espresso that comes out of an espresso machine!
See this video HERE for a step by step tutorial for how to use instant espresso in an at home latte.
Again, feel free to play around with the ratios to fit your taste preference. Always start with a small amount of instant espresso and then add more. Also note, different brands can have more or less bold flavors, so that may affect your preferred ratios.
My Favorite Instant Espresso Options:
- Nescafe Gold Instant Espresso (light roast)
- Cafe Bustelo Instant Espresso Packets (dark roast)
- Cafe Bustelo Instant Espresso Jar (dark roast)

MOKA POT

Moka pots are stove top coffee makers where you add ground coffee and water to the contraption, place it on the stovetop and heat it up until the coffee bubbles into the main chamber. The end result is a deliciously strong coffee that very closely resembles espresso.
Moka pots are incredibly affordable, costing around $10-$30 depending on which size you get. For espresso at home, I recommend getting a 3 cup size moka pot. In addition to the Moka pot itself, you do need ground coffee, so keep that in mind as you factor in the total cost. See my favorite espresso/ground coffee options HERE.
To make espresso using a Moka pot, you’ll need:
- Whole coffee beans and a grinder OR ground coffee (See my favorite espresso/ground coffee options here)
- Moka pot
- Water
- Burner/stove


View my step-by step video tutorial HERE.
- Unscrew top of Moka pot from the base and remove filter funnel
- Add water to the base, until it’s just below the safety valve
- Add filter funnel to the base and add 16-18 grams of coffee grounds – do not pack the grounds in
- Tighten the top back onto the base, and place the entire Moka pot onto the stove/burner over medium heat. The espresso will start brewing upwards and falling into the inside chamber.
- Once you hear the espresso bubbling, remove Moka pot from heat and pour espresso into a mug.
- Make any of your favorite espresso based drinks – lattes, mochas, americanos, shaken espressos, cappuccinos, flat whites, etc
AEROPRESS

An Aeropress is another incredibly affordable option for at home espresso! It’s a manual coffee brewer that forces coffee through a thin paper filter directly into a cup. Like the Moka pot, you do need to buy coffee beans or grounds to add to the Aeropress, so keep that in mind when factoring your total expenses.
An Aeropress typically costs around $30-$40. This is a much cheaper option than a traditional espresso machine, and the process for getting espresso with it is very simple. I very much recommend an Aeropress over a Mr. Coffee or Gourmia $40 machines. I promise, you will get better quality espresso and much less frustration using an Aeropress for the same price point!
To make espresso using an Aeropress you’ll need:
- Whole coffee beans and a grinder OR ground coffee (See my favorite espresso/ground coffee options here)
- Coffee/food scale
- Hot water (I like to use a kettle)
- Aeropress ($30-40 on Amazon)
- Cup/mug


View my step-by step video tutorial HERE.
- Weigh out 18.5-19 grams of beans. I like to do a lil over 18 grams in case I lose some in the grinding process.
- Grind beans into a fine powder. When you pinch the grounds between your fingers, there should be no hard clumps/chunks and it should smush into your fingers.
- Flip the aeropress upside down, then place the plunger piece down and press the chamber piece down about halfway.
- Add 18g of grounds and 90g of hot water into the Aeropress.
- Give the grounds a stir, then screw on the filter, add a cup/mug to the top and gently flip the entire Aeropress over.
- Give the cup/mug and Aeropress a gentle swirl, then let the coffee brew for 60-90 seconds before plunging down slowly. You’ll hear a hissing sound once the Aeropress is pressed down to the bottom.
- Remove the Aeropress from the cup and you have espresso you can use in any espresso based drinks – lattes, mochas, americanos, shaken espressos, cappuccinos, flat whites, etc
DELONGHI STILOSA MANUAL ESPRESSO MACHINE

This machine costs around $90-$135 (depending on which model you choose) and is the first actual espresso machine I’d recommend for at home use. While you may experience some frustration with obtaining consistent extractions with this machine, for the price, you can get some pretty decent espresso using this Delonghi Stilosa espresso machine.
To operate this machine, simply add water to the water reservoir, turn on the machine, add the basket to the portafilter, grind your beans, add ground coffee to the portafilter, tamp, lock in the portafilter, place a cup underneath and press the start button.
Like with any espresso machine, I do recommend weighing your beans using a coffee scale to ensure accuracy. I also like to add a dosing funnel to the top of the portafilter so I can break up the clumps using an espresso stirrer. If you aren’t a fan of the Delonghi tamper, I really like this Distributor/Tamper Tool – it distributes the grounds evenly within the basket, and the other side of the tool tamps the grounds with even pressure.


These accessories are not necessary, but I have found play a fairly significant role in improving the overall espresso extractions as well as gives you more consistency with your extractions.
See this video HERE for my steps on how to pull espresso shots using a manual espresso machine with all the accessories mentioned above.
NESPRESSO VERTUOPLUS ESPRESSO MACHINE

Nespresso machine prices range anywhere from $120-$250 depending on the model and any milk frothing attachments.
If you are unfamiliar with Nespresso coffee machines, they are machines that use coffee filled pods or capsules and high pressure to extract a higher concentrated coffee. Nespresso machines can make regular brewed coffee or espresso, depending on which pods you choose.
Since we’re looking to make espresso at home, you would need to ensure you are purchasing espresso pods, NOT coffee pods. You can check you have the right pods by selecting any that are specifically labeled as ESPRESSO or DOUBLE ESPRESSO pods. Another way is to check the fluid ounces of the pods. The single shot espresso pods are 1.35 ounces and the double shot espresso pods are 2.7 ounces. The brewed coffee pods are any pods that are 7.77 ounces and above.
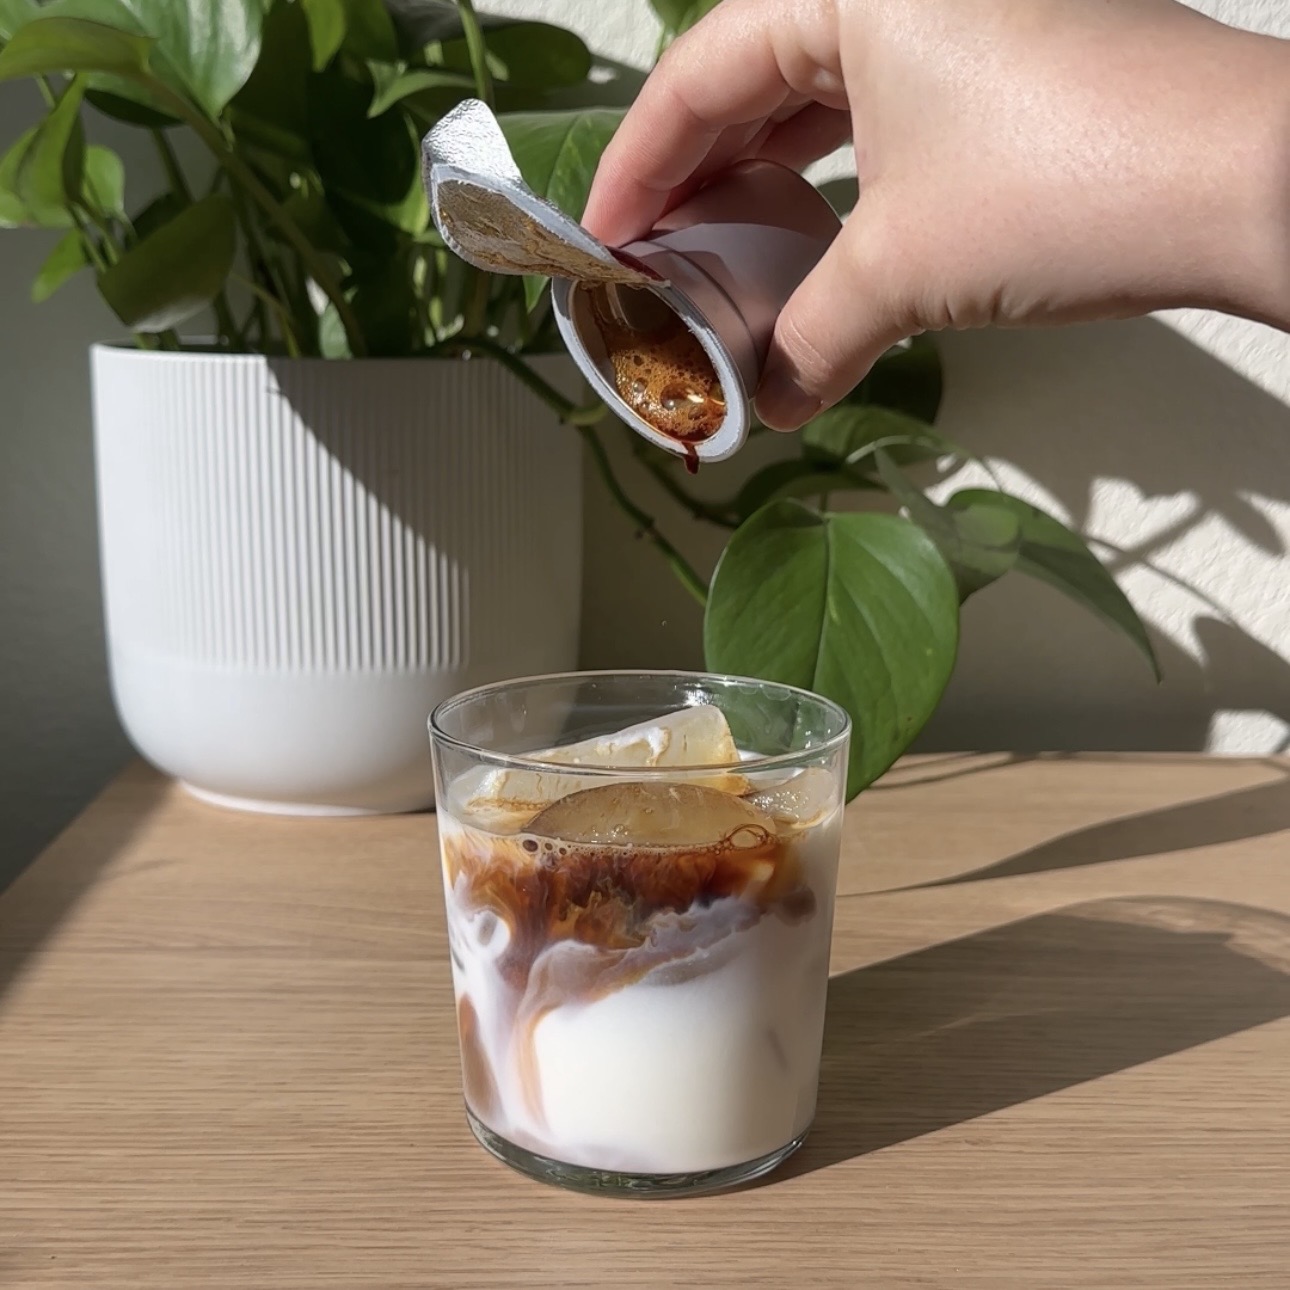
Nespresso machines are an incredibly convenient option for espresso at home. You simply buy the espresso pods, open the machine, place the pod inside, close the machine, and press start. Just like a Keurig machine, you can walk away and let the machine do its thing, and when you come back, you have espresso to use in your favorite espresso based drinks.
My favorite Nespresso pods:
- Double Espresso Dolce (double shot espresso pods)
- Bianco Doppio (double shot espresso pods)
- Double Espresso Chairo (double shot espresso pods)
- Starbucks Blonde Espresso Roast Nespresso Pods (single shot espresso pods)


I will say, with a Nespresso machine, you get higher convenience with lower quality espresso. While I do enjoy Nespresso espresso, I will say, the espresso is much more watered down, flat, and boring compared to espresso from an espresso machine.
So if you are someone who values convenience over quality, a Nespresso is a fabulous option. If you value quality over convenience, a Nespresso machine might not be your best option, and I’d recommend trying the Aeropress method, the Delonghi Stilosa option, or potentially a more expensive machine like the Breville Bambino, the Ninja Cafe Luxe, Barista Express or the Touch.


NINJA CAFE LUXE PREMIER SERIES
I must say, I didn’t expect to like this machine as much as I do. This machine can grind your beans, extract espresso, dial in your beans, brew hot or iced coffee, flash brew cold brew in less than 5 minutes, steam your milk, AND froth your milk! It literally is an all-in-one machine, priced at $499. It is very impressive, and 100% a machine worth looking into, if you’re someone wanting to make more coffee at home!
To make espresso using this machine:
- Add your beans to the hopper
- Place the double shot basket into the portafilter
- Add the dosing funnel to the portafilter and place the portafilter under the grinder
- Grind the beans, then use an espresso stirrer to stir the grounds and break up any clumps, and then use the tamper to tamp the grounds
- Remove the dosing funnel and lock the portafilter into place under the grouphead
- Press start to extract the espresso
BREVILLE BAMBINO/BARISTA EXPRESS ESPRESSO MACHINE

These Breville machine range anywhere from $300-$650. I really don’t think you ever need to spend more than that for an at home machine. Truly, only espresso fanatics and coffee content creators should be spending more than that, not the average coffee lover who just wants great coffee at home.
You’ll notice the different Breville machines vary slightly; some have grinders attached, and others do not. Some have a touch screen, where others do not. I will say, you want a grinder to grind fresh beans. I do not recommend paying $300 for the Bambino and using pre-ground coffee.
Buy a separate grinder like one of these: OXO Brew Conical Burr Coffee Grinder, Boly Electric Conical Burr Coffee Grinder, KRUPS: Electric Coffee Grinder, SHARDOR Electric Burr Coffee Grinder 2.0, grind your beans fresh, and then extract your espresso. If you opt for a Breville with an attached grinder, you do not need to purchase a separate one.
The process for extracting espresso at a very basic level is: turn on machine, add water to the water reservoir, grind beans, tamp, lock in the portafilter, and extract the espresso.
You can absolutely improve this process to ensure better, more consistent extractions using various tools and accessories like these ones I use here:
- Coffee scale & timer
- Dosing funnel
- Espresso stirrer/WDT tool
- Distributor/tamper tool
- Bottomless portafilter
- Espresso shot glasses
- Grinder (if using a machine without one):
To make espresso using an espresso machine, you’ll need:
- Coffee/espresso beans (See my favorite options here)
- Water
- Espresso machine
- Optional: above accessories


View my step-by step video tutorial HERE.
- Add water to water reservoir and turn on the machine.
- Weigh out 18 grams of beans on your coffee scale then add the beans to the hopper.
- Double check you’re using the correct basket inside your portafilter – since I’m grinding beans fresh, I need to use the single wall double shot basket.
- Screw dosing funnel onto portafilter and grind the beans until you hear the screeching sound (indicating there’s no beans left in the hopper). You could also program your machine to give you a set amount of grounds each time. See my video HERE on how to program your machine to do this.
- Set portafilter down flat on the counter, and use an espresso stirrer to stir the grounds. Make sure you get the edges and bottom of the portafilter, and break up any clumps/air pockets in the grounds.
- Give the portafilter a lil love tap, and remove the dosing funnel.
- Use a distributor tool to distribute the grounds evenly, then flip the tool over to tamp the grounds. The grounds should be compact enough for water to flow through, too tight and you’ll build up too much pressure.
- Once evenly tamped, lock portafilter into the machine, and press the DOUBLE shot button.
Things to watch for:
- Espresso comes out both spouts at the same time (if not, you most likely have air pockets/uneven distribution and you need to distribute/stir/tamp better). If you’re using a bottomless portafilter with no spouts, check that the espresso is coming out in a single stream. You shouldn’t have two streams or any dripping from other areas.
- Pressure gauge should be within espresso range (if not, adjust grind size or amount of beans). If pressure is below espresso range, grind finer. If pressure is above espresso range, grind coarser.
- Extraction time should be 20-30 seconds (if not, adjust grind size), use a coffee scale with a timer. If extraction time is below 20 seconds, grind finer. If extraction time is longer than 30 seconds, grind coarser.
For a single shot, the process is the exact same, BUT you need to use the single wall SINGLE SHOT basket, and use 9 grams instead of 18, then make sure you press the SINGLE SHOT button, not the double shot button.

NOTES
- The best at home espresso option here is the one that works best for your budget and your lifestyle!
- I very much recommend buying beans and grinding them fresh, regardless of the option you choose (except for Nespresso). Nothing beats freshly ground beans, and they really do make a drastic difference in your espresso shots, especially when using a machine like the Delonghi or Breville options.
- Always keep in mind, there is SO MUCH TO KNOW about espresso and coffee at home. Don’t let yourself get overwhelmed with the process and the accessories at the beginning. You can absolutely make great espresso at home with the basics that come with the machines I listed in this post. Once you get the hang of your machine or your process, consider trying something new to keep it interesting and to see if your process can be improved!
I hope this post is a helpful tool for you as you’re deciding which espresso machines or products are the best options for you. If you have any questions at all, feel free to drop them below, or feel free to tell me which machine/products you use and love for at home espresso.


Leave a Comment