
Tis the season for all things cranberry! I have been loving cranberry flavors this year. I whipped this Homemade Cranberry Syrup up on a whim for drinks and desserts. Let me tell you, it’s incredible! Move over cranberry sauce, and let’s welcome cranberry syrup into the spotlight this year.

Ingredients You’ll Need
Please note, full measurements are listed on the recipe card at the bottom of the recipe. Scroll to the end, or click the JUMP TO RECIPE button at the top of the page.


Cranberries: It would be a crime to attempt cranberry syrup without the cranberries. Use fresh or frozen!
Granulated Sugar: Regular cane sugar works perfect in this recipe, but feel free to get creative with other sugars like brown sugar, coconut sugar, stevia, or monk fruit depending on your preference.
Lite/Zero Sugar Cranberry Juice: Personally I like using cranberry juice instead of water in this recipe. It gives the syrup the perfect tartness and cranberry flavor whereas plain water makes the syrup a tad less impressive. I opt for lite or zero sugar cranberry juice, but feel free to use whatever you like best.
Flaky Sea Salt: If you’ve seen any of my other syrup recipes, you know I love adding a generous pinch of salt to all my recipes to bring out the sweetness of the syrup. The salt will not make your syrup taste salty, it just makes the syrup more flavorful.
That’s it! You only need four total ingredients to make this syrup! Now let’s get into the equipment and tools needed.

Equipment You’ll Need:


Saucepan: To make the syrup, you”ll need a small saucepan.
Strainer: To strain out the cranberries from the syrup, you’ll need a strainer that can handle hot liquids.
Potato Masher: I like to use a potato masher to smash the cranberries so they give as much flavor as possible to the syrup. Feel free to use a spoon if desired, the potato masher just makes it quicker and easier.
Spoon/Spatula: I always keep a spoon or spatula nearby to stir the syrup as needed. I like stirring the sugar and liquid together at the beginning of the recipe to ensure the sugar is fully dissolved.
Mason Jar/Syrup Bottle: I like storing my homemade syrups in a mason jar or syrup bottle. Mason jars can handle high heat and I love that you can add a lid and stash away in the fridge. Syrup bottles can’t handle too high of temperatures, but they do make the pouring process much simpler. Feel free to use any vessel you prefer to store the syrup.

How To Make Homemade Cranberry Syrup
- Add the cranberries, sugar, cranberry juice, and salt to a medium sized pot or saucepan, and stir with a spoon or spatula.
- Add the pot/saucepan to the stove and bring to a boil. This may take 3-7 minutes, depending on your stove.
- Once the mixture is boiling, use a potato masher to carefully smash the cranberries. You just want to gently release the cranberry juices and flavors, not completely puree the fruit, so give the cranberries 5-10 mashes.
- Reduce the heat to low and let the mixture simmer for 10 minutes.
- After 10 minutes, remove the cranberry fruit pieces from the syrup. You can scoop the pieces out using a small strainer, or pour the entire content of the pot into a stainless steel funnel, into a heat proof container, so the funnel catches the fruit, and the syrup goes into the container.
- Let the syrup cool at room temperature (either in the pot or in a separate container), for at least an hour, or until it’s at room temperature, and then add a lid, and place the syrup in the fridge for up to 3 weeks.
- Note, the syrup will thicken slightly in the fridge once it’s chilled.
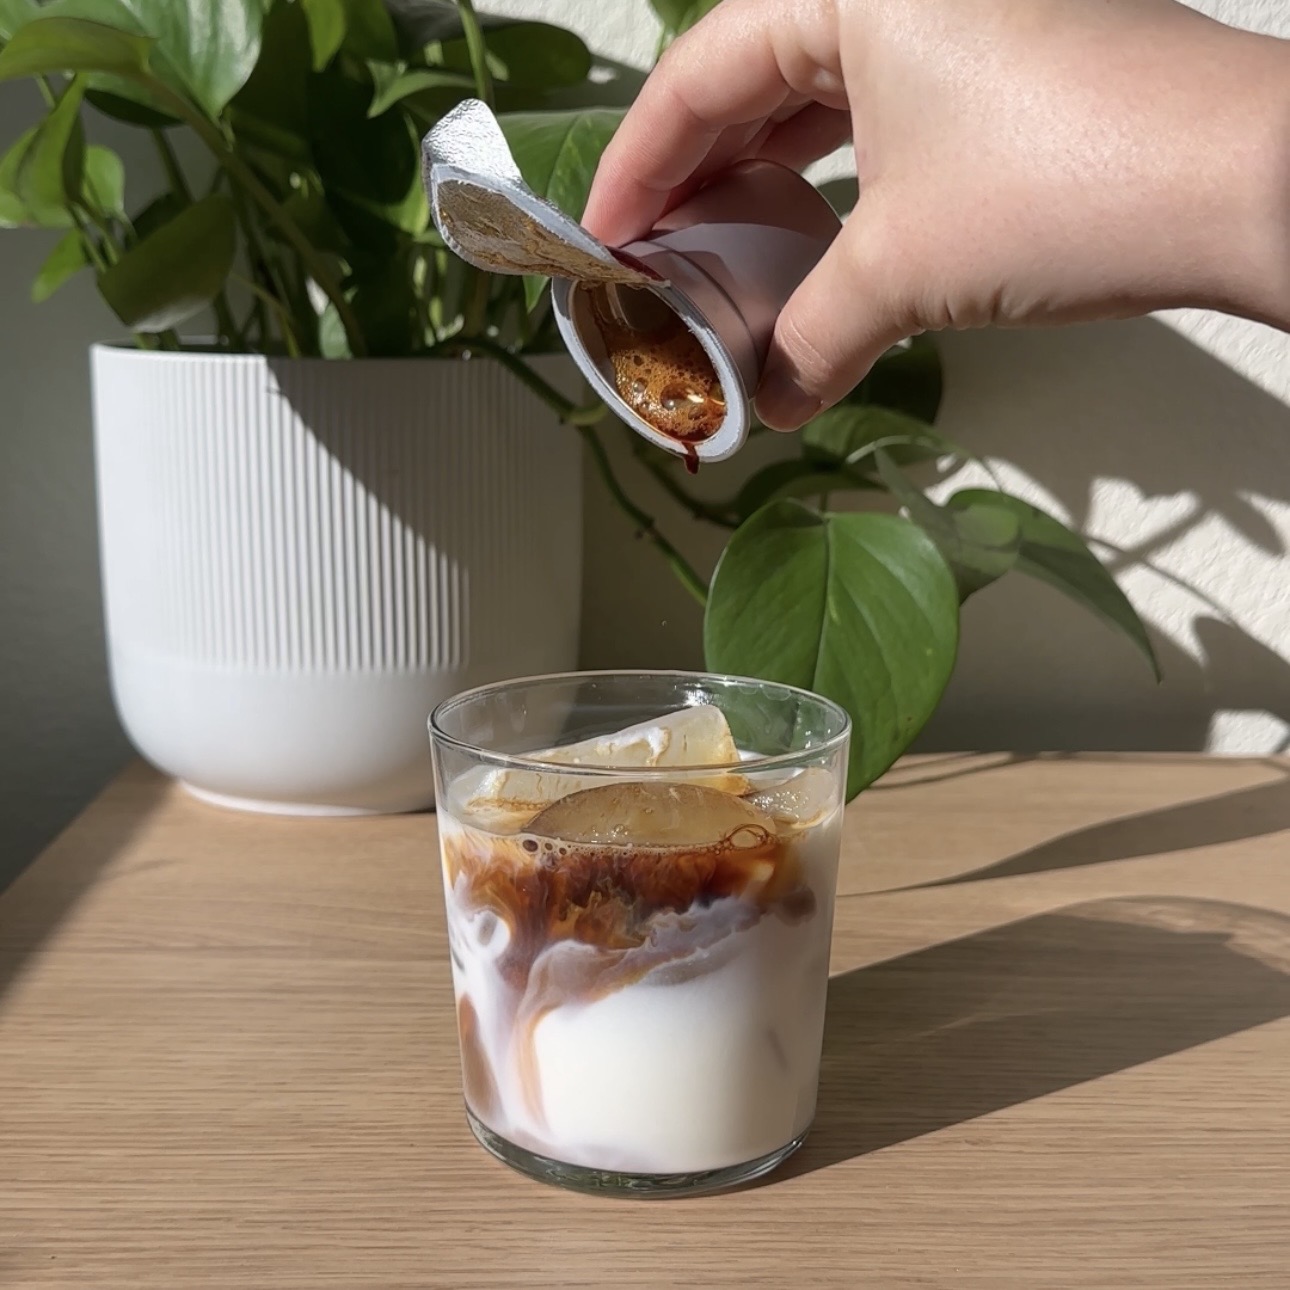
- Add the leftover mashed cranberries (cranberry compote) to a container and place in the fridge to be used on top of pancakes/waffles/french toast/ice cream, or as an addition to mocktails and drinks.


What Recipes Can I Make With Cranberry Syrup?
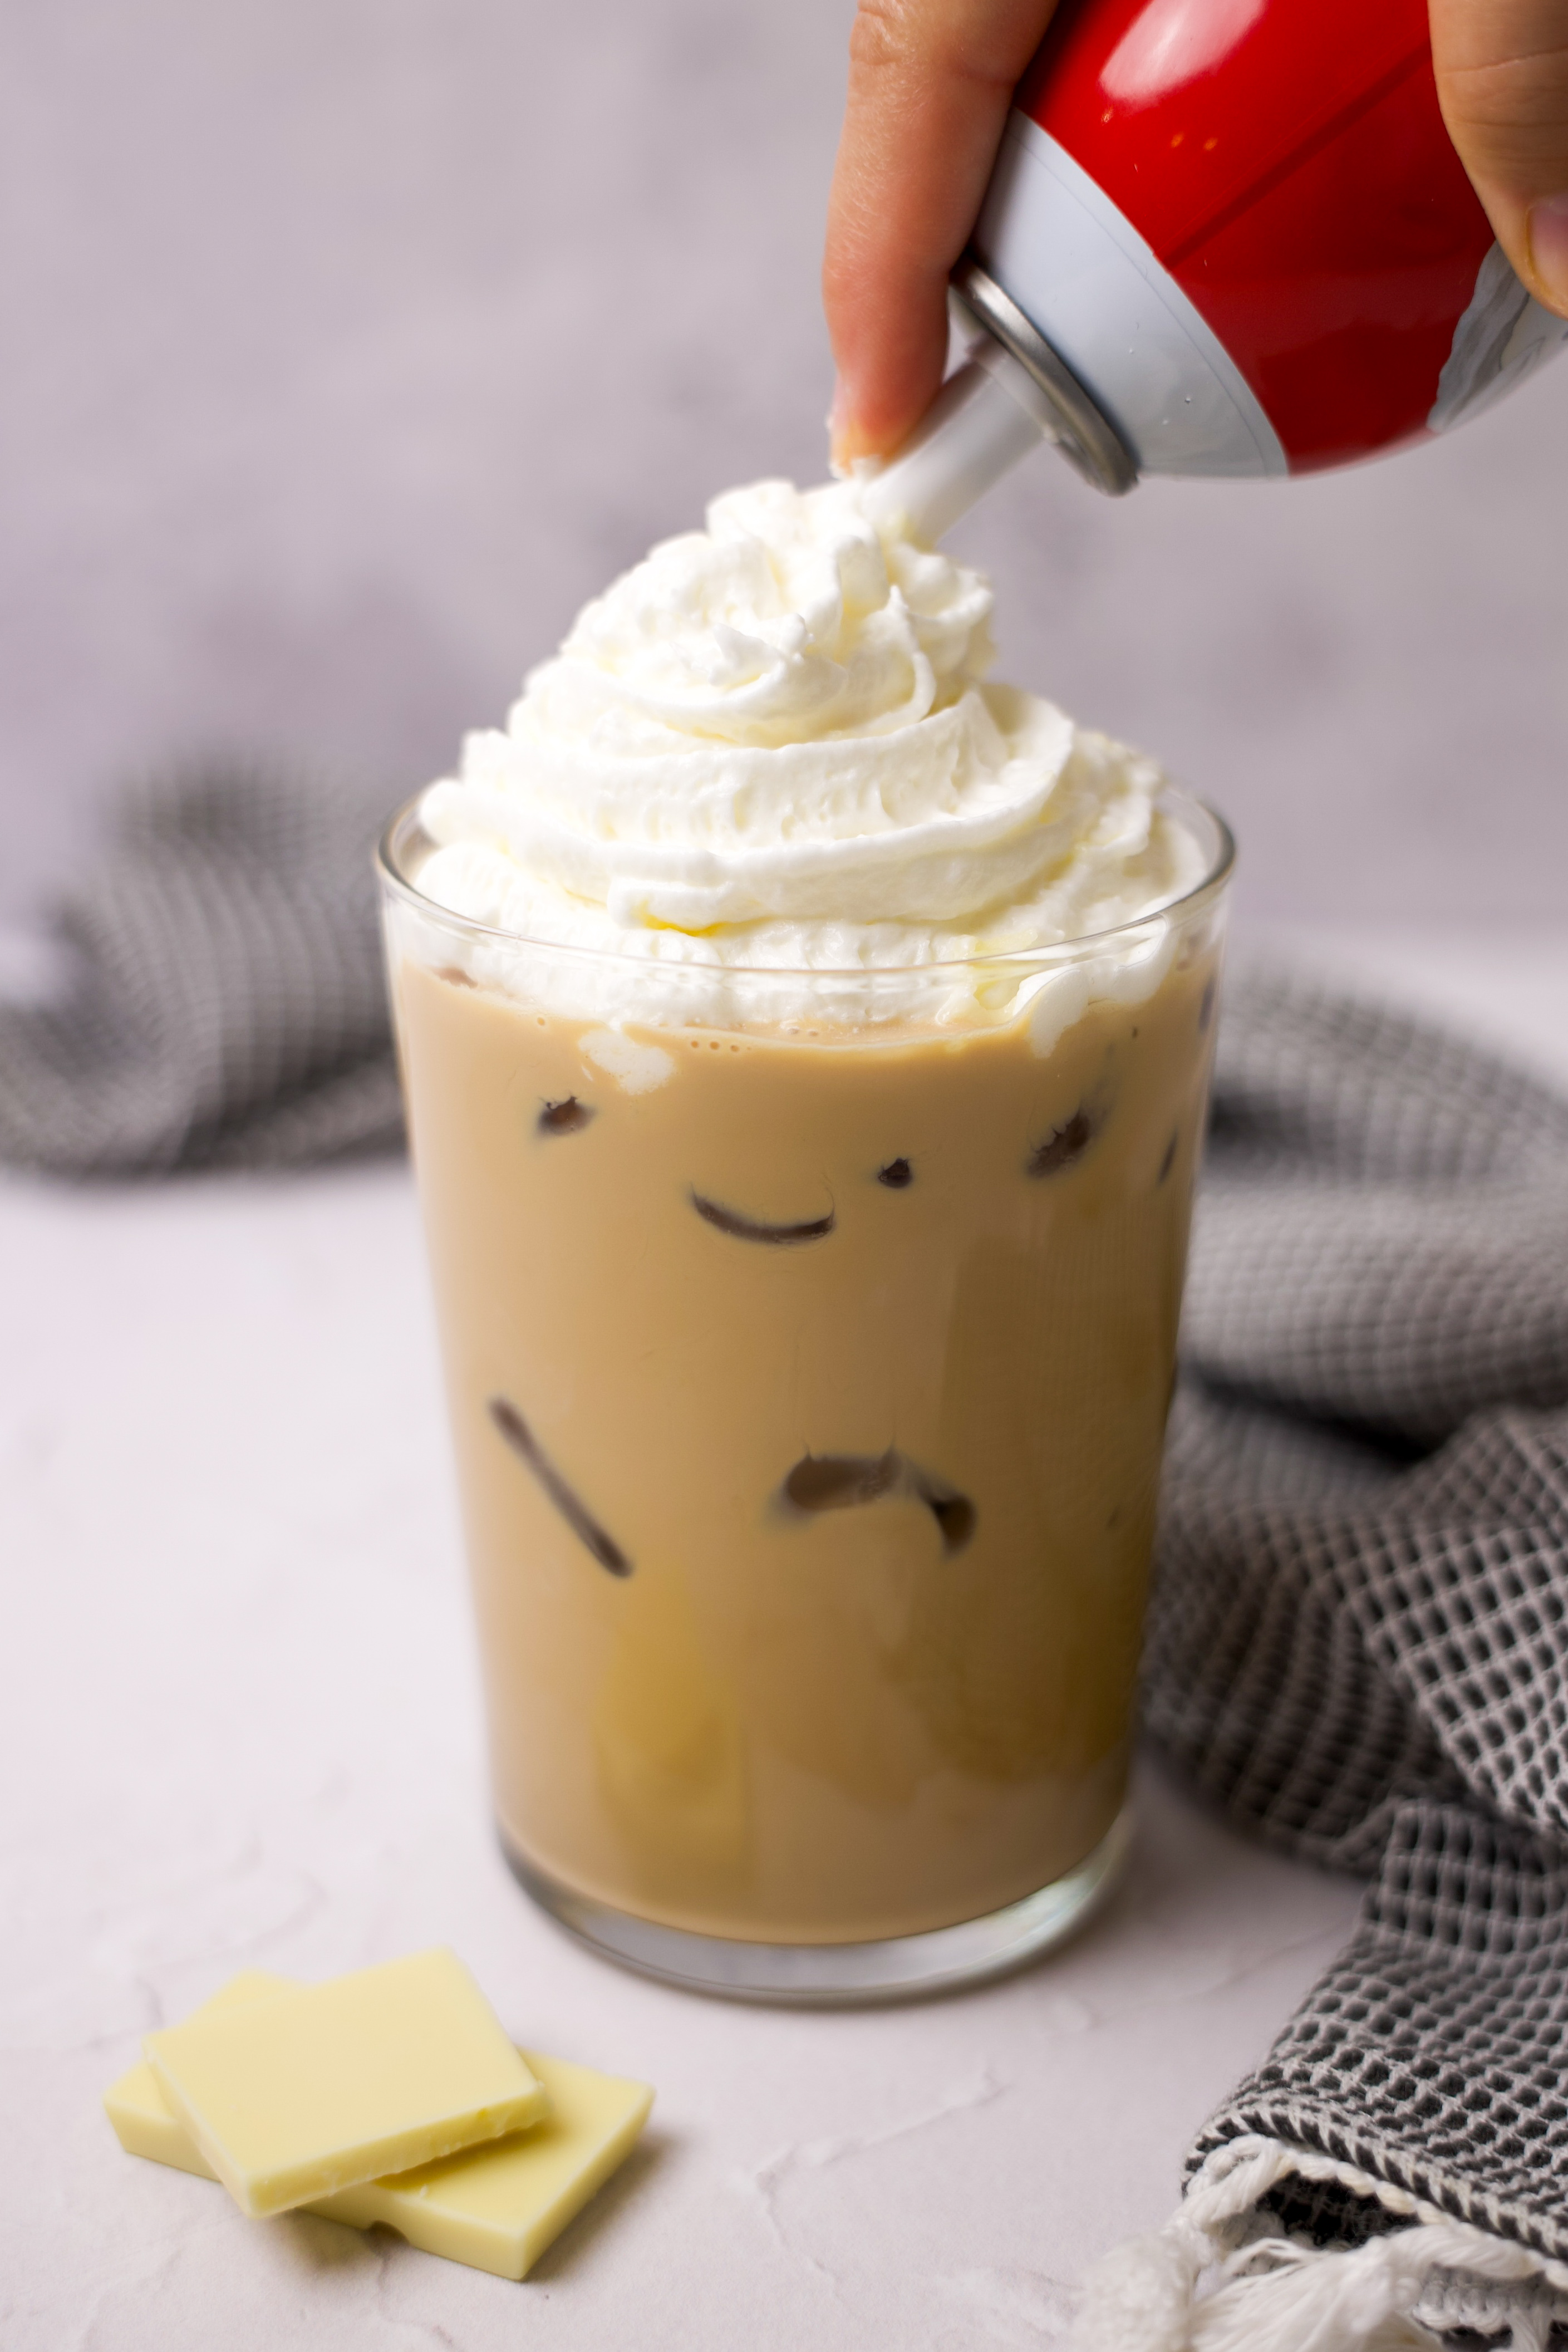
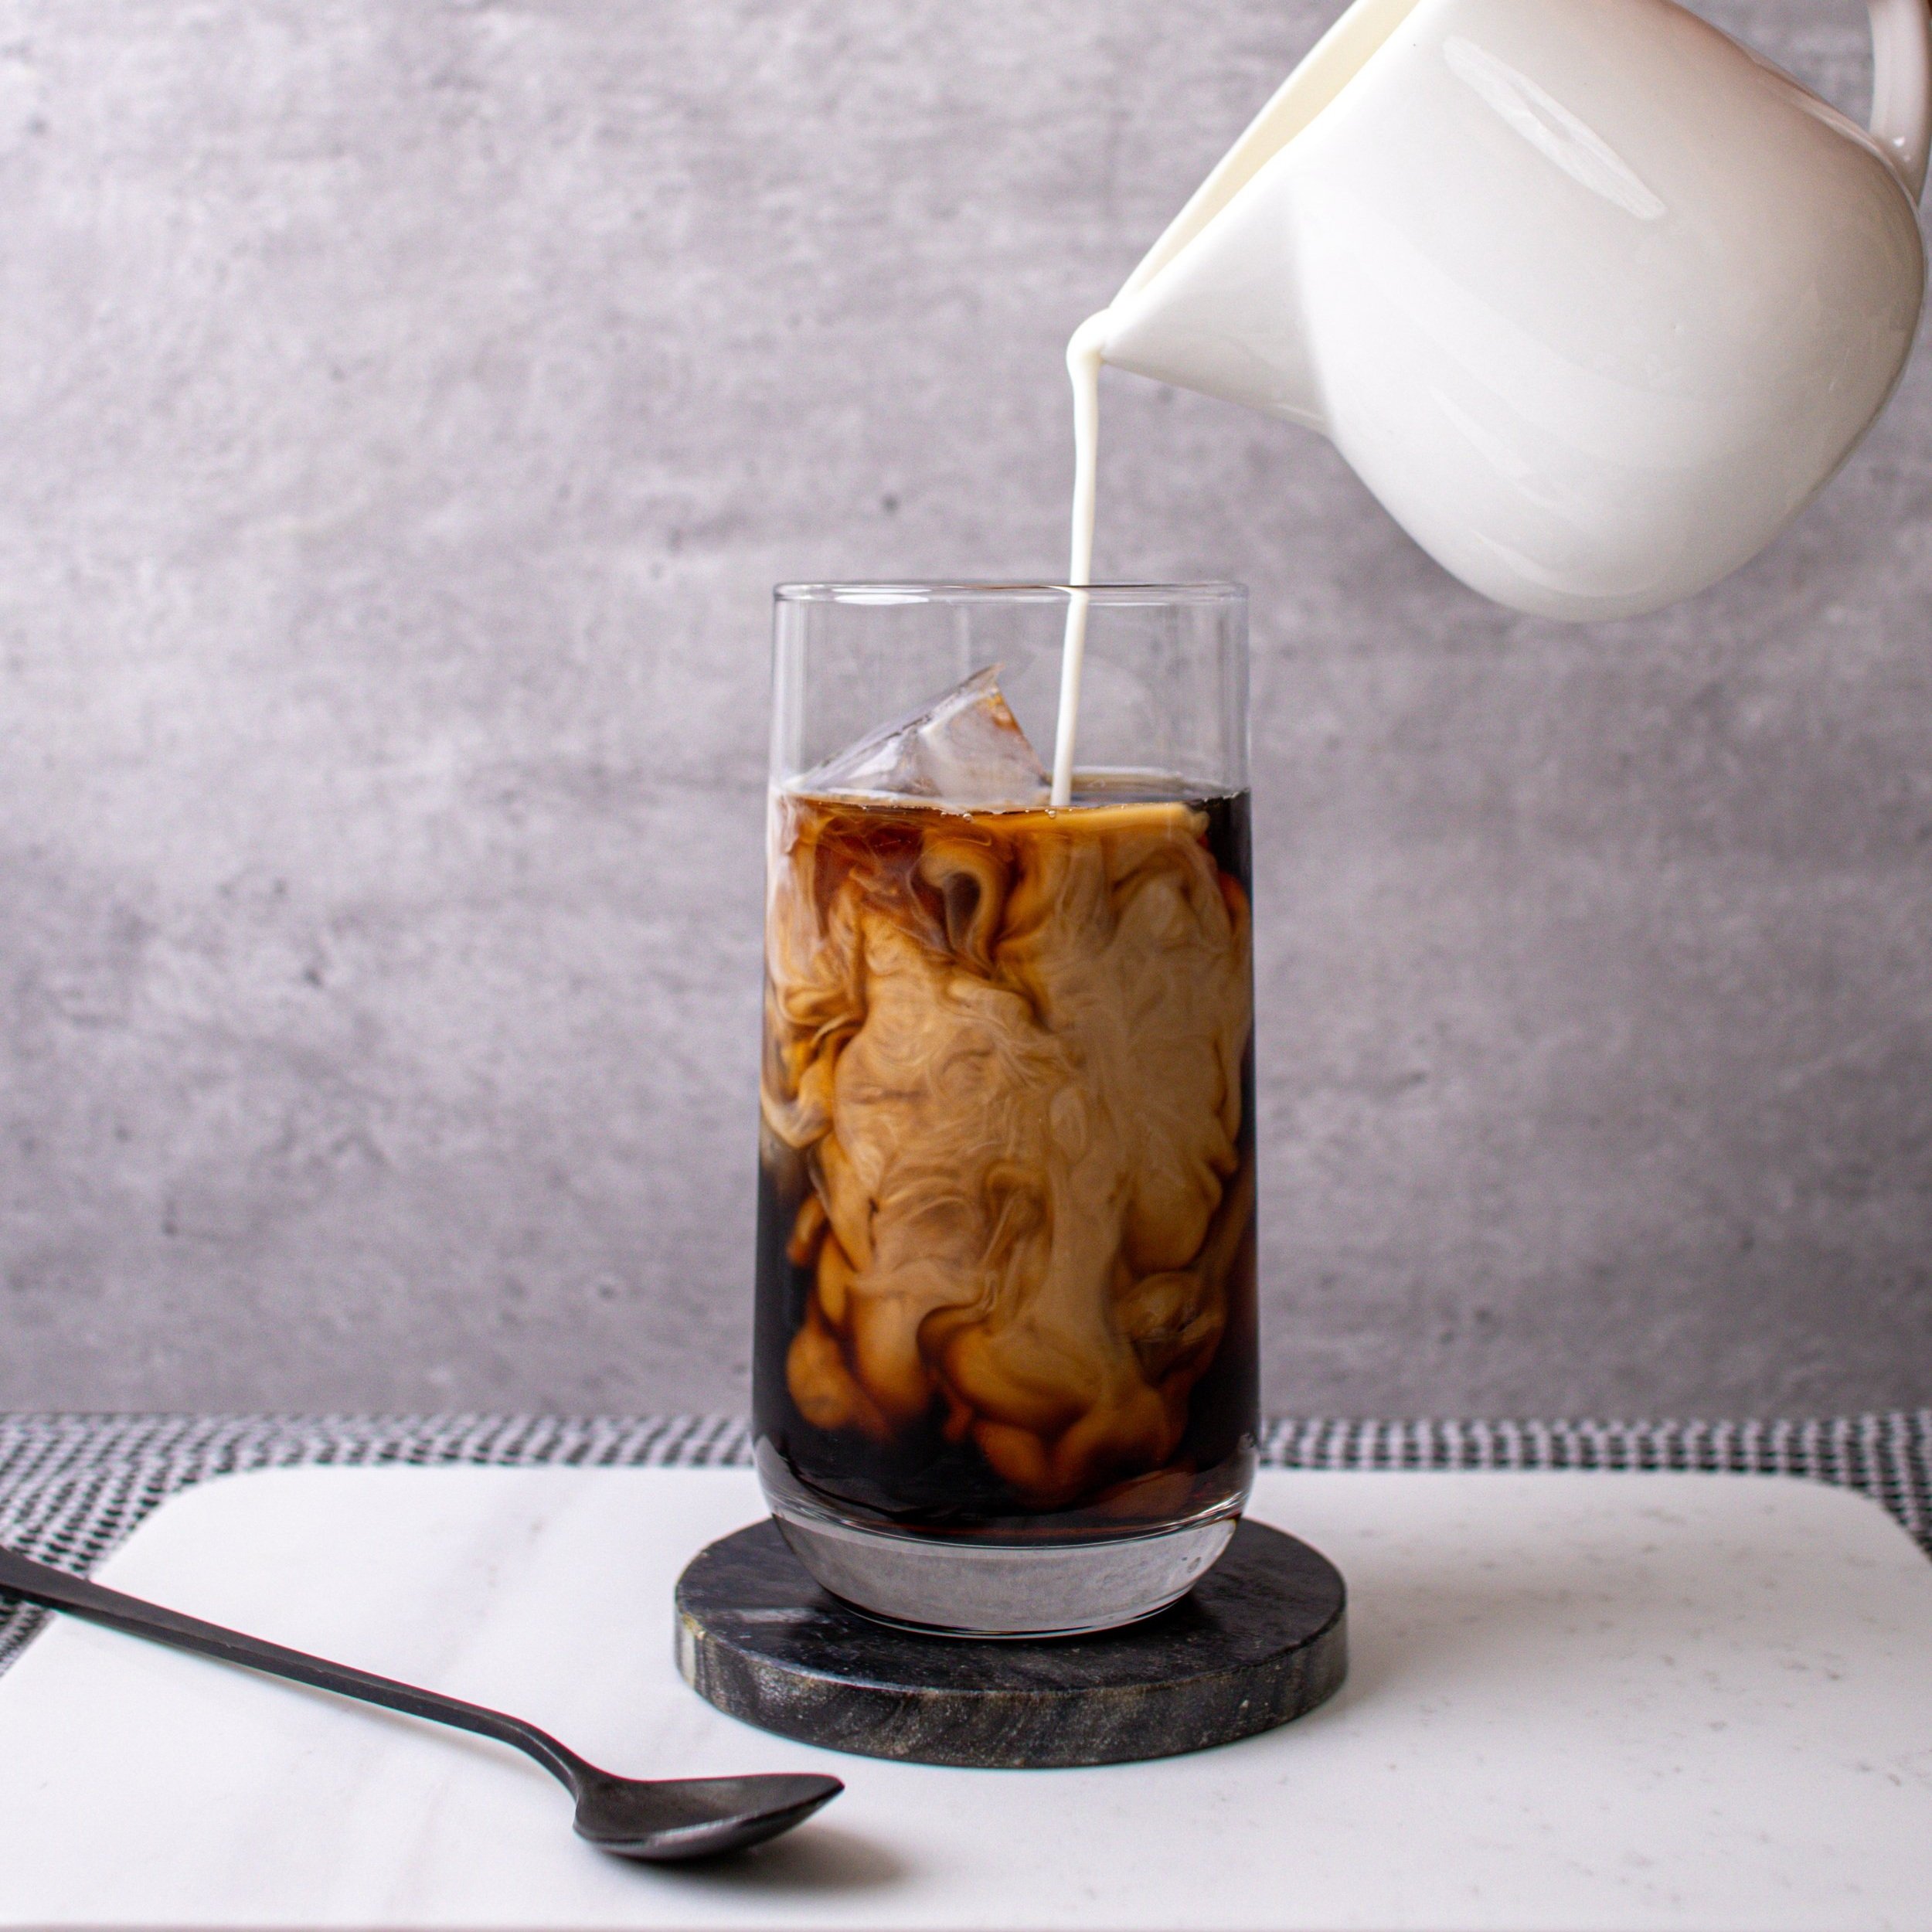
- Cranberry White Mocha
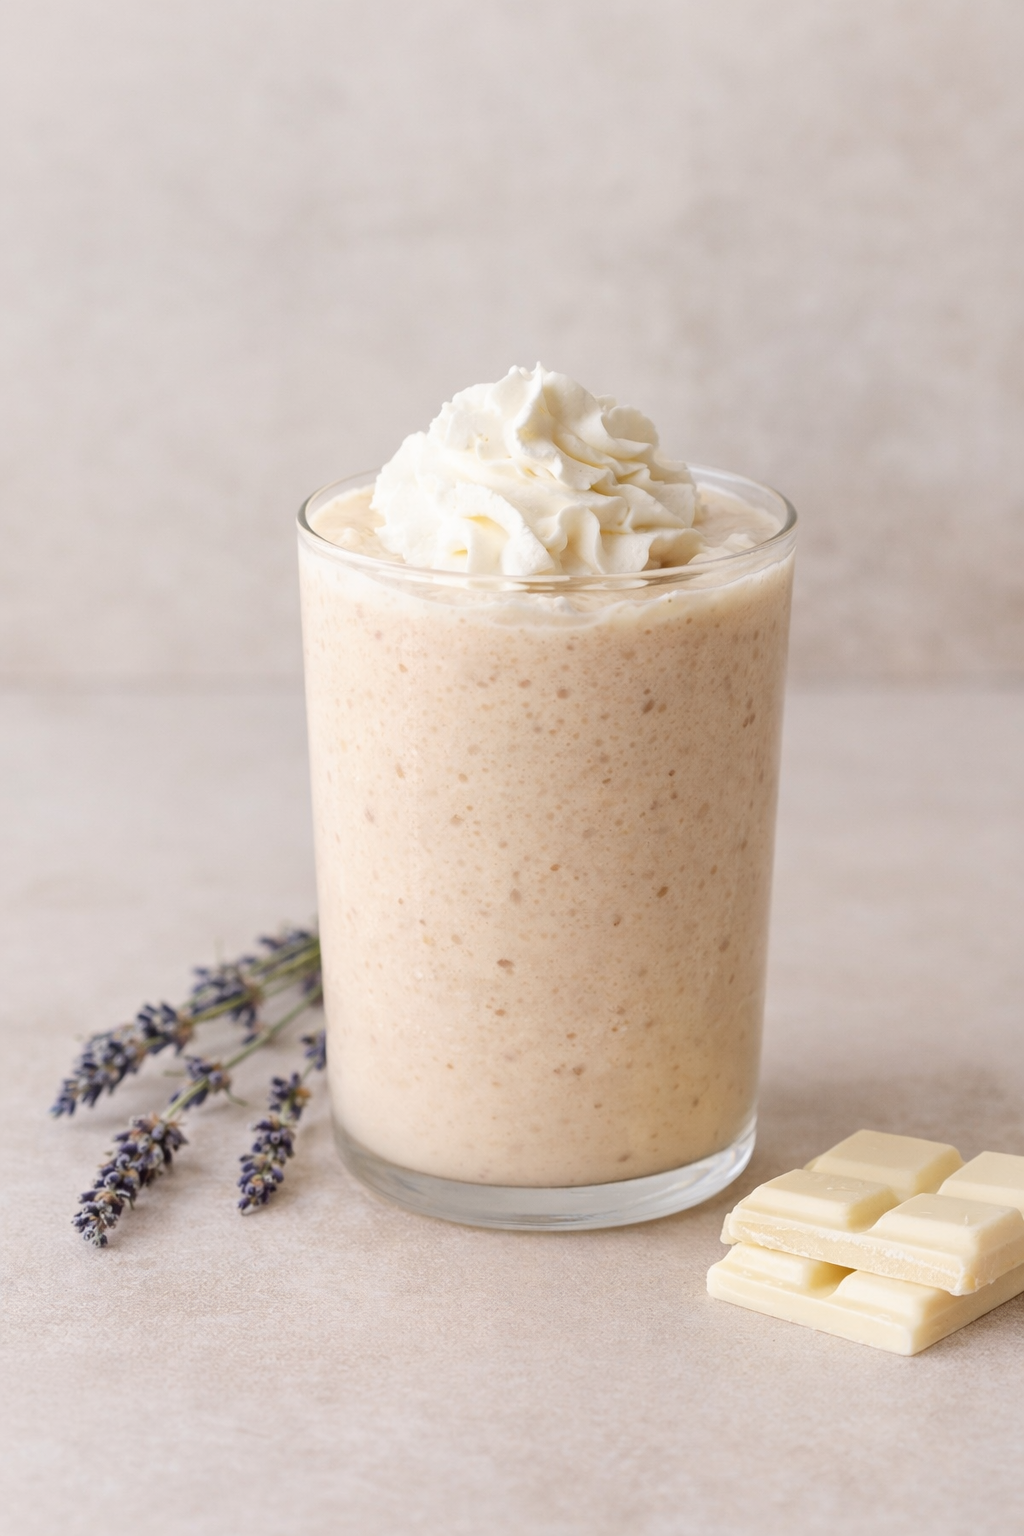
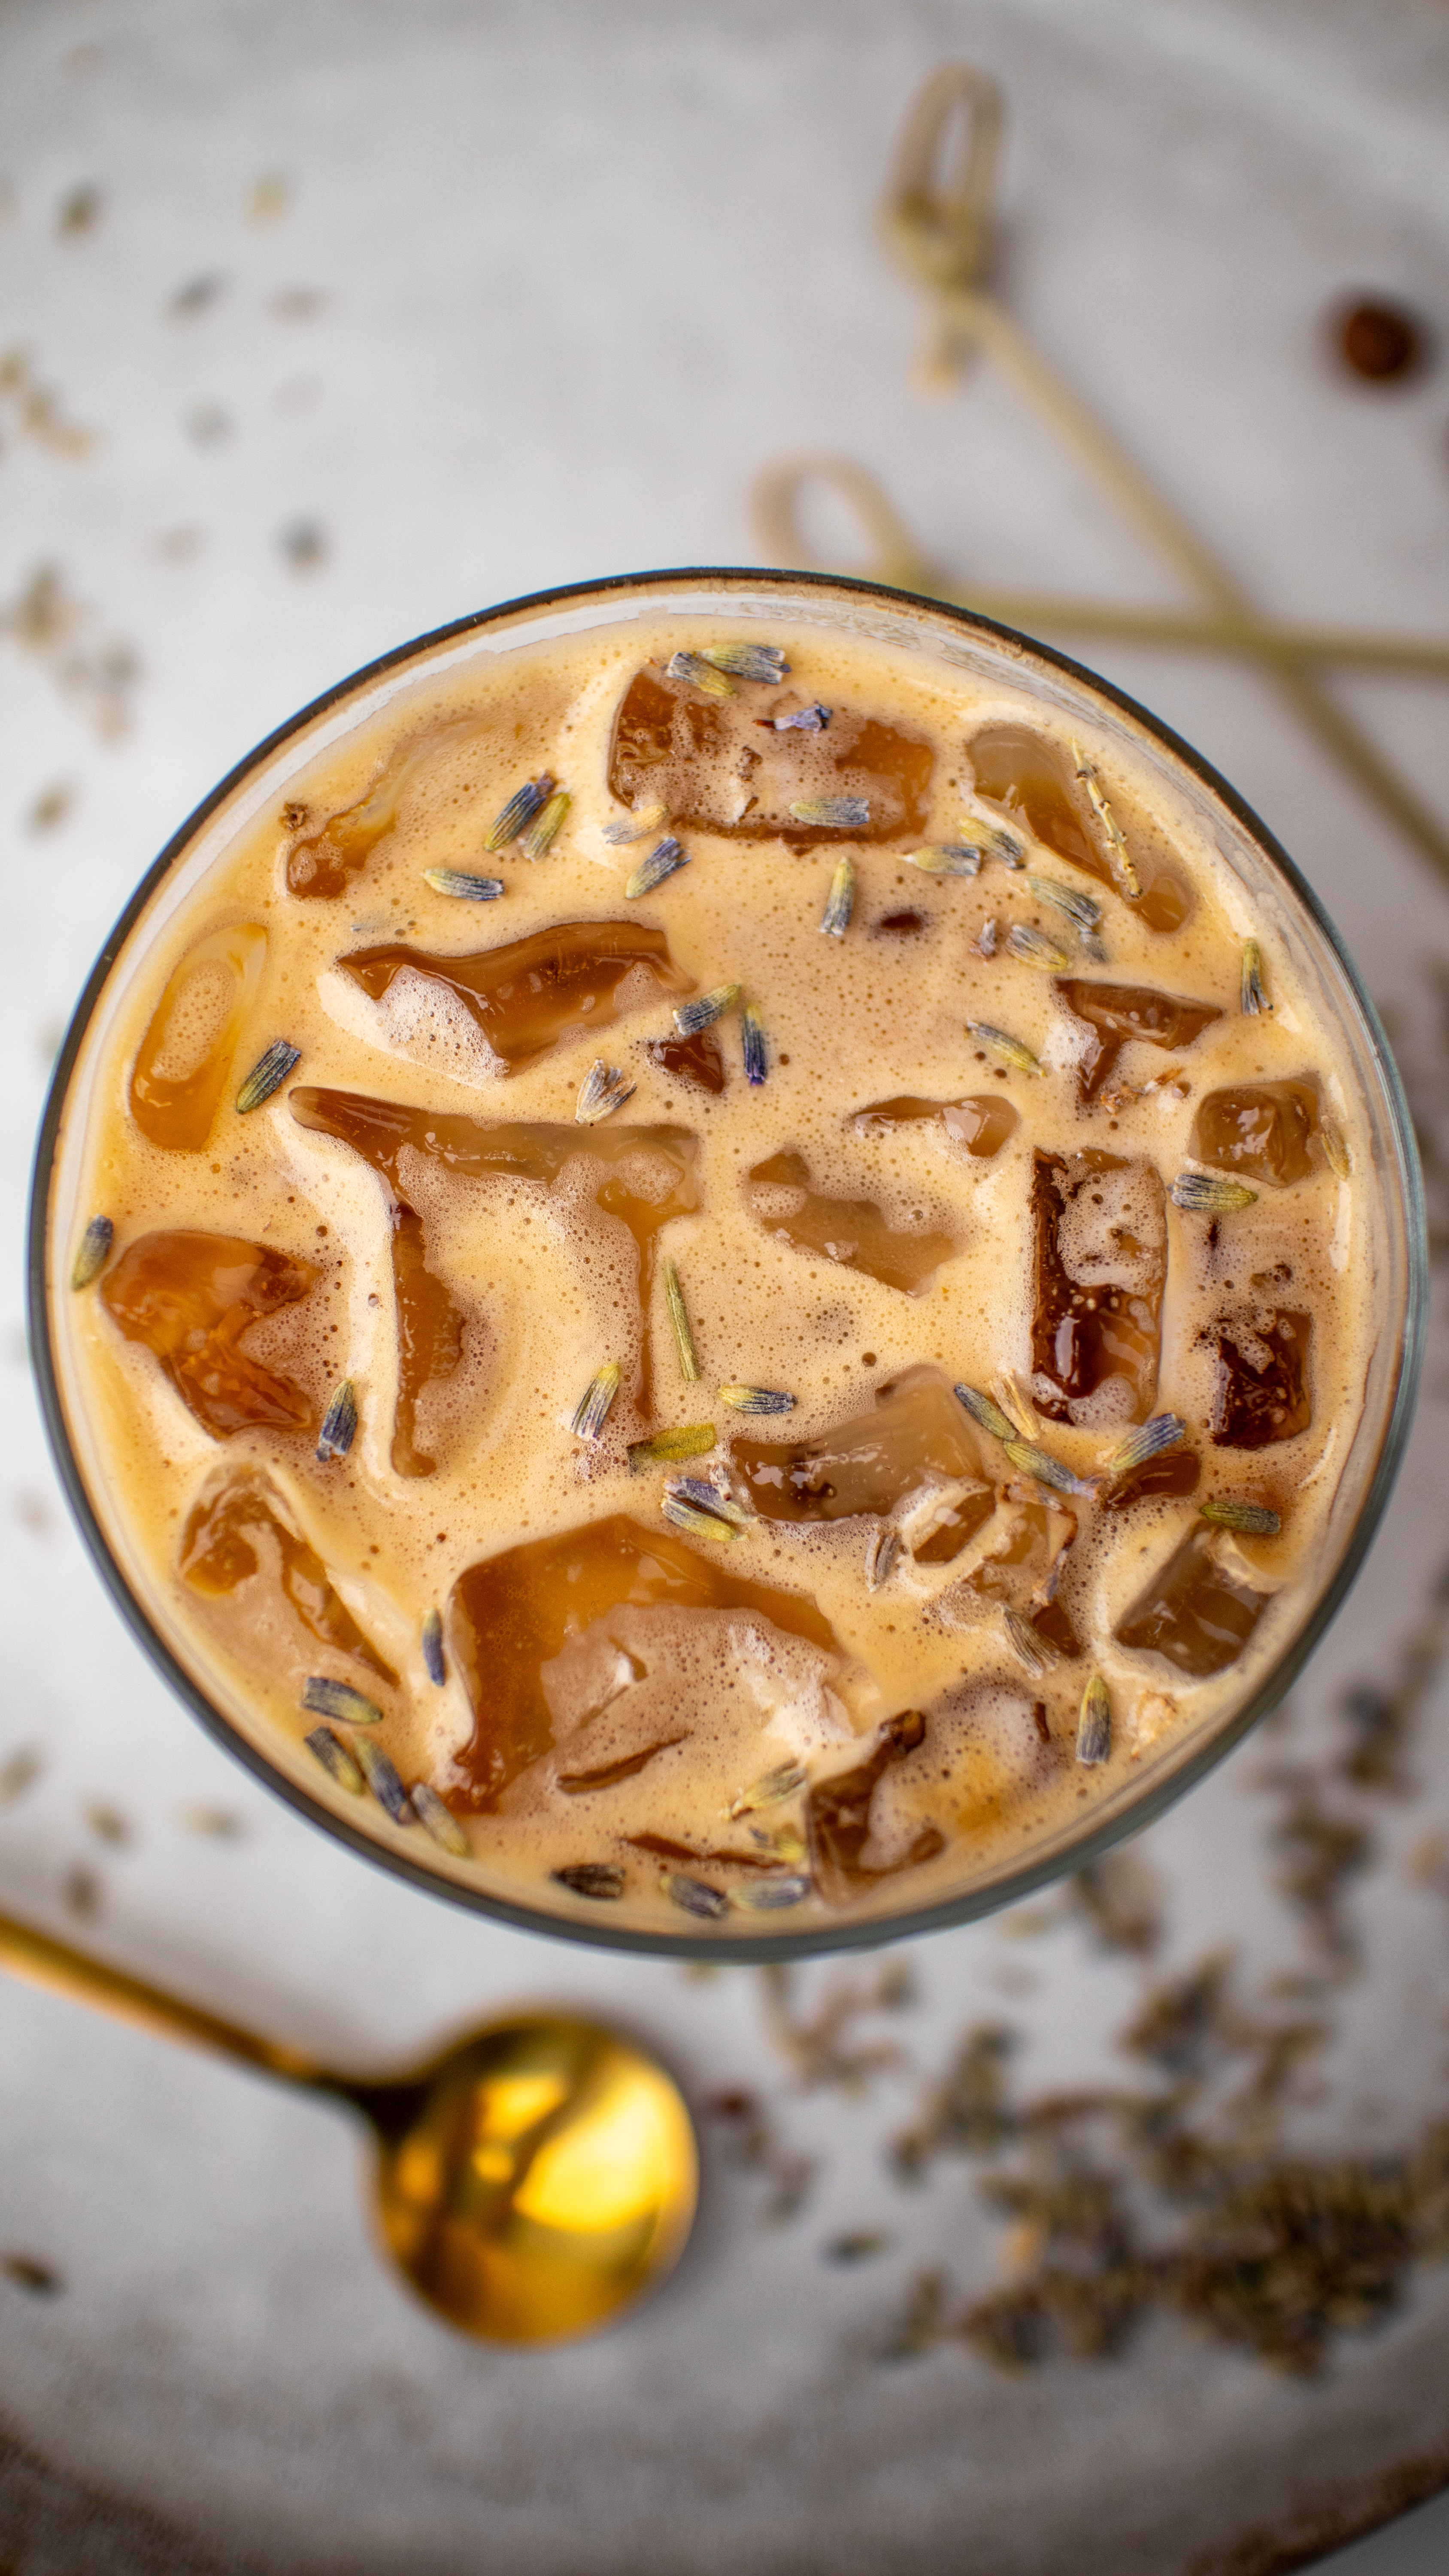
- Cranberry White Chocolate Matcha Latte
- Cranberry Mistletoe Mocktail
- Cranberry Pancakes/Waffles/French Toast
- Cranberry Affogato
- Cranberry Parfait
- Cranberry Lemonade

How Can I Make A Sugar Free Cranberry Syrup?

For a sugar free Homemade Cranberry Syrup, simply use a sugar free substitute like monk fruit or stevia instead of the cane sugar.
What Do I Do With The Leftover Mashed Cranberries (Cranberry Compote)?

- Add to the top of pancakes, waffles, or french toast (with a drizzle of the Homemade Cranberry Syrup, YUM)!
- Add to drinks like mocktails, refreshers, or lemonades for added flavor and texture.
- Add to ice cube molds with water and freeze to make cranberry infused ice cubes.
- Add to yogurt with granola for a cranberry parfait.
- Add on top of ice cream with a drizzle of chocolate sauce.
More Homemade Syrup Recipes:
- Homemade Blackberry Syrup
- Homemade Starbucks Sugar Cookie Syrup
- Homemade Starbucks Caramel Brûlée Sauce
- Homemade Gingerbread Syrup
- Homemade Peppermint Syrup
- Starbucks Spiced Apple Drizzle
- Starbucks Apple Brown Sugar Syrup


Homemade Cranberry Syrup
Ingredients
- 1 cup cranberries fresh or frozen
- 1/2 cup granulated sugar
- 1 cup cranberry juice
- 1/2 tablespoon flaky sea salt
Instructions
- Add the cranberries, sugar, cranberry juice, and salt to a medium sized pot or saucepan, and stir with a spoon or spatula.
- Add the pot/saucepan to the stove and bring to a boil.
- Once the mixture is boiling, use a masher to carefully smash the cranberries. You just want to gently release the cranberry juices and flavors, not completely puree the fruit, so give the cranberries 5-10 mashes.
- Reduce the heat to low and let the mixture simmer for 10 minutes.
- After 10 minutes, strain out the cranberry fruit pieces from the syrup.
- Let the syrup cool at room temperature for at least an hour, or until it’s at room temperature, and then add a lid, and place the syrup in the fridge for up to 3 weeks. Note, the syrup will thicken slightly in the fridge once it’s chilled.
- Add the leftover mashed cranberries (cranberry compote) to a container and place in the fridge to be used on top of pancakes/waffles/french toast/ice cream, or as an addition to mocktails and drinks.


Leave a Comment