
One of my absolute flavors for coffee recipes is salted caramel! It pairs so lovely with various flavors like chocolate, white chocolate, pistachio, hazelnut and so much more! I created this Homemade Salted Caramel Syrup recipe that has all the same sweet, salty, and buttery flavor notes you know and love in a store-bought syrup but for way cheaper and way more delicious!

Ingredients You’ll Need:
Please note, full measurements for each ingredient can be found on the recipe card at the bottom of the recipe.

Granulated Sugar: Cane sugar is the star of the show for this recipe! I like granulated cane sugar for this recipe, but for a sugar free salted caramel syrup, you can use a sugar free sweetener like monk fruit, stevia, allulose, etc.
Hot Water: I recommend using purified water rather than tap water in this recipe for the best tasting Homemade Salted Caramel Syrup. The water does need to be hot because we will add it into the pan of melted sugar. If the water is cold, it’ll cause the syrup to harden again, and we want the syrup to stay liquid. You can use a microwave, stove top, or kettle to heat the water.
Flaky Sea Salt: I am team flaky sea salt in syrup recipes! It’s typically used as a finishing salt for recipes, but I find it perfectly brings out the sweetness of the syrup without tasting noticeably salty. You can use any salt you prefer: sea salt, pink Himalayan salt, Celtic salt, table salt, etc, but I recommend starting with half the amount of salt and adding more at the end if needed.
Butter Extract: Butter extract is what will give this syrup that perfect buttery caramel flavor we all love in a salted caramel syrup! You only need a small amount to take this syrup recipe to the next level and I promise, it makes a world of a difference!
You only need four total ingredients to make your own fabulous Homemade Salted Caramel Syrup at home! Now, let’s talk briefly about the equipment you’ll need.


Equipment You’ll Need:
Saucepan: To make the syrup, you’ll need a medium sized saucepan. When you add the warm water into the melted sugar, the mixture will bubble up a bit. I recommend using at least a medium sized saucepan to ensure the mixture doesn’t bubble over.
Spoon/Spatula: I always keep a spoon or spatula nearby to stir the syrup as needed. You could also use a whisk if you have that.
Mason Jar/Storing Vessel: I like storing my homemade syrups in a mason jar or a glass syrup bottle. They can handle high heat and I love that you can add a lid and stash away in the fridge, but feel free to use any vessel you prefer to store the syrup.

Why You’ll Love This Recipe
- Budget-Friendly: Save money by making your own flavored syrup at home instead of overpaying at Starbucks or other coffee shops.
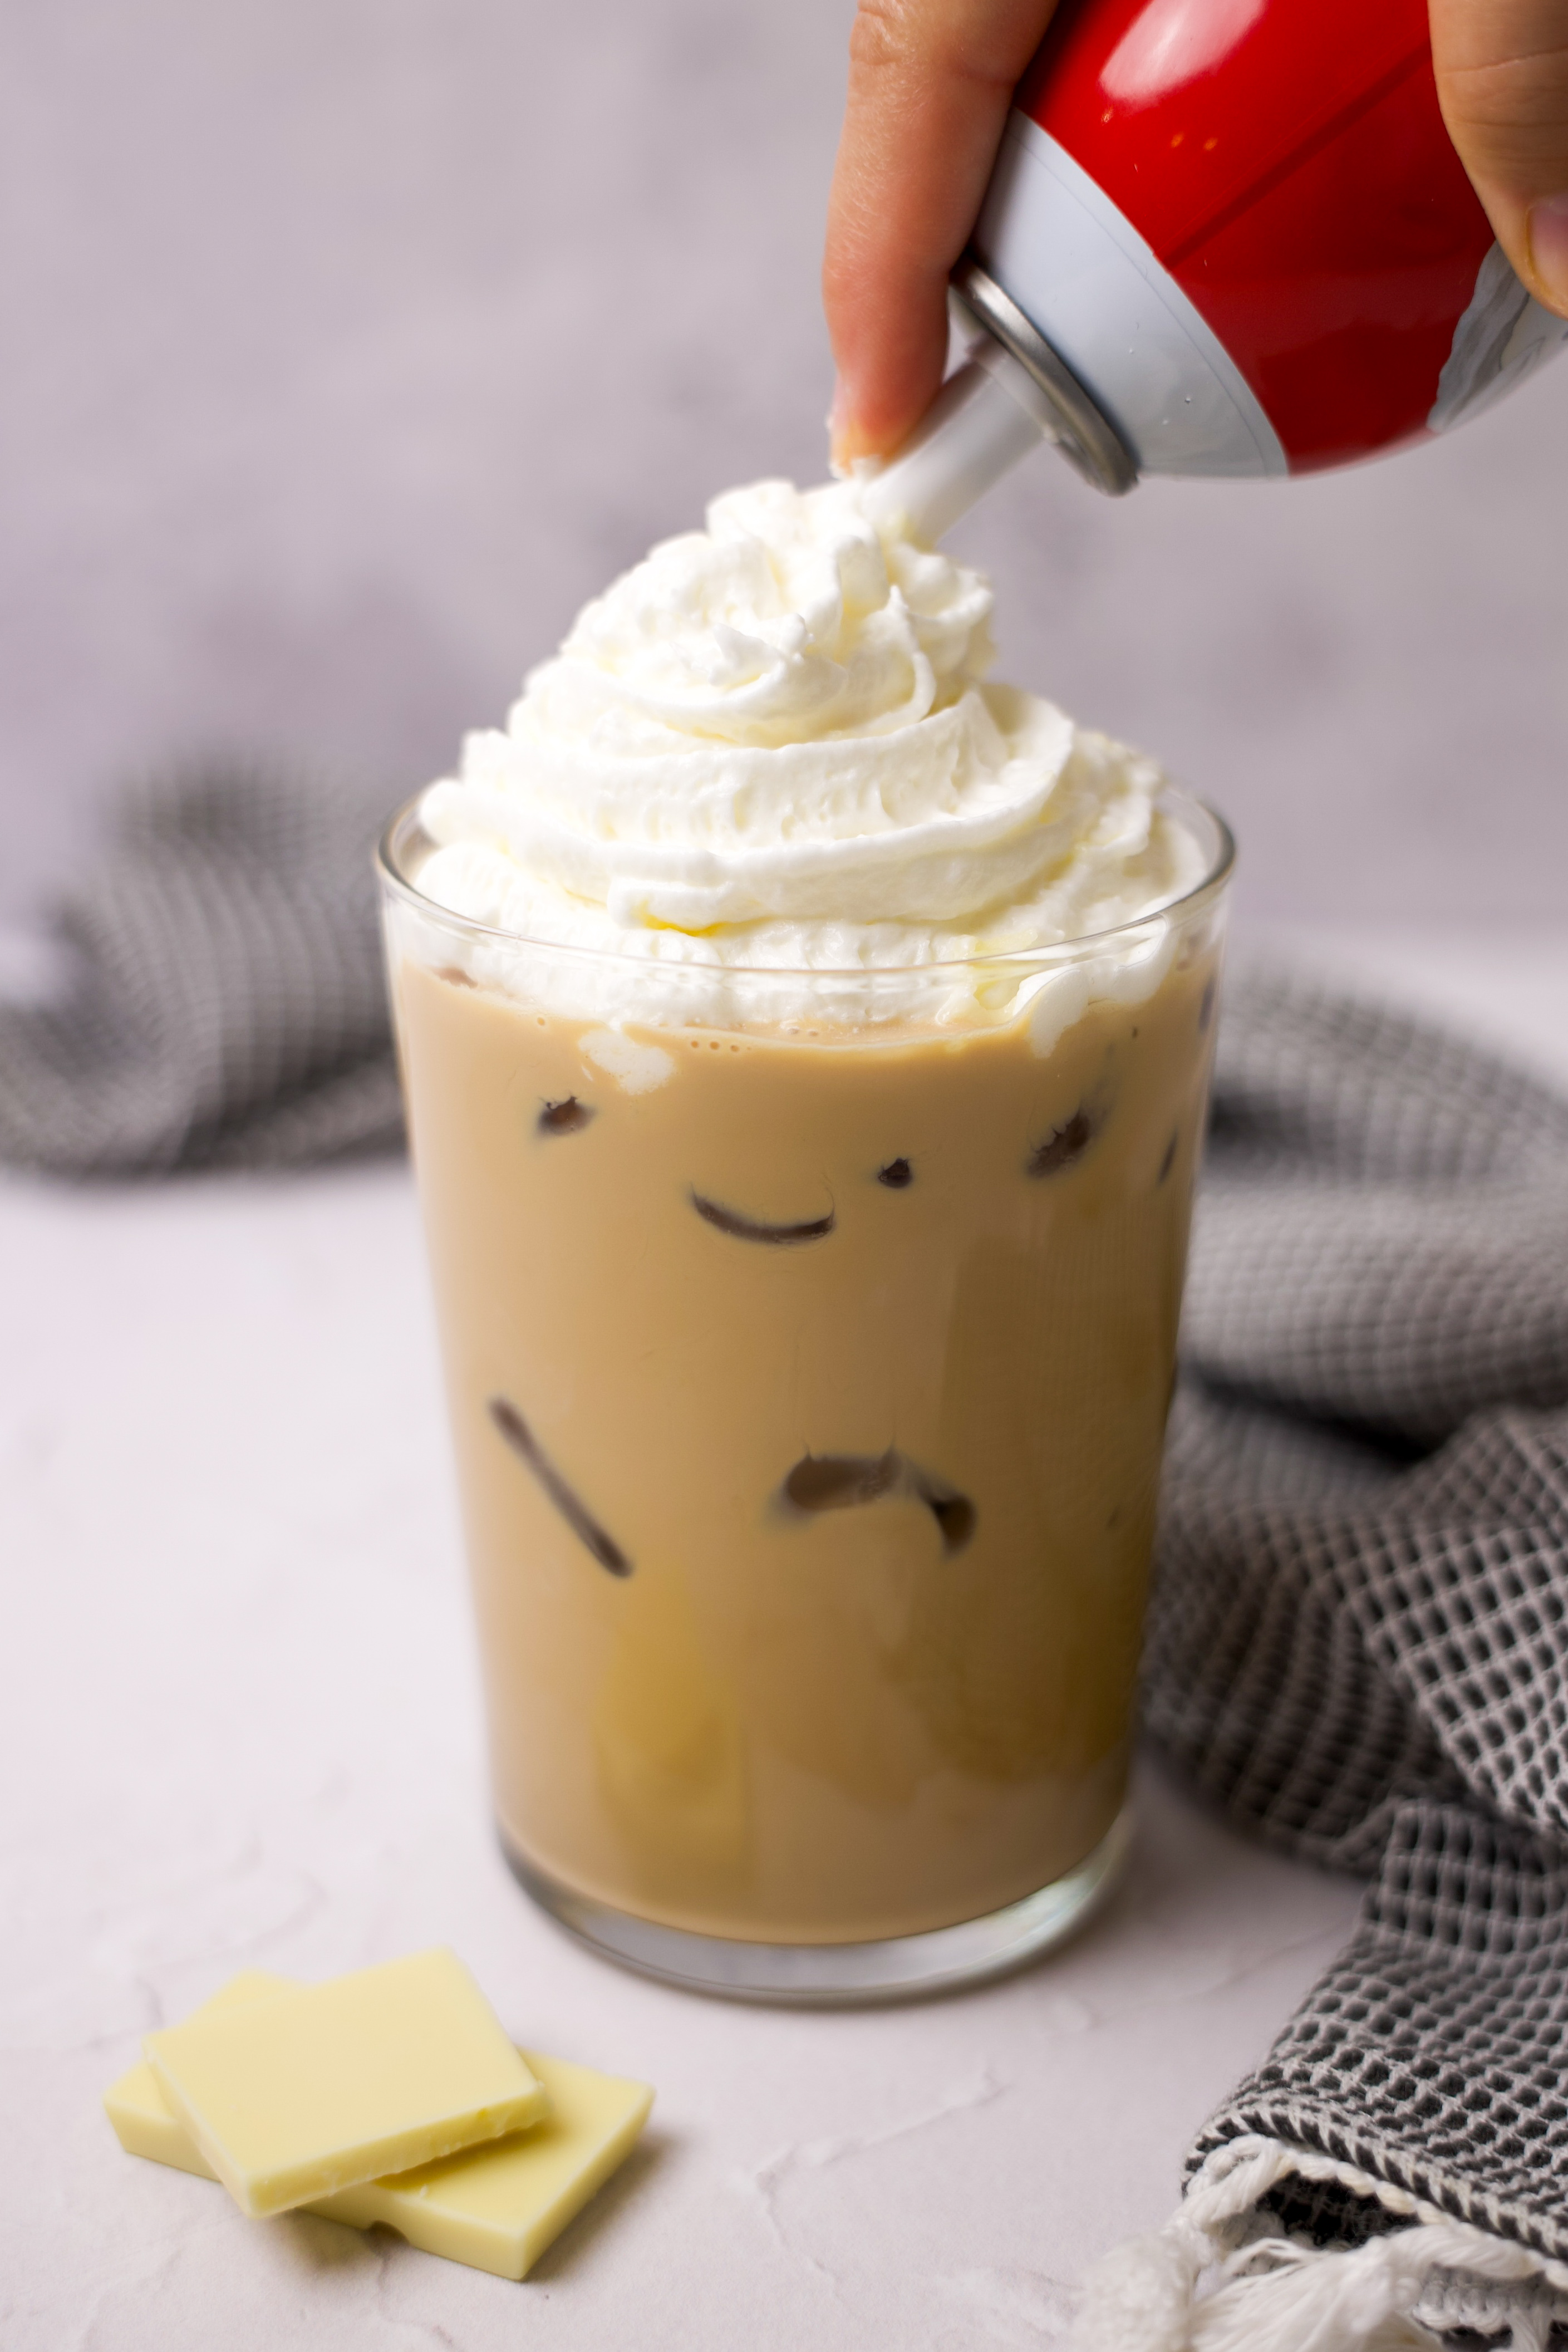
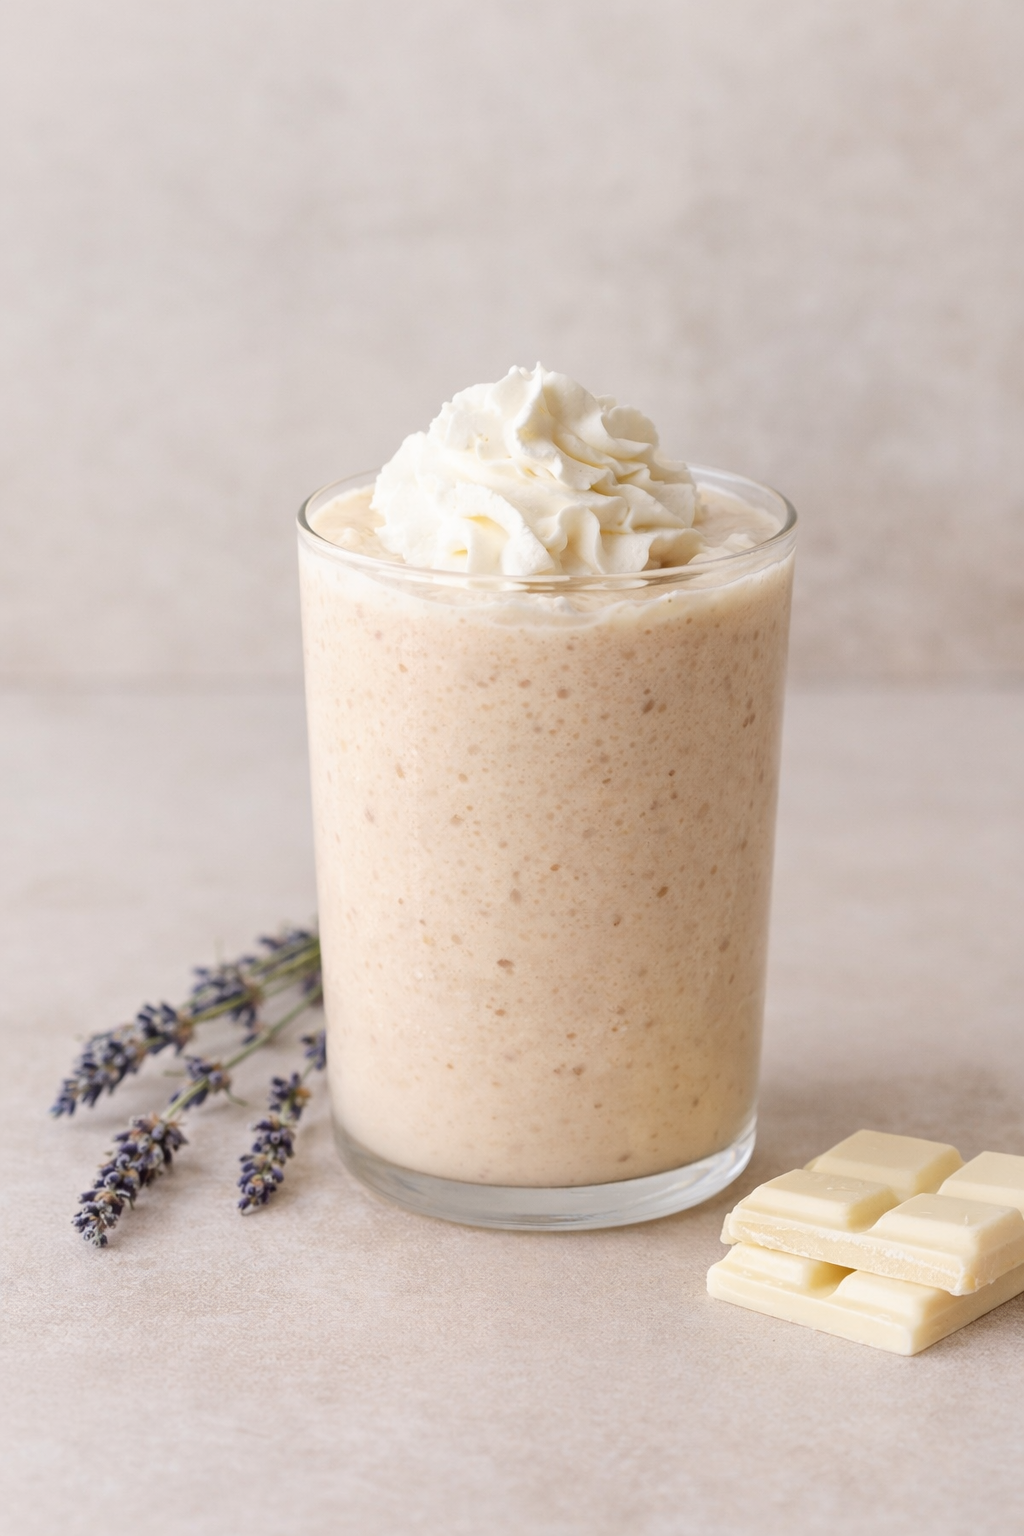
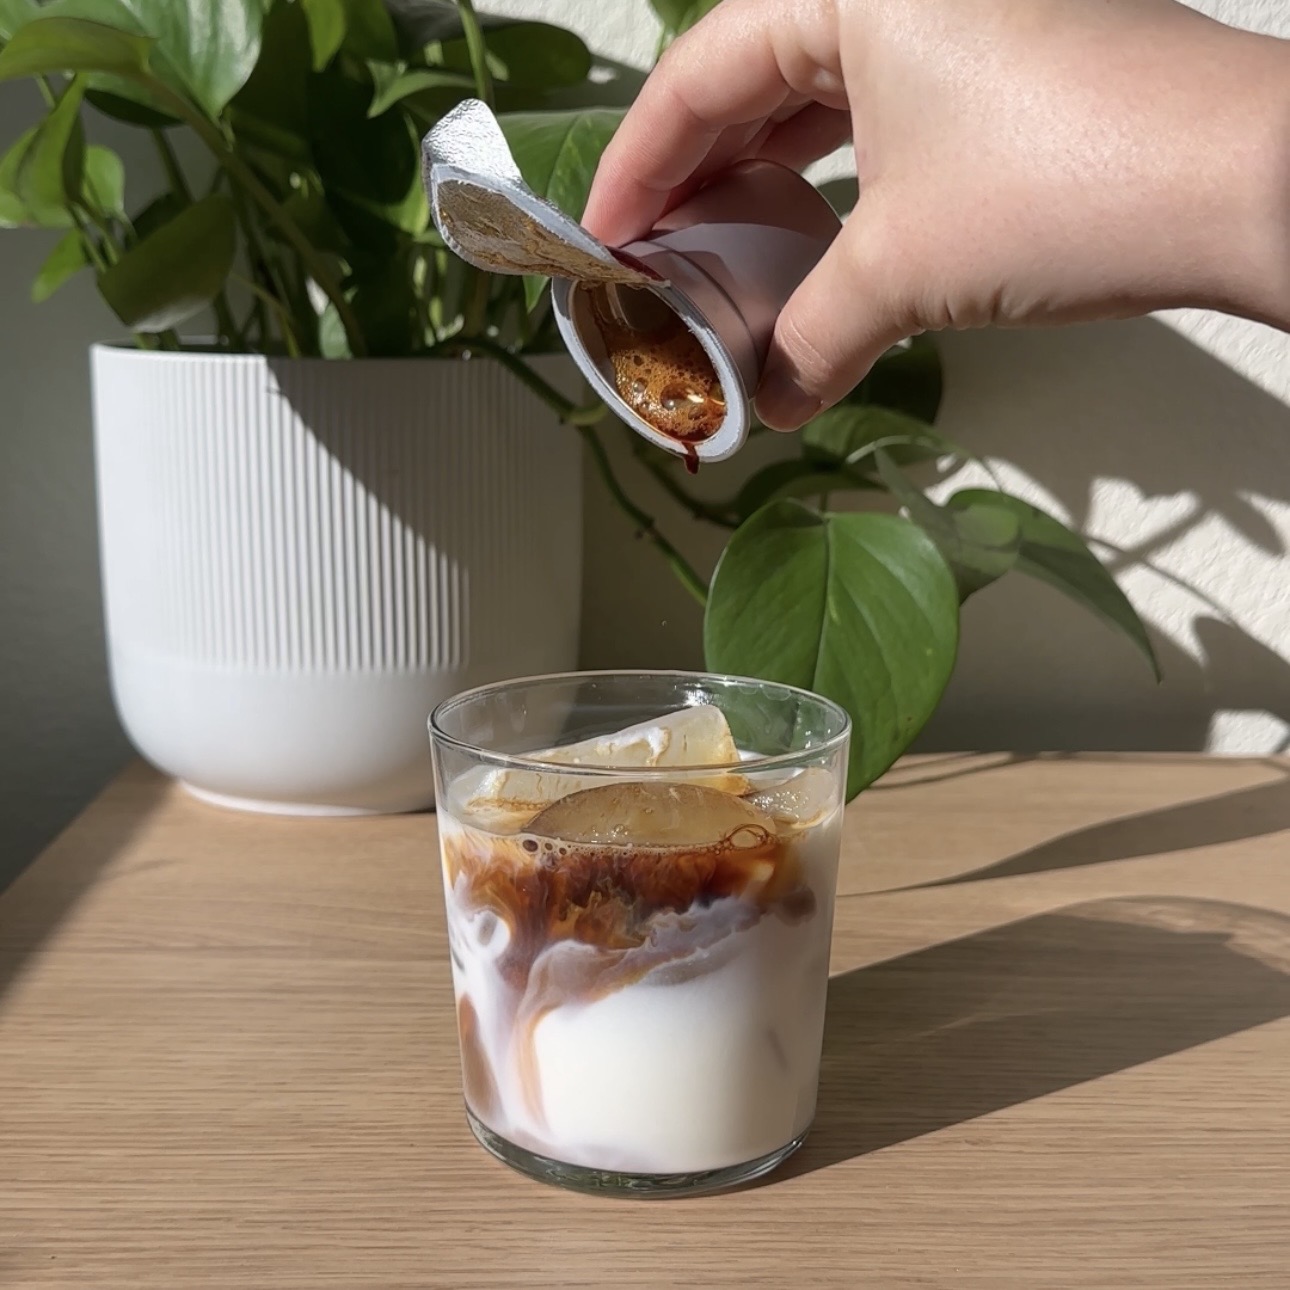
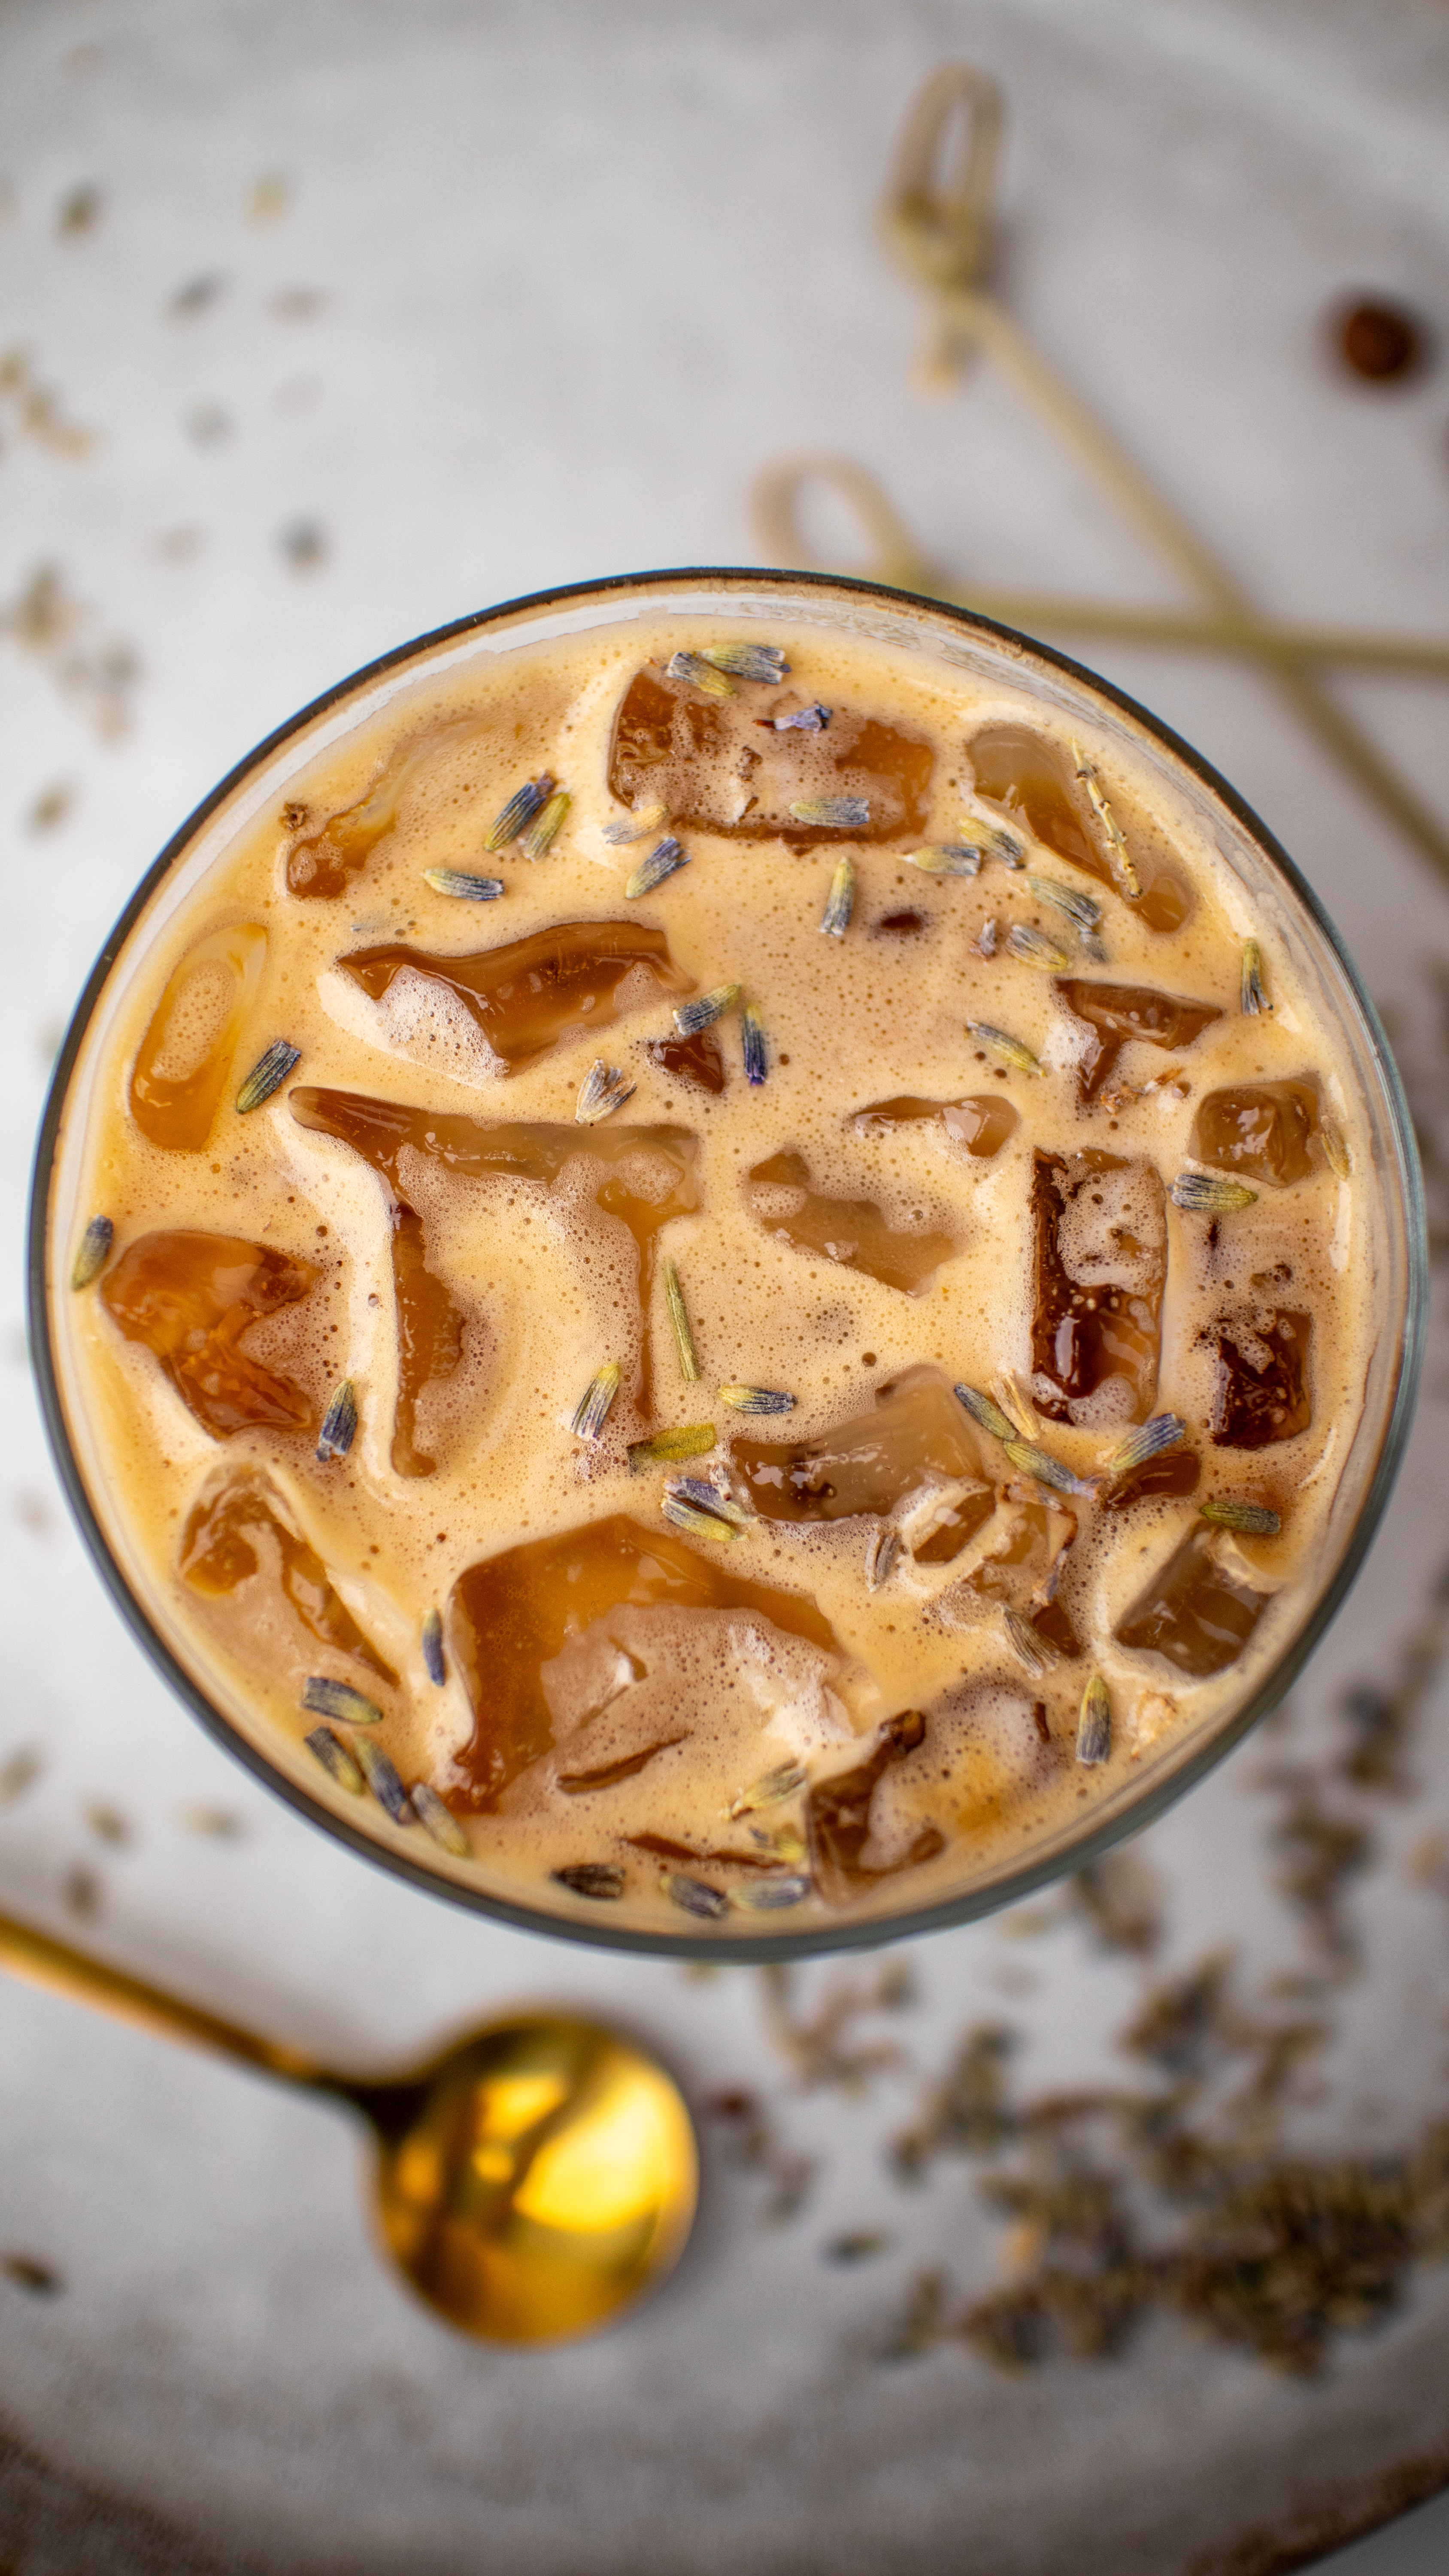
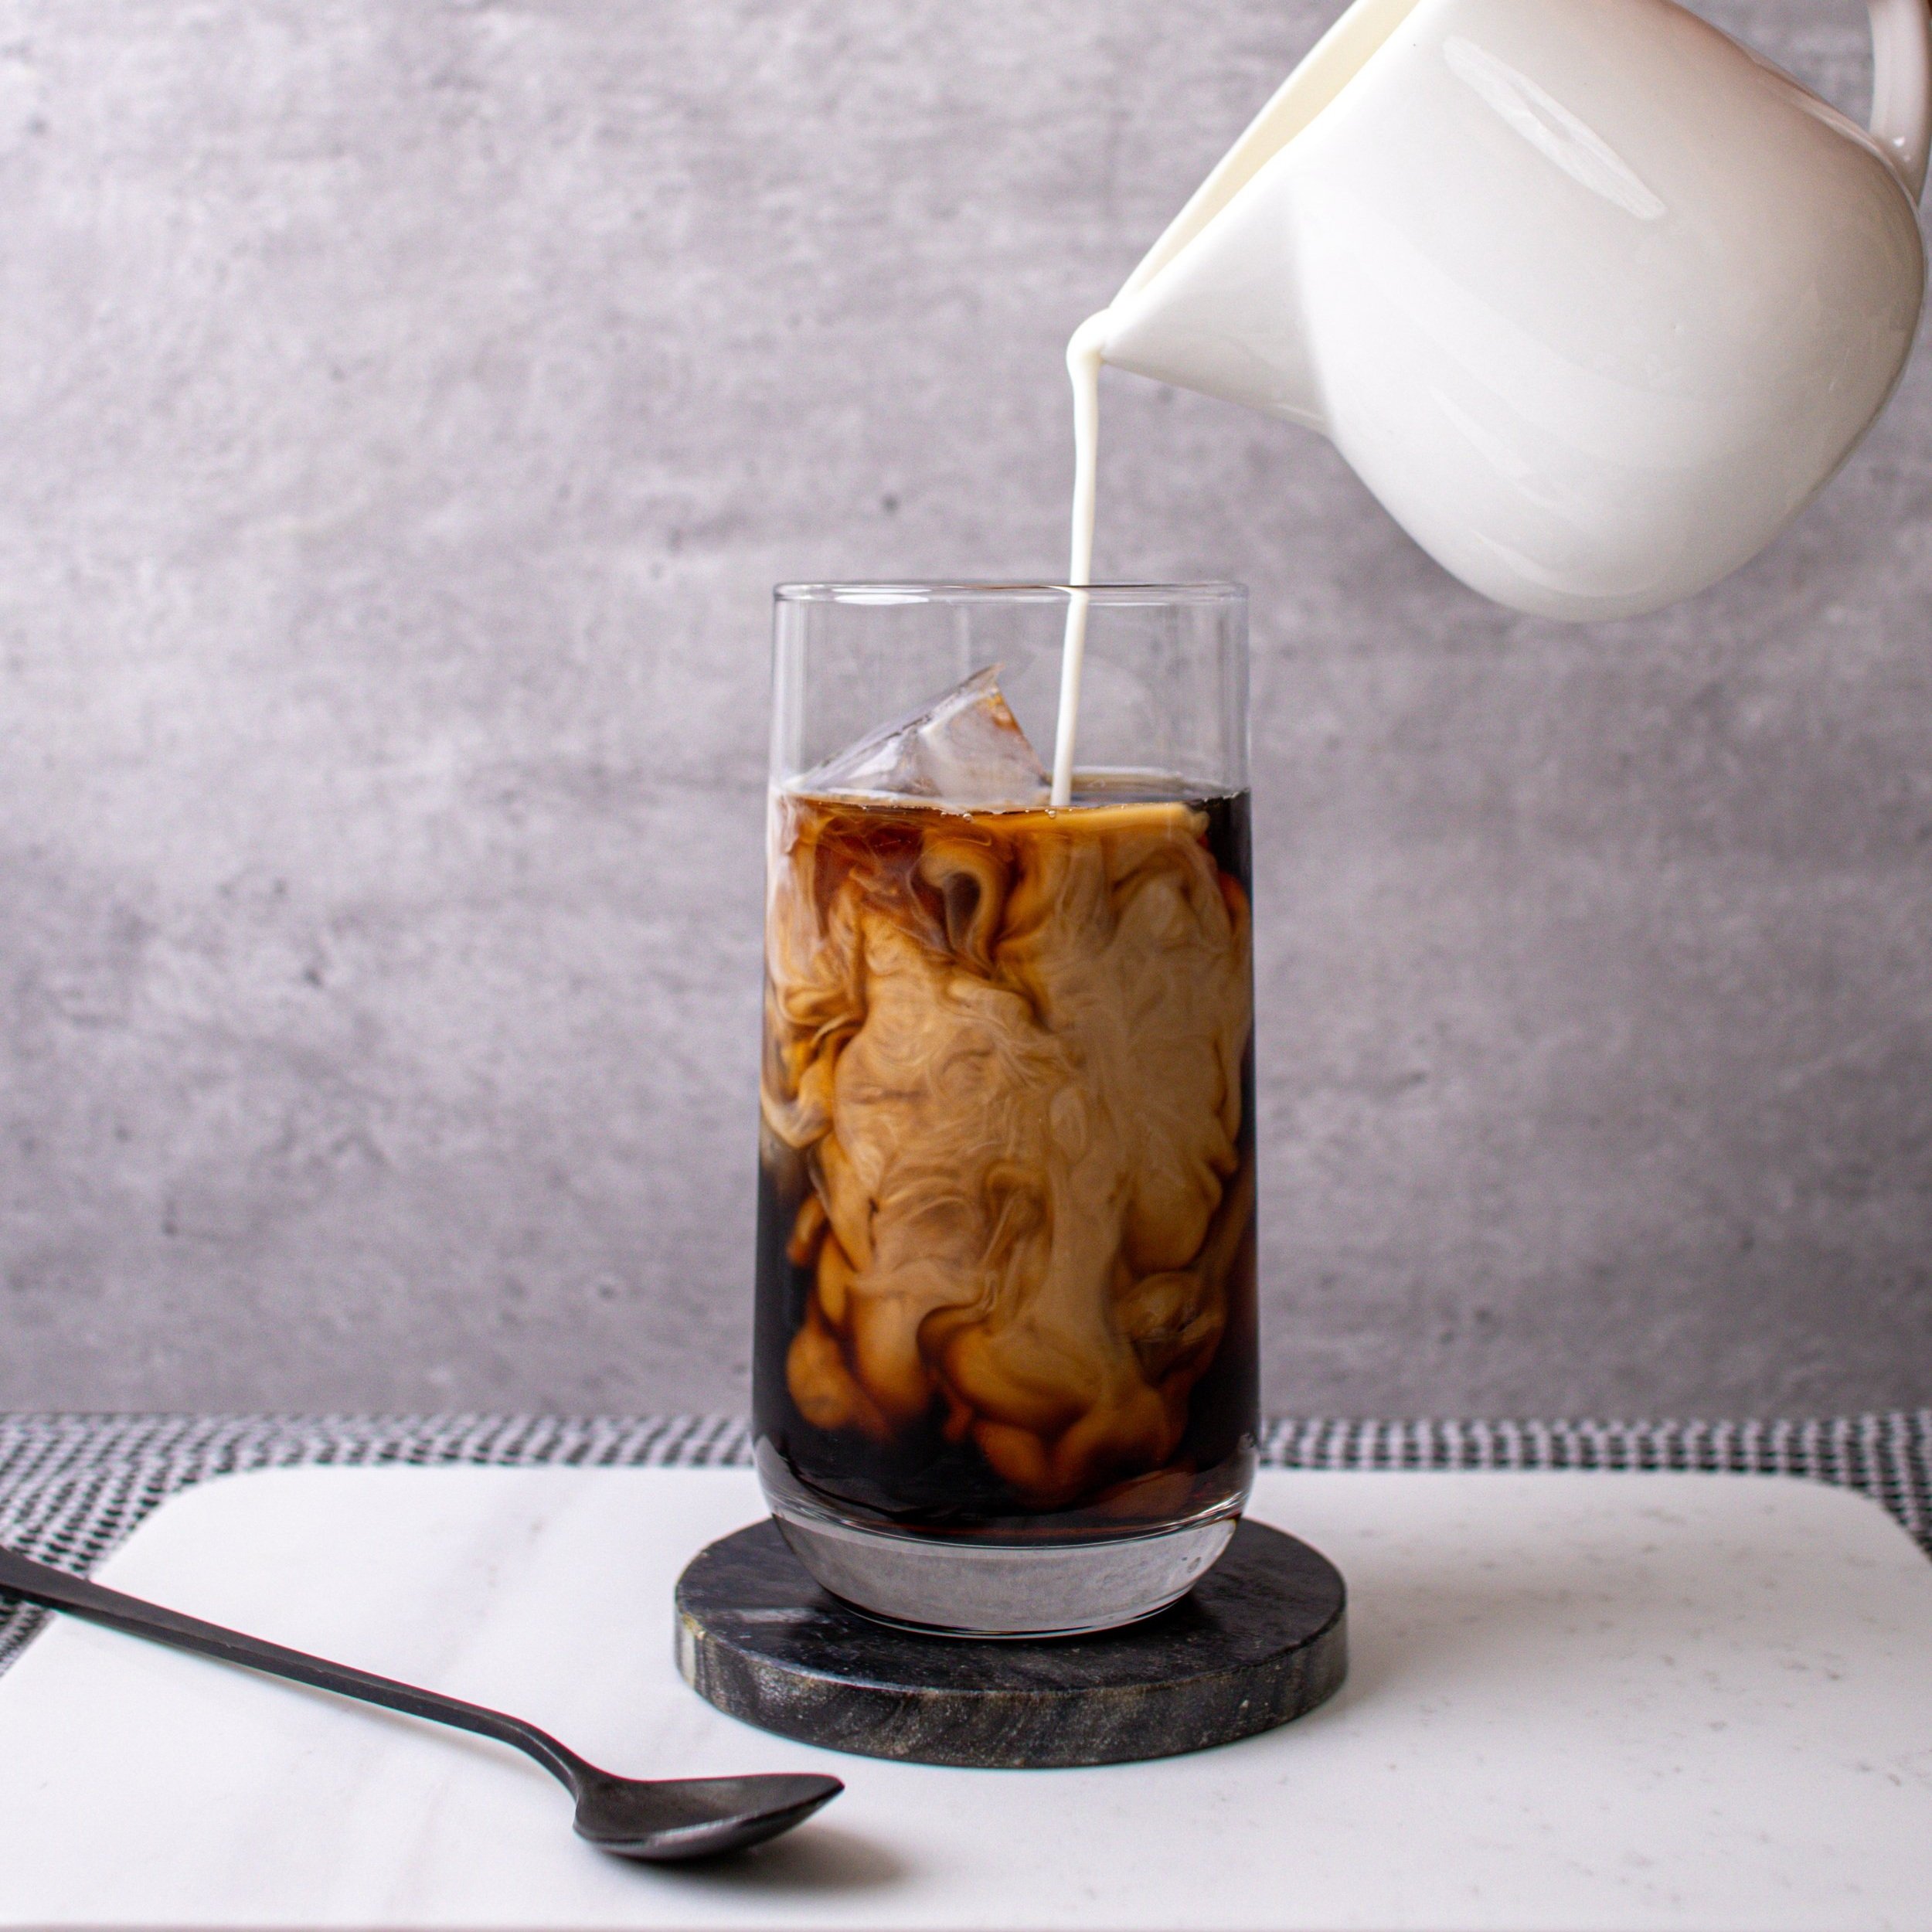
- Versatile: Use it in lattes, teas, cold foams, cold brews, shaken espressos, mochas, or as a topping for pancakes, french toast and desserts.
- Easy to Make: Just a few simple ingredients and steps, and you’ll have a delicious homemade syrup in no time!

How to Make Homemade Salted Caramel Syrup
- Add sugar to a saucepan and heat the sugar on medium low heat until completely melted and amber in color. Make sure to swirl the pan gently or stir with a rubber spatula every 30 seconds to prevent it from burning. The sugar will form clumps before melting slowly. Be patient and keep an eye on it to make sure it does not burn.While the sugar is heating on the stove, prepare your hot water- use an electric kettle, stove or microwave to heat the water, then set aside.
- Once the sugar has fully melted and is amber colored (a golden orange/brown color), carefully and slowly pour in the hot water and then stir with a whisk or rubber spatula to combine. Note the mixture will bubble, that’s normal. If some of the sugar hardens and crystallizes, that’s okay. It should melt and liquify once you bring the mixture to a boil.
- Add in the salt, and then bring the mixture to a roaring boil with lots of scary bubbles.
- Once the syrup is boiling, reduce the heat to a medium simmer and let simmer for 10 minutes. You don’t need to stir or touch the syrup.
- After 10 minutes, turn off the heat and remove the syrup from the burner. Let the syrup cool for 2 minutes, then add in the butter extract and stir to combine.
- Taste the syrup and add more salt or butter extract if needed.
- You can use the syrup immediately in any drink of choice or let the syrup cool at room temperature before adding to an airtight syrup bottle or mason jar, and store in the fridge for up to 3 weeks.
How Can I Make A Sugar Free Salted Caramel Syrup?
For a sugar free Salted Caramel Syrup, simply use a sugar free substitute like monk fruit or stevia instead of the cane sugar. Note, the sugar free syrup will crystallize when chilled, so you will need to scoop out your desired amount of syrup with a spoon and heat in the microwave or stove, or with your hot coffee/espresso/tea/cold foam before enjoying.

How Do I Store My Homemade Salted Caramel Syrup?
Always store your homemade syrups in an airtight jar or container in the fridge. If sealed and refrigerated, the syrup will be good to use for 3 full weeks.
What Recipes Can I Make With Salted Caramel Syrup?
- Salted Caramel Cold Foam
- Salted Caramel Mocha
- Salted Caramel Cold Brew
- Salted Caramel Chai
- Salted Caramel Matcha Latte


More Homemade Syrup Recipes:
- Homemade Starbucks Sugar Cookie Syrup
- Homemade Starbucks Caramel Brûlée Sauce
- Homemade Gingerbread Syrup
- Starbucks Spiced Apple Drizzle
- Starbucks Apple Brown Sugar Syrup
- Homemade Pistachio Syrup
- Homemade Brown Sugar Syrup
- Homemade Blackberry Syrup
- Homemade Strawberry Syrup
- Homemade Lavender Syrup
- Homemade Cherry Syrup
- Homemade Rose Syrup

Homemade Salted Caramel Syrup
Equipment
- rubber spatula or whisk
- syrup bottle or mason jar
Ingredients
- 1 cup granulated cane sugar
- 1 cup hot water
- 1 1/2 teaspoons salt
- 1/4 teaspoon butter extract
Instructions
- Add sugar to a saucepan and heat the sugar on medium low heat until completely melted and amber in color. Make sure to swirl the pan gently or stir with a rubber spatula every 30 seconds to prevent it from burning. The sugar will form clumps before melting slowly. Be patient and keep an eye on it to make sure it does not burn.
- While the sugar is heating on the stove, prepare your hot water- use an electric kettle, stove or microwave to heat the water, then set aside.
- Once the sugar has fully melted and is amber colored (a golden orange/brown color), carefully and slowly pour in the hot water and then stir with a whisk or rubber spatula to combine. Note the mixture will bubble, that's normal. If some of the sugar hardens and crystallizes, that's okay. It should melt and liquify once you bring the mixture to a boil.
- Add in the salt, and then bring the mixture to a roaring boil with lots of scary bubbles.
- Once the syrup is boiling, reduce the heat to a medium simmer and let simmer for 10 minutes. You don't need to stir or touch the syrup.
- After 10 minutes, turn off the heat and remove the syrup from the burner. Let the syrup cool for 2 minutes, then add in the butter extract and stir to combine.
- Taste the syrup and add more salt or butter extract if needed.
- You can use the syrup immediately in any drink of choice or let the syrup cool at room temperature before adding to an airtight syrup bottle or mason jar, and store in the fridge for up to 3 weeks.


Leave a Comment