
Skip the store-bought creamer and make your own rich, nutty hazelnut creamer at home with just a handful of simple ingredients. This homemade version is smooth, lightly sweet, and packed with that classic hazelnut flavor you know and love without the preservatives or artificial aftertaste you often get from store-bought creamers.
If hazelnut coffee is your go-to, this is one recipe you’ll want to keep in your fridge at all times.

Why You’ll Love This Recipe
- Made with real, simple ingredients
- Creamy and smooth — no separation
- Easy to customize (dairy-free or sugar-free!)
- Much more affordable than store-bought creamers
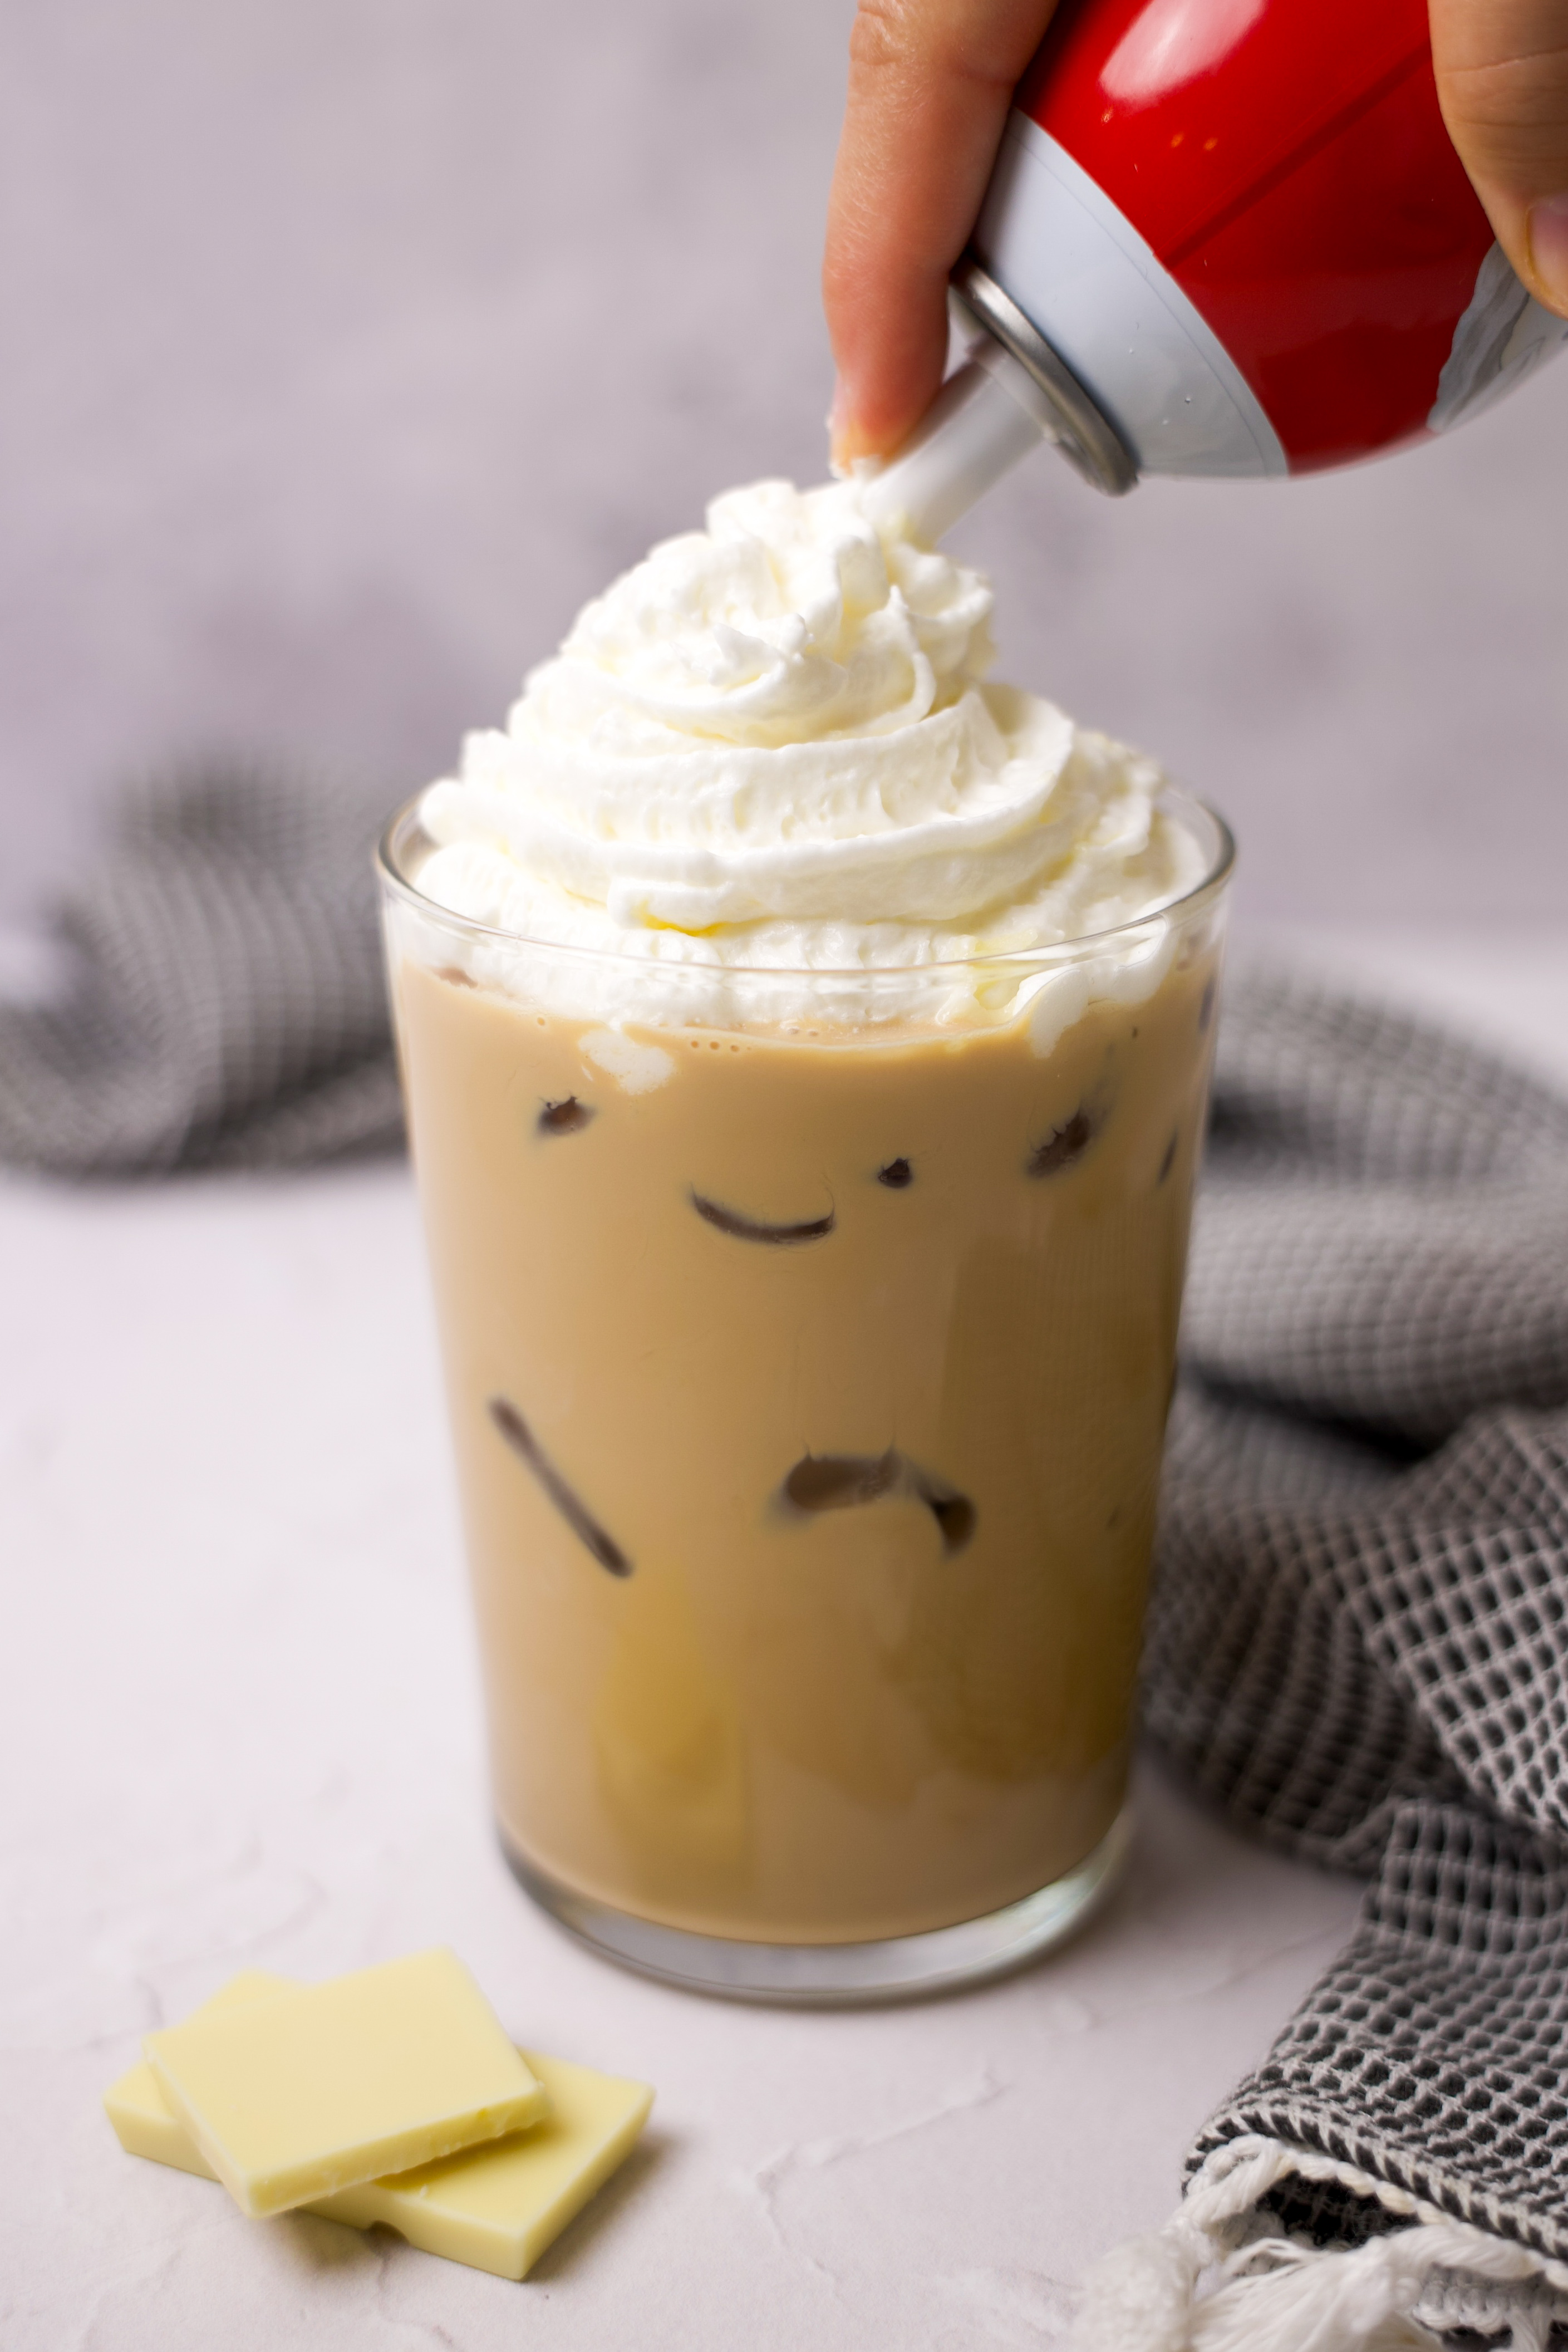
- Perfect for hot or iced coffees and teas

Homemade Hazelnut Creamer Recipe
Makes about 28 ounces
Ingredients
- 14 ounces half & half
- 1 (14-ounce) can sweetened condensed milk
- ½ tablespoon hazelnut bakery emulsion or extract
- ¼ teaspoon vanilla extract
- ¼ teaspoon salt

Instructions
- Add all ingredients to a blender.
- Blend until completely smooth and fully combined.
- Pour the creamer into a mason jar or airtight container.
- Seal and store in the refrigerator for up to two weeks (or until the best by date of your half & half).
- Shake well before each use.
How to Use Homemade Hazelnut Creamer
This hazelnut creamer is delicious in:
- Hot coffee
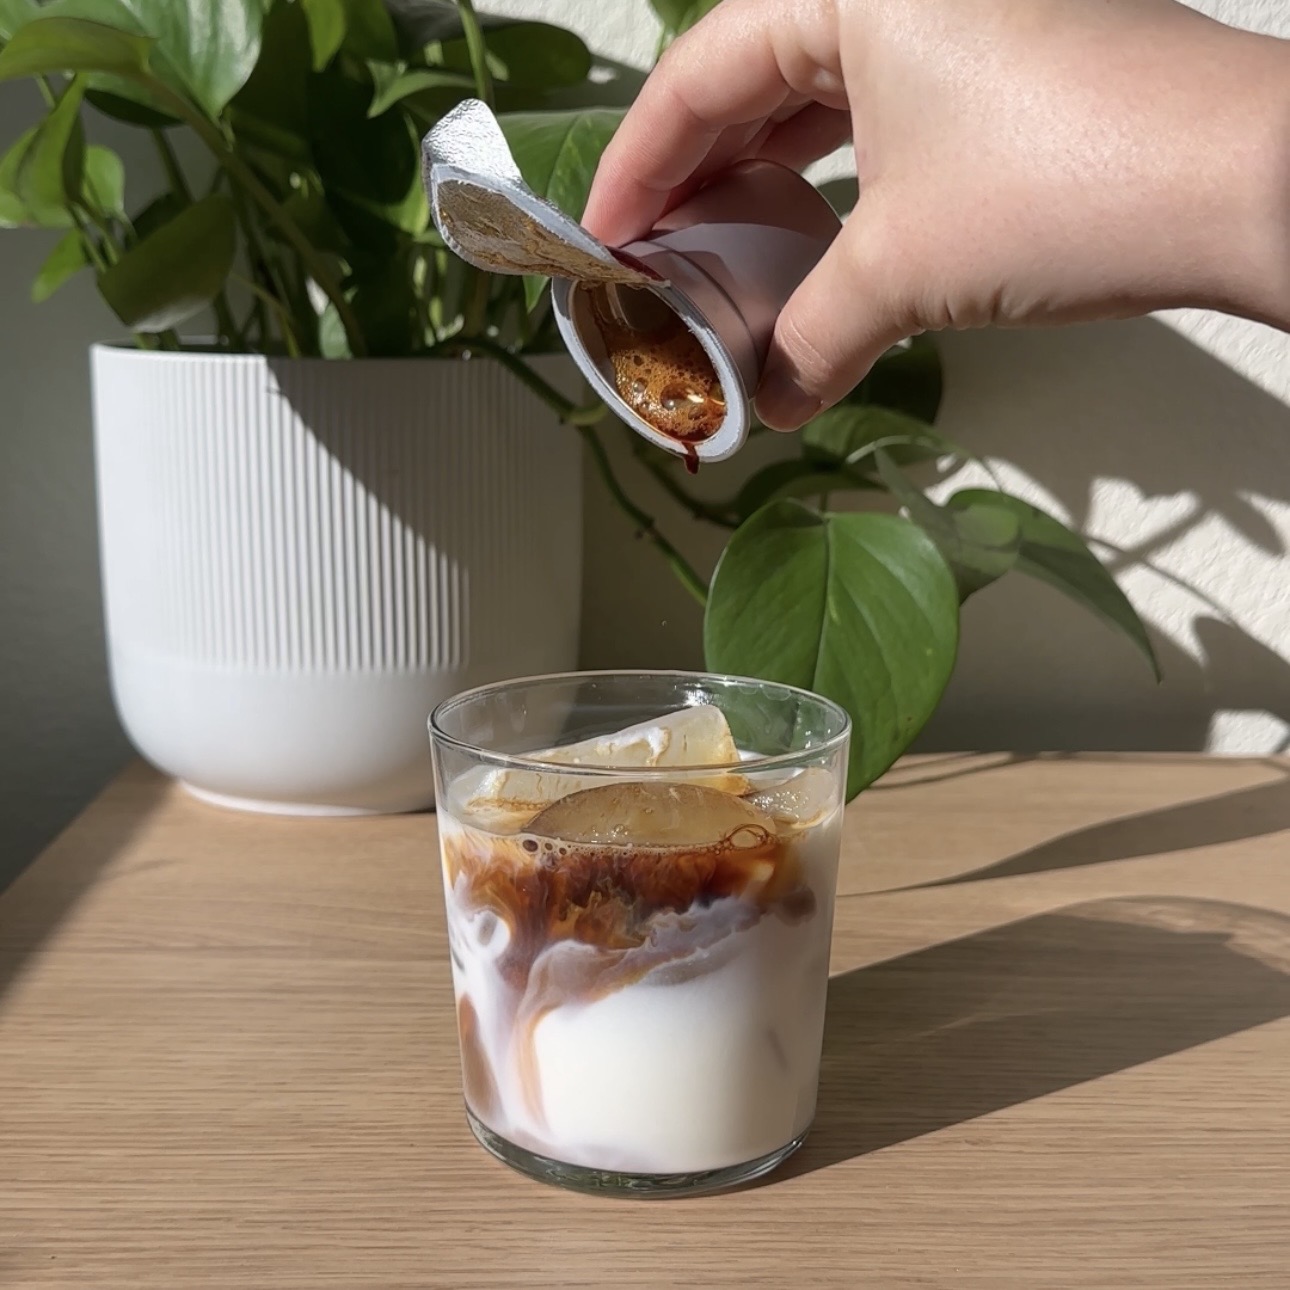
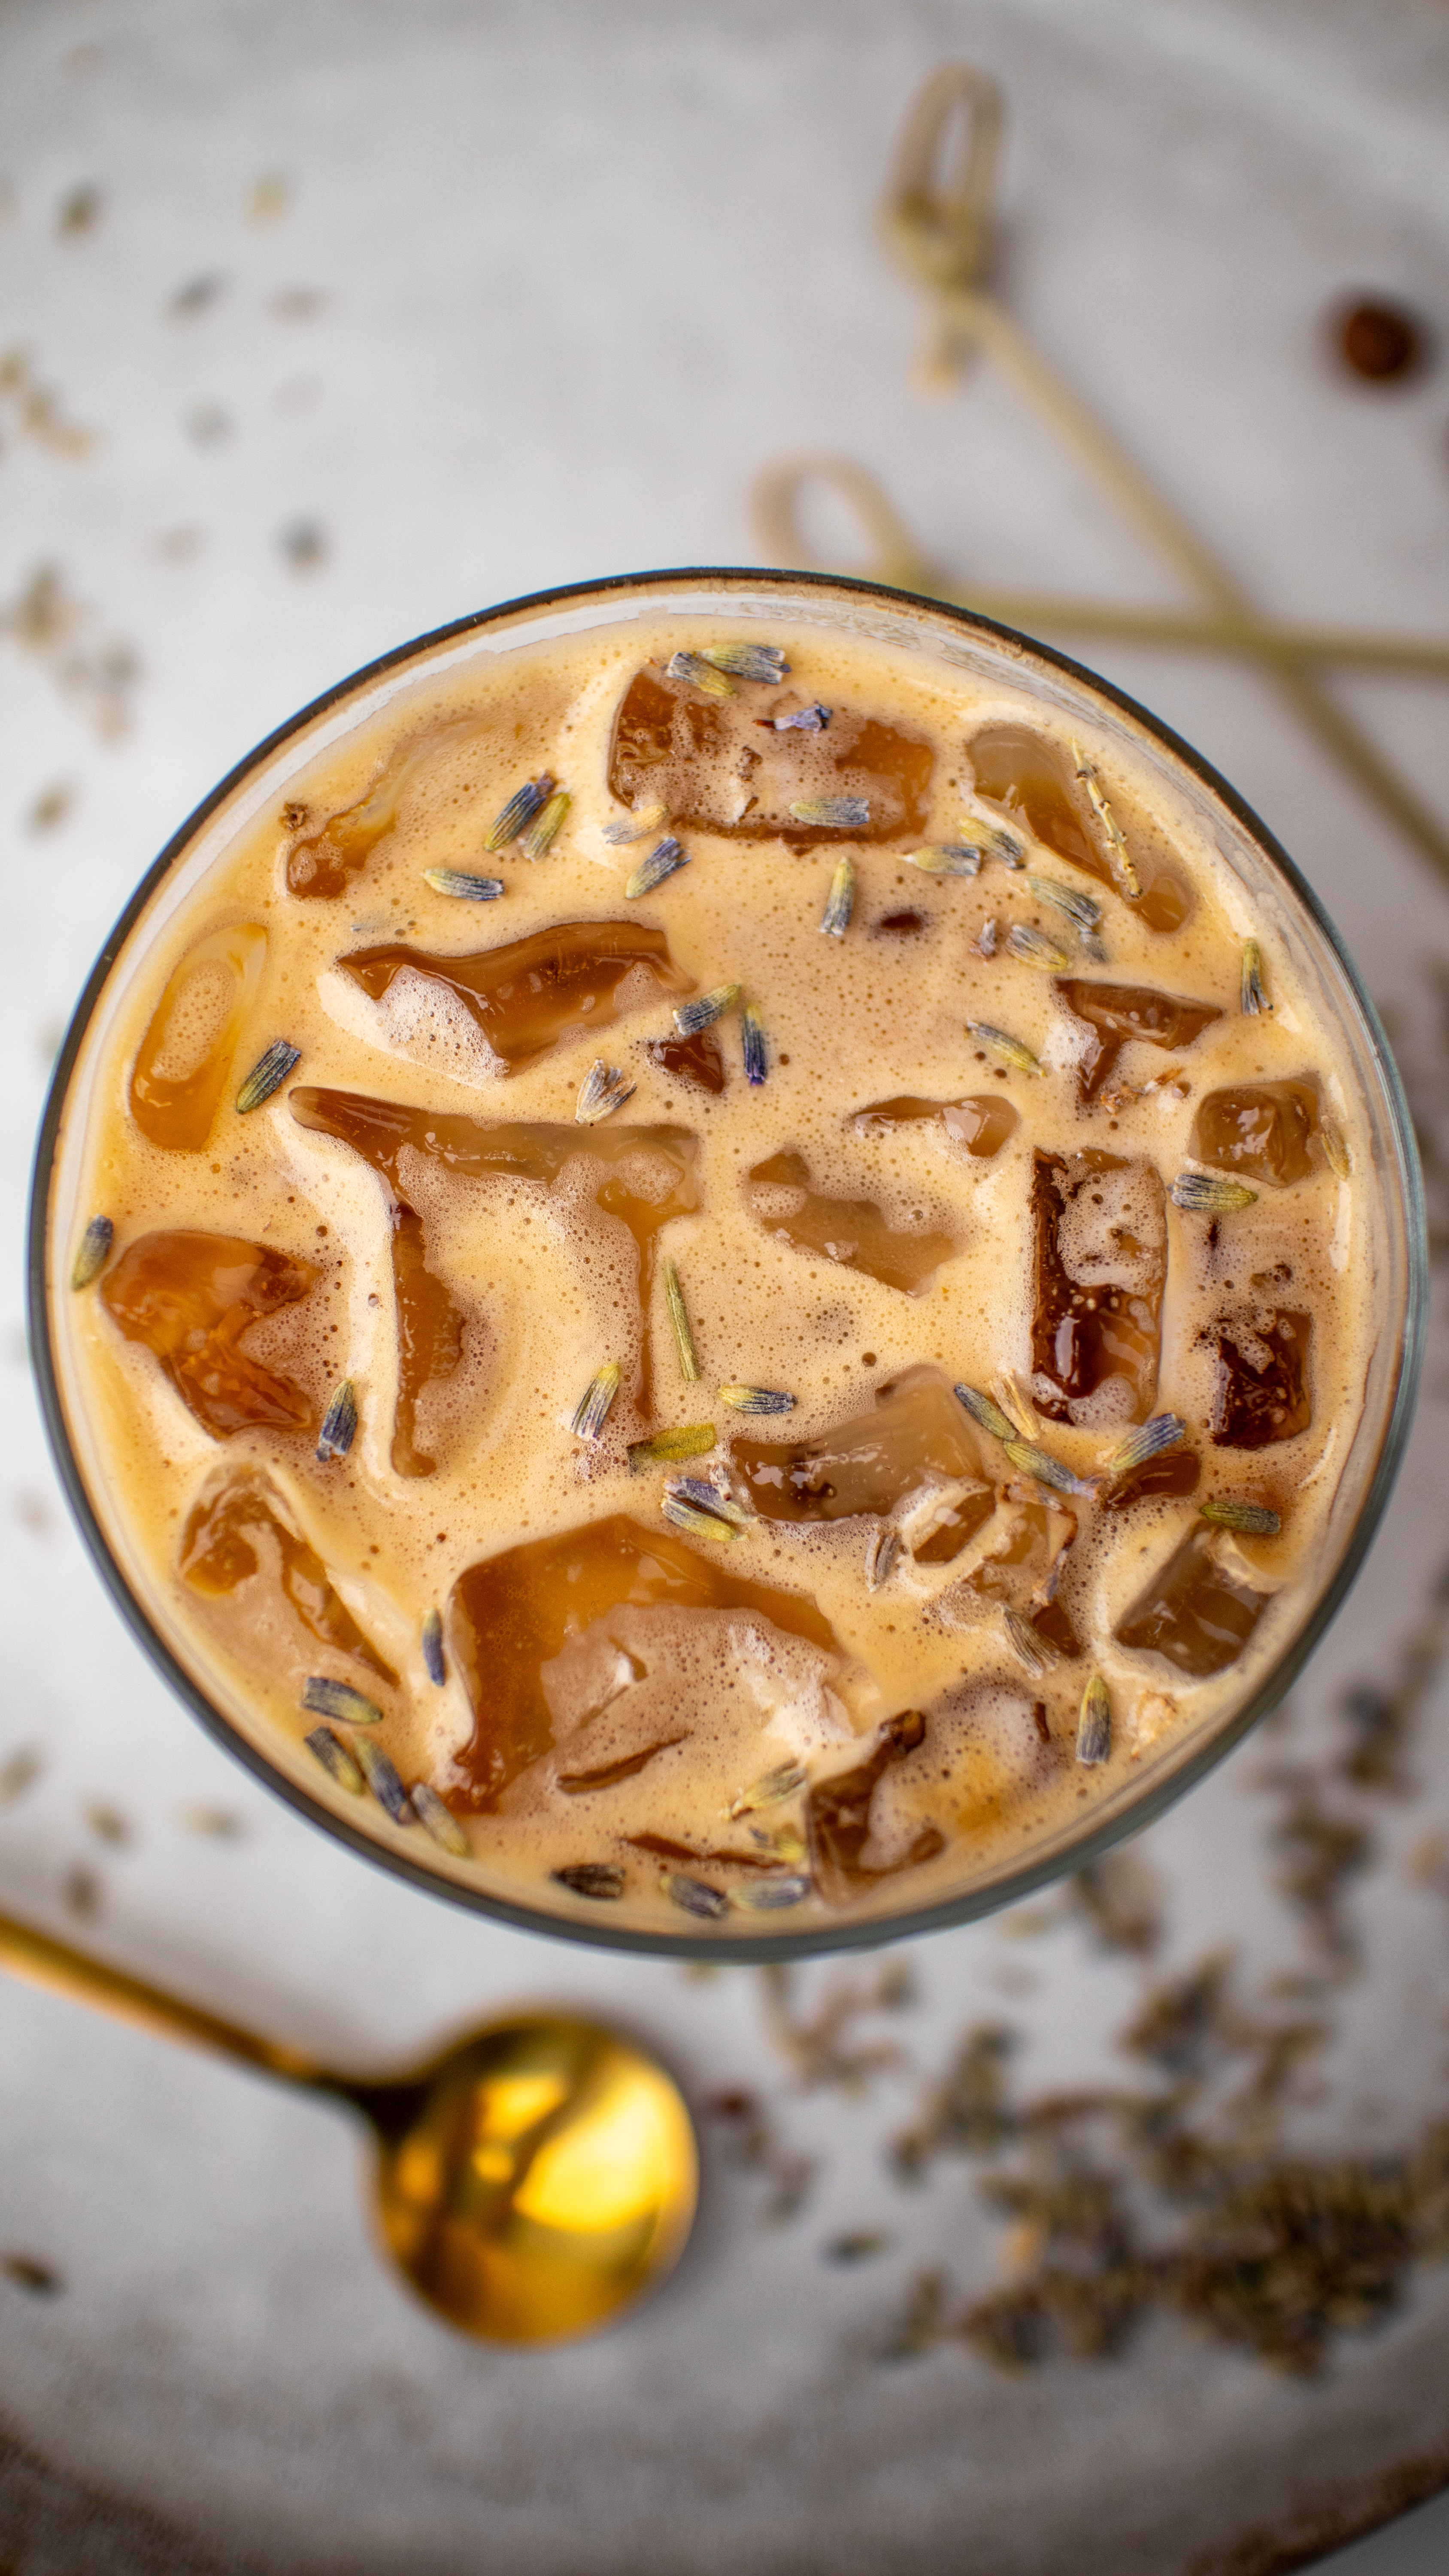
- Iced coffee
- Hot or iced teas
- Cold brew
- Americanos (I like a small splash of creamer)
Start with 1–2 tablespoons per cup and adjust to taste.

Dairy-Free Option
You can easily make this creamer dairy-free with a few swaps:
- Replace half & half with dairy-free half & half (such as Nutpods or Silk)
- Use dairy-free sweetened condensed milk (like oat or coconut condensed milk)
- Keep the hazelnut extract, vanilla, and salt the same
Blend as directed and store chilled. Dairy-free versions may be slightly thinner, but still smooth and flavorful.
Sugar-Free Option
For a sugar-free version:
- Replace sweetened condensed milk with sugar-free sweetened condensed milk
- Or make your own homemade condensed milk using a allulose or monk fruit
- Add hazelnut, vanilla, and salt as written

Tips for the Best Flavor
- Bakery emulsion gives a deeper, more true hazelnut flavor than standard extract
- The small amount of salt balances sweetness and enhances the nutty notes
- Shake before using to keep the texture silky
More Homemade Creamer Recipes
If you love making creamer at home, try these next:
- Homemade French Vanilla Creamer
- Homemade Salted Caramel Creamer
- Homemade Pumpkin Spice Creamer
- Homemade Brown Butter Chocolate Chip Cookie Creamer
- Homemade Peppermint Mocha Creamer
- Homemade Coconut Creamer
Final Thoughts
Once you start making your own creamer, it’s hard to go back. This Homemade Hazelnut Creamer is creamy, comforting, and so easy to keep on hand! It’s perfect for elevating your daily coffee or tea without ever stepping foot in a coffee shop.

Homemade Hazelnut Creamer
Ingredients
- 14 ounces half & half
- 1 14-ounce can sweetened condensed milk
- ½ tablespoon hazelnut bakery emulsion or extract
- ¼ teaspoon vanilla extract
- ¼ teaspoon salt
Instructions
- Add all ingredients to a blender.
- Blend until completely smooth and fully combined.
- Pour the creamer into a mason jar or airtight container.
- Seal and store in the refrigerator for up to two weeks (or until the best by date of your half & half).
- Shake well before each use.
Notes
Dairy-Free Option:
- Replace half & half with dairy-free half & half (such as Nutpods or Silk)
- Use dairy-free sweetened condensed milk (like oat or coconut condensed milk)
- Keep the hazelnut, vanilla, and salt the same
Sugar-Free Option:
- Replace sweetened condensed milk with sugar-free sweetened condensed milk
- Or use an allulose-based homemade condensed milk alternative
- Add hazelnut, vanilla, and salt as written
Storage:
- Store sealed in an airtight container in the refrigerator for up to 2 weeks (or until the best by date of your half & half)


Leave a Comment