
As the weather cools down and cozy season settles in, there’s nothing quite like the nostalgic flavor of toasted marshmallows. This Homemade Toasted Marshmallow Syrup captures that golden, campfire sweetness and brings it right into your kitchen. Whether you’re swirling it into coffee or mocktails, drizzling it over pancakes, or whipping it into cold foam, this syrup is a must-have for all your chilly-day treats.
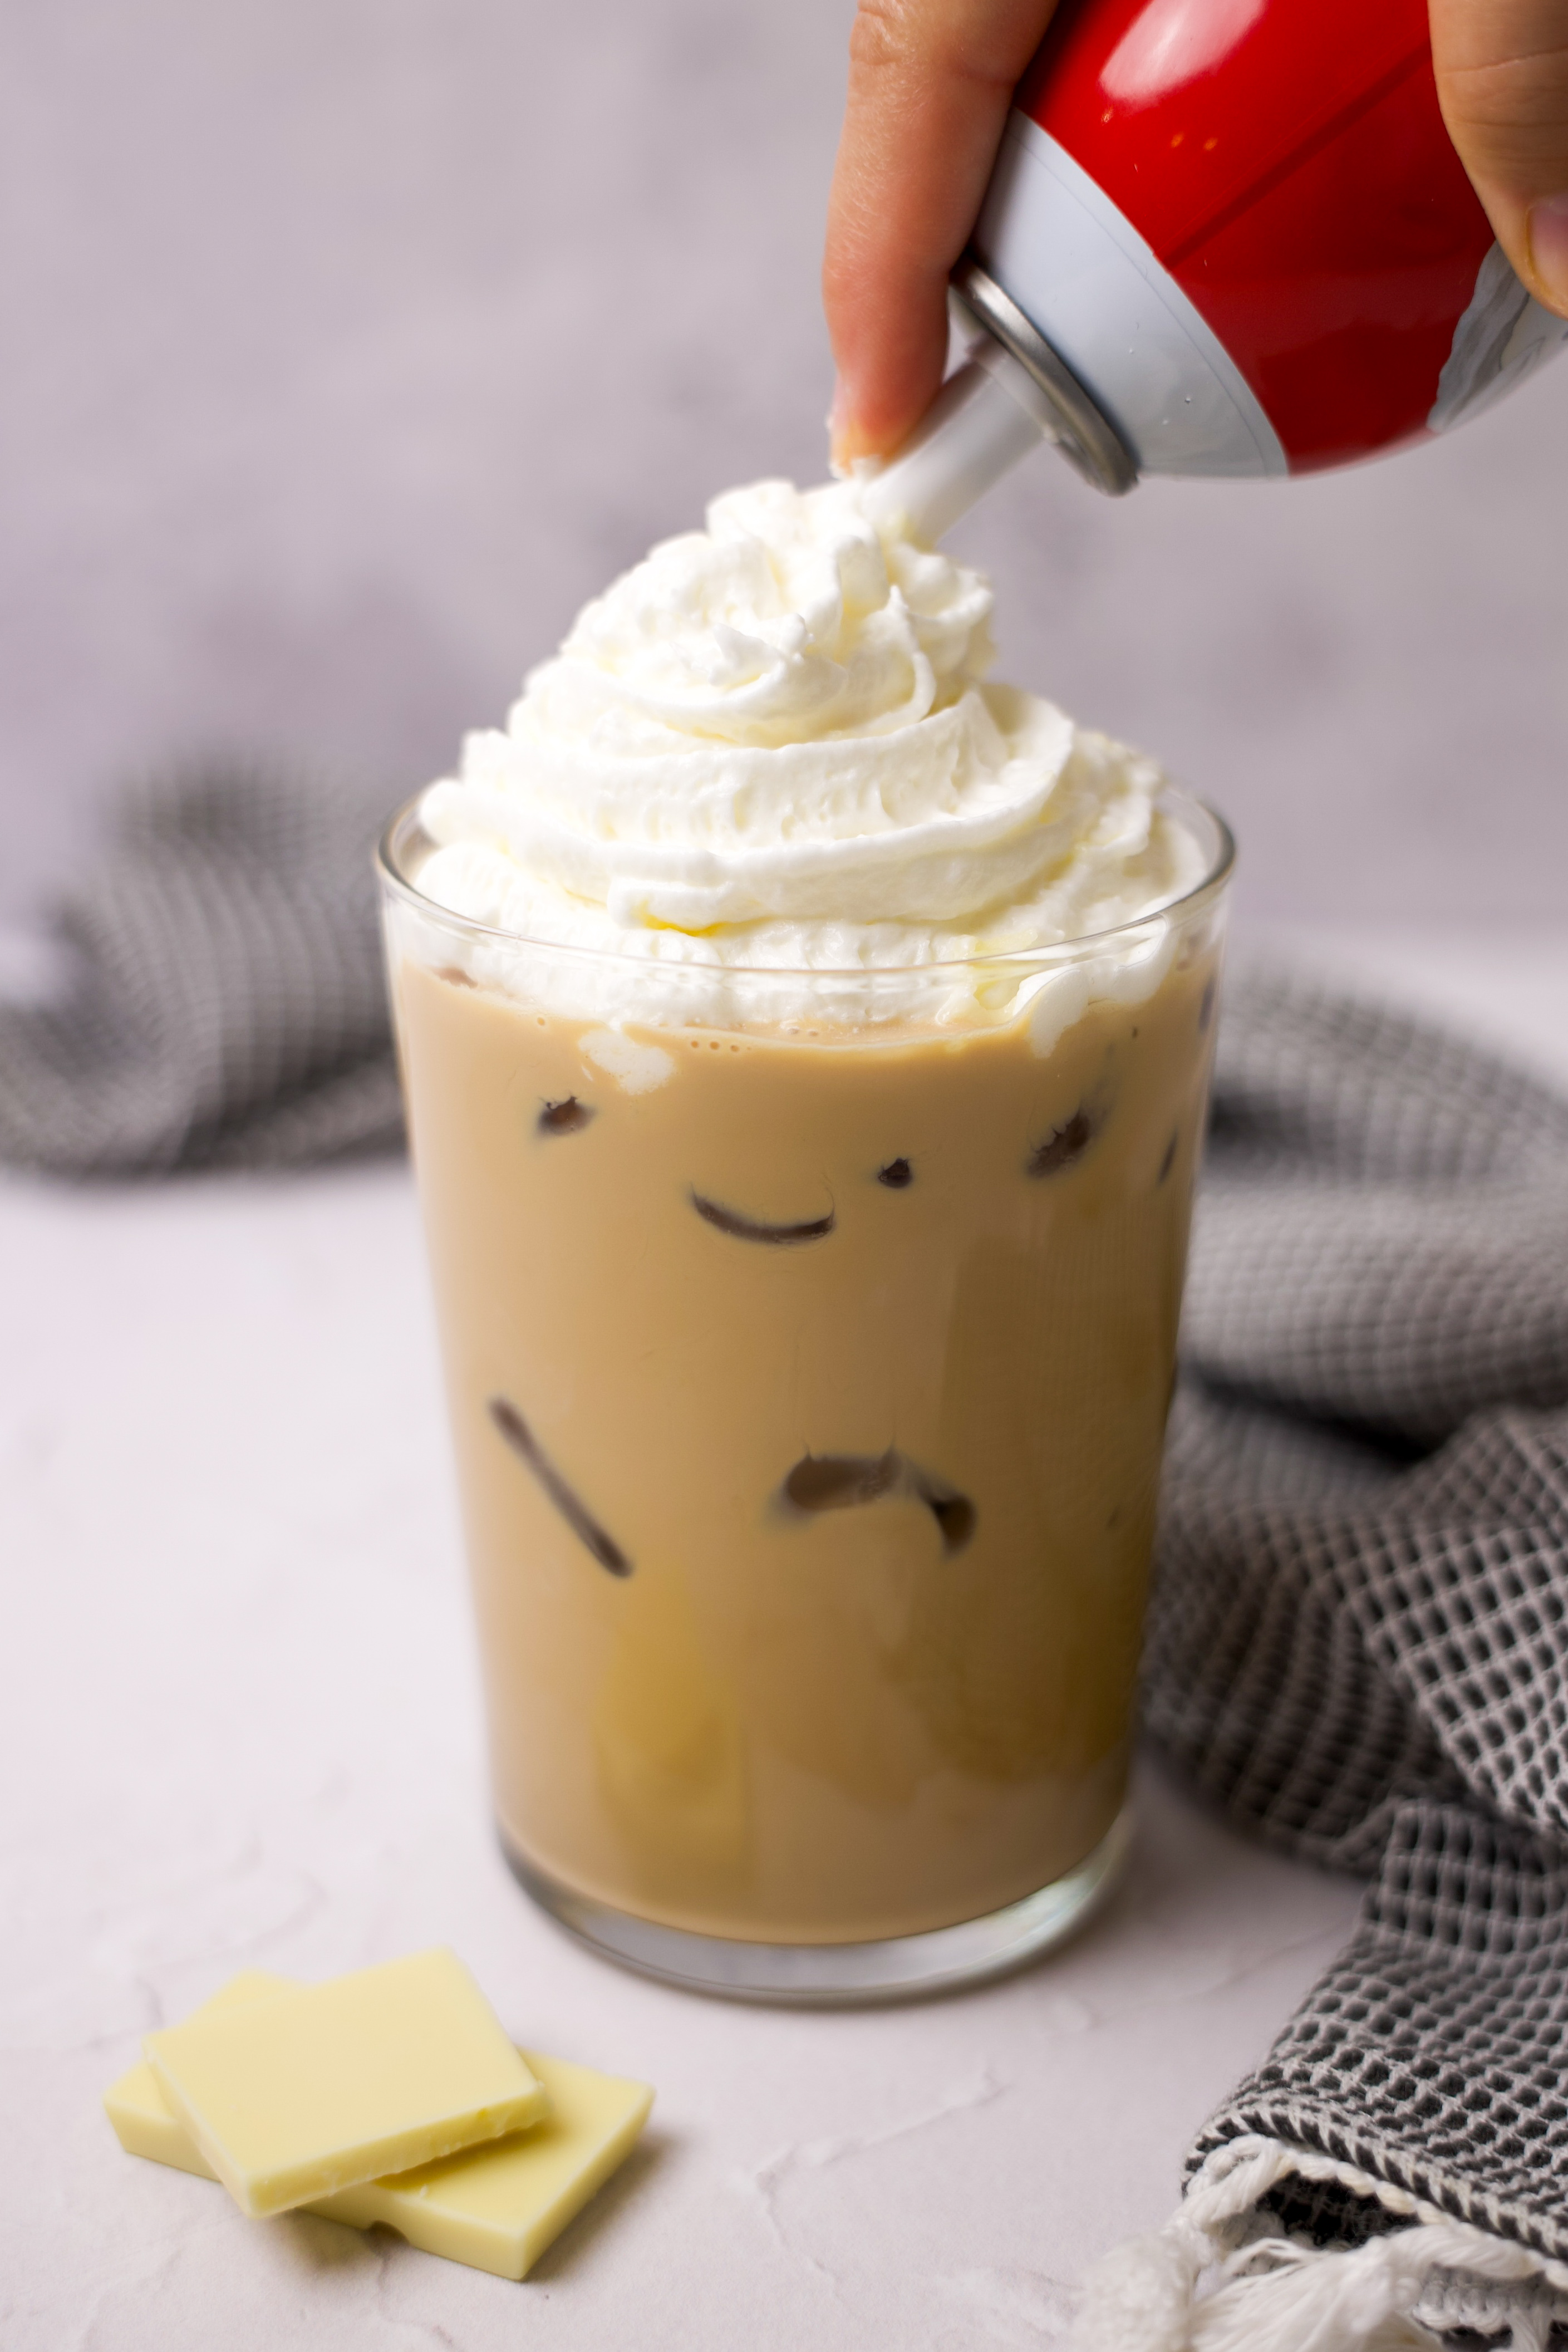
Think of it as the ultimate cozy flavor booster—you can use it in hot cocoa, a toasted marshmallow cold brew, a S’mores Latte, or even to level up your holiday mocktails. Plus, it’s simple to make with just a handful of ingredients you probably already have on hand.

Homemade Toasted Marshmallow Syrup Recipe
Ingredients
- 1 cup granulated cane sugar
- 1 1/4 cups water
- 9 jumbo marshmallows (1 heaping cup)
- 1/2 teaspoon salt
- 1/4 teaspoon vanilla extract

Instructions
- Toast the Marshmallows
- Place jumbo marshmallows on a parchment paper-lined baking sheet.
- Broil for 30-45 seconds, until toasty and golden, but not charred. THIS WILL HAPPEN QUICK! DO NOT TAKE YOUR EYES OFF THE MARSHMALLOWS.
- Tip: You can also toast marshmallows over a gas stove burner, with a kitchen torch, or even a fire pit if you’re feeling festive!
- Make the Syrup Base
- In a saucepan, combine the sugar, water, and salt.
- Bring to a rolling boil over high heat, then reduce the heat to medium-low.
- Add the Toasted Marshmallows
- Stir the toasted marshmallows into the simmering syrup until fully melted and combined, scraping down the sides as you stir. Note the mixture will become foamy, this is normal. Continue stirring until marshmallows are fully dissolved (5-7 minutes).
- Finish the Syrup
- Pour the syrup through a fine-mesh strainer into a heatproof jar or container.
- Stir in the vanilla extract.
- Let cool at room temperature for at least 1 hour before sealing.
- Store & Enjoy
- Store in the fridge for up to 3 weeks. Shake before each use.


How To Store
Store the syrup in an airtight container like a syrup bottle or mason jar in the refrigerator for up to 3 weeks.
FAQ
Can I use mini marshmallows? Yes you can! Use 1 heaping cup.
What if my syrup comes out too thick? Simply add 1/4 cup more water and simmer for 3-5 minutes until combined.
What if my syrup thickens like jelly in the fridge? Add the syrup back to a saucepan with 2/3 cup water and bring to a simmer. Simmer for 3-5 minutes and stir to combine, then let the syrup cool completely before adding back into fridge.
What if I accidentally burn my marshmallows? You can scrape off the burnt or charred pieces and still add the toasty mallows, OR start again!
What type of salt should I use? Any salt you like: sea salt, kosher salt, pink himalayan, etc!
Will the salt make the syrup too salty? Not at all! In fact, the salt helps balance out the sweetness of the marshmallows and sugar!
Can I use vanilla bean paste instead of vanilla extract. Absolutely! Your syrup, your rules!
What if I add the vanilla extract before cooking? Not to worry, add another splash once your done cooking since the vanilla flavor more than likely burned off in the cooking process!
How to Make a Lower Sugar Syrup
For a lower sugar homemade syrup, use a sugar substitute like stevia, monk fruit, or allulose and use sugar free marshmallows.
Note, with many sugar substitutes, they will crystallize and harden once chilled. You can either make a smaller batch to store on the counter to prevent the crystallization, or you can scoop a small amount of the crystallized syrup into a cup or bowl and reheat before adding to your drinks.
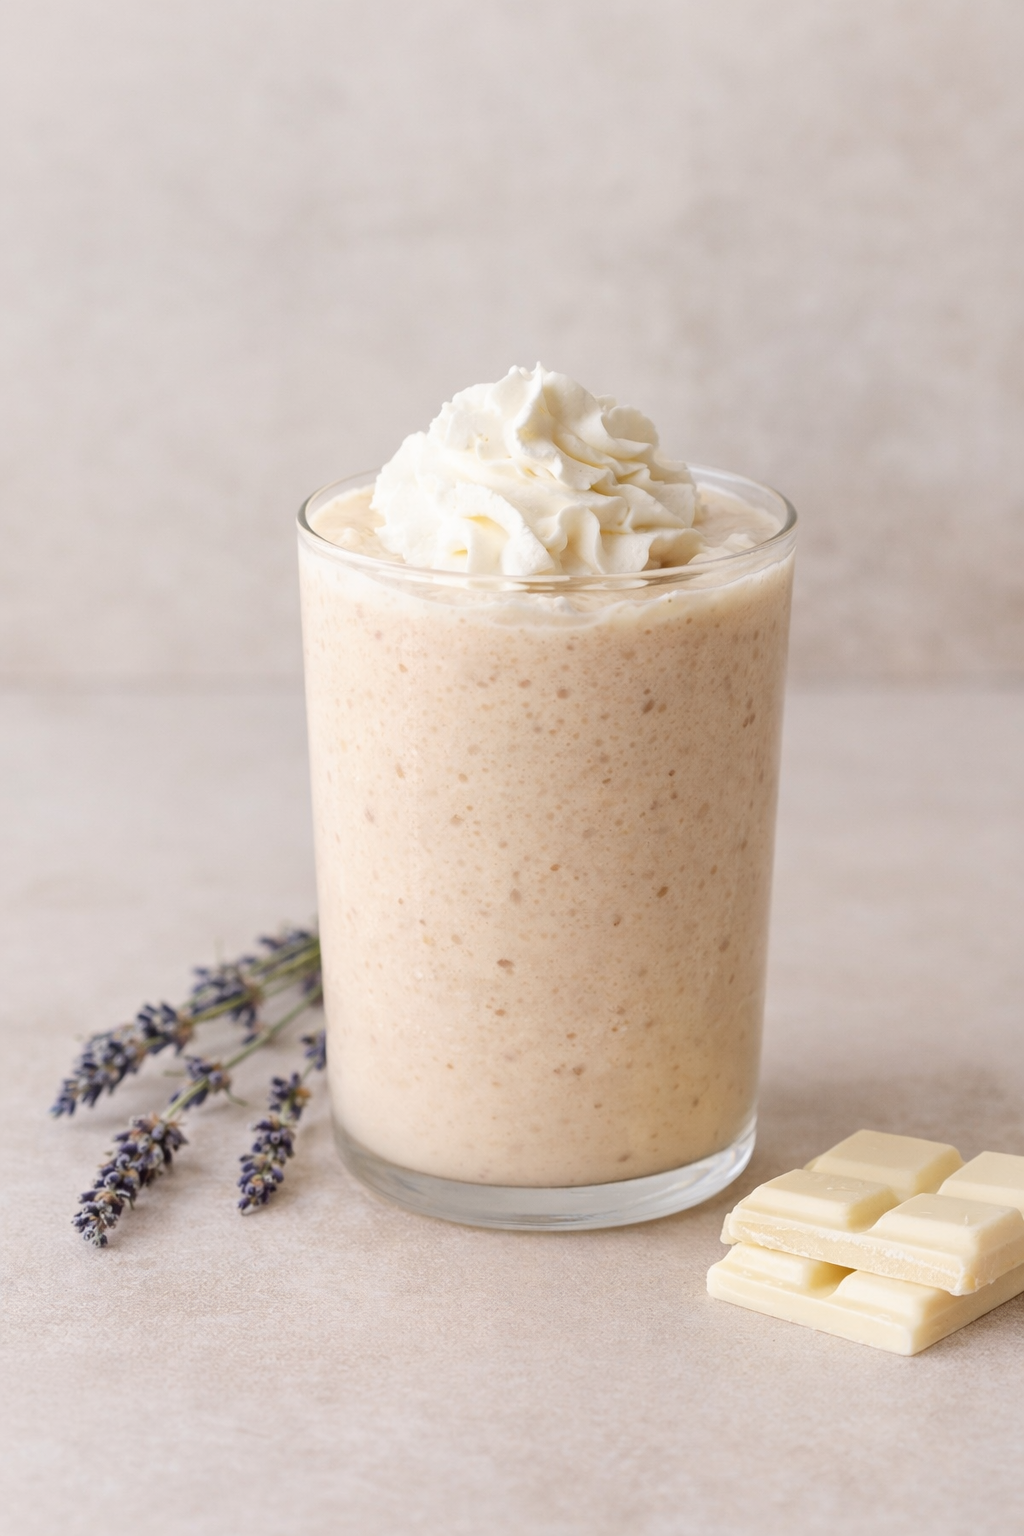
Ways to Use Toasted Marshmallow Syrup
Once you make this syrup, you’ll find yourself wanting to add it to just about everything. Here are some ideas to get you started:
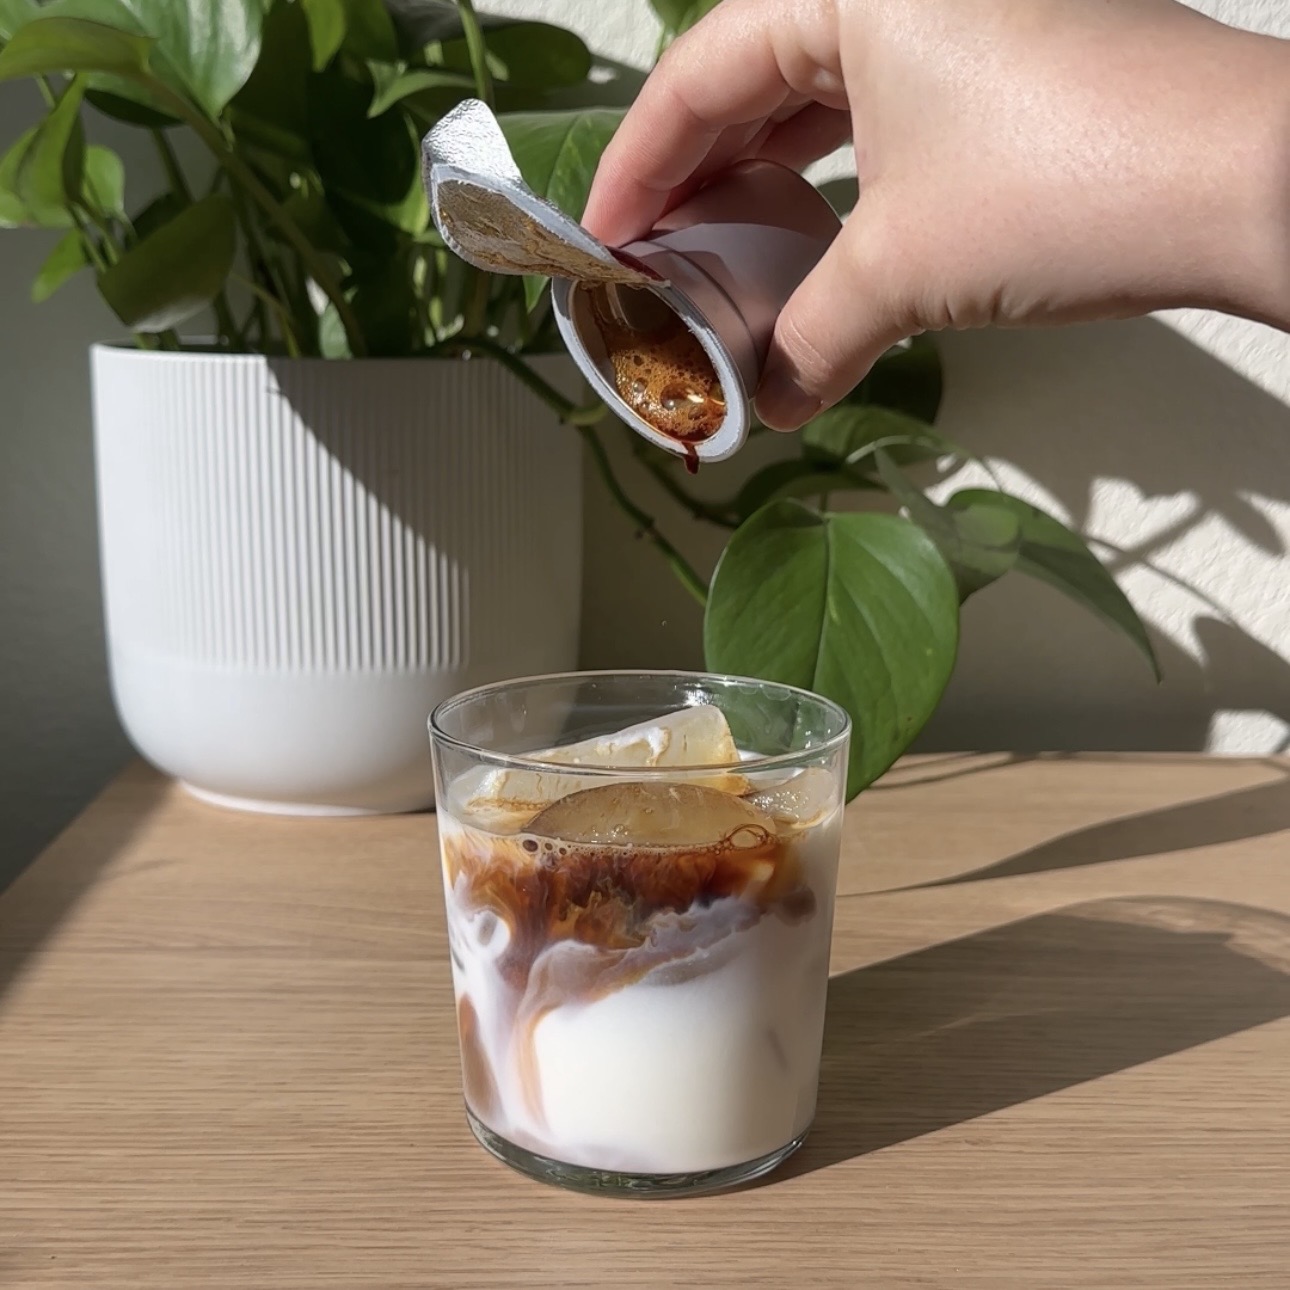
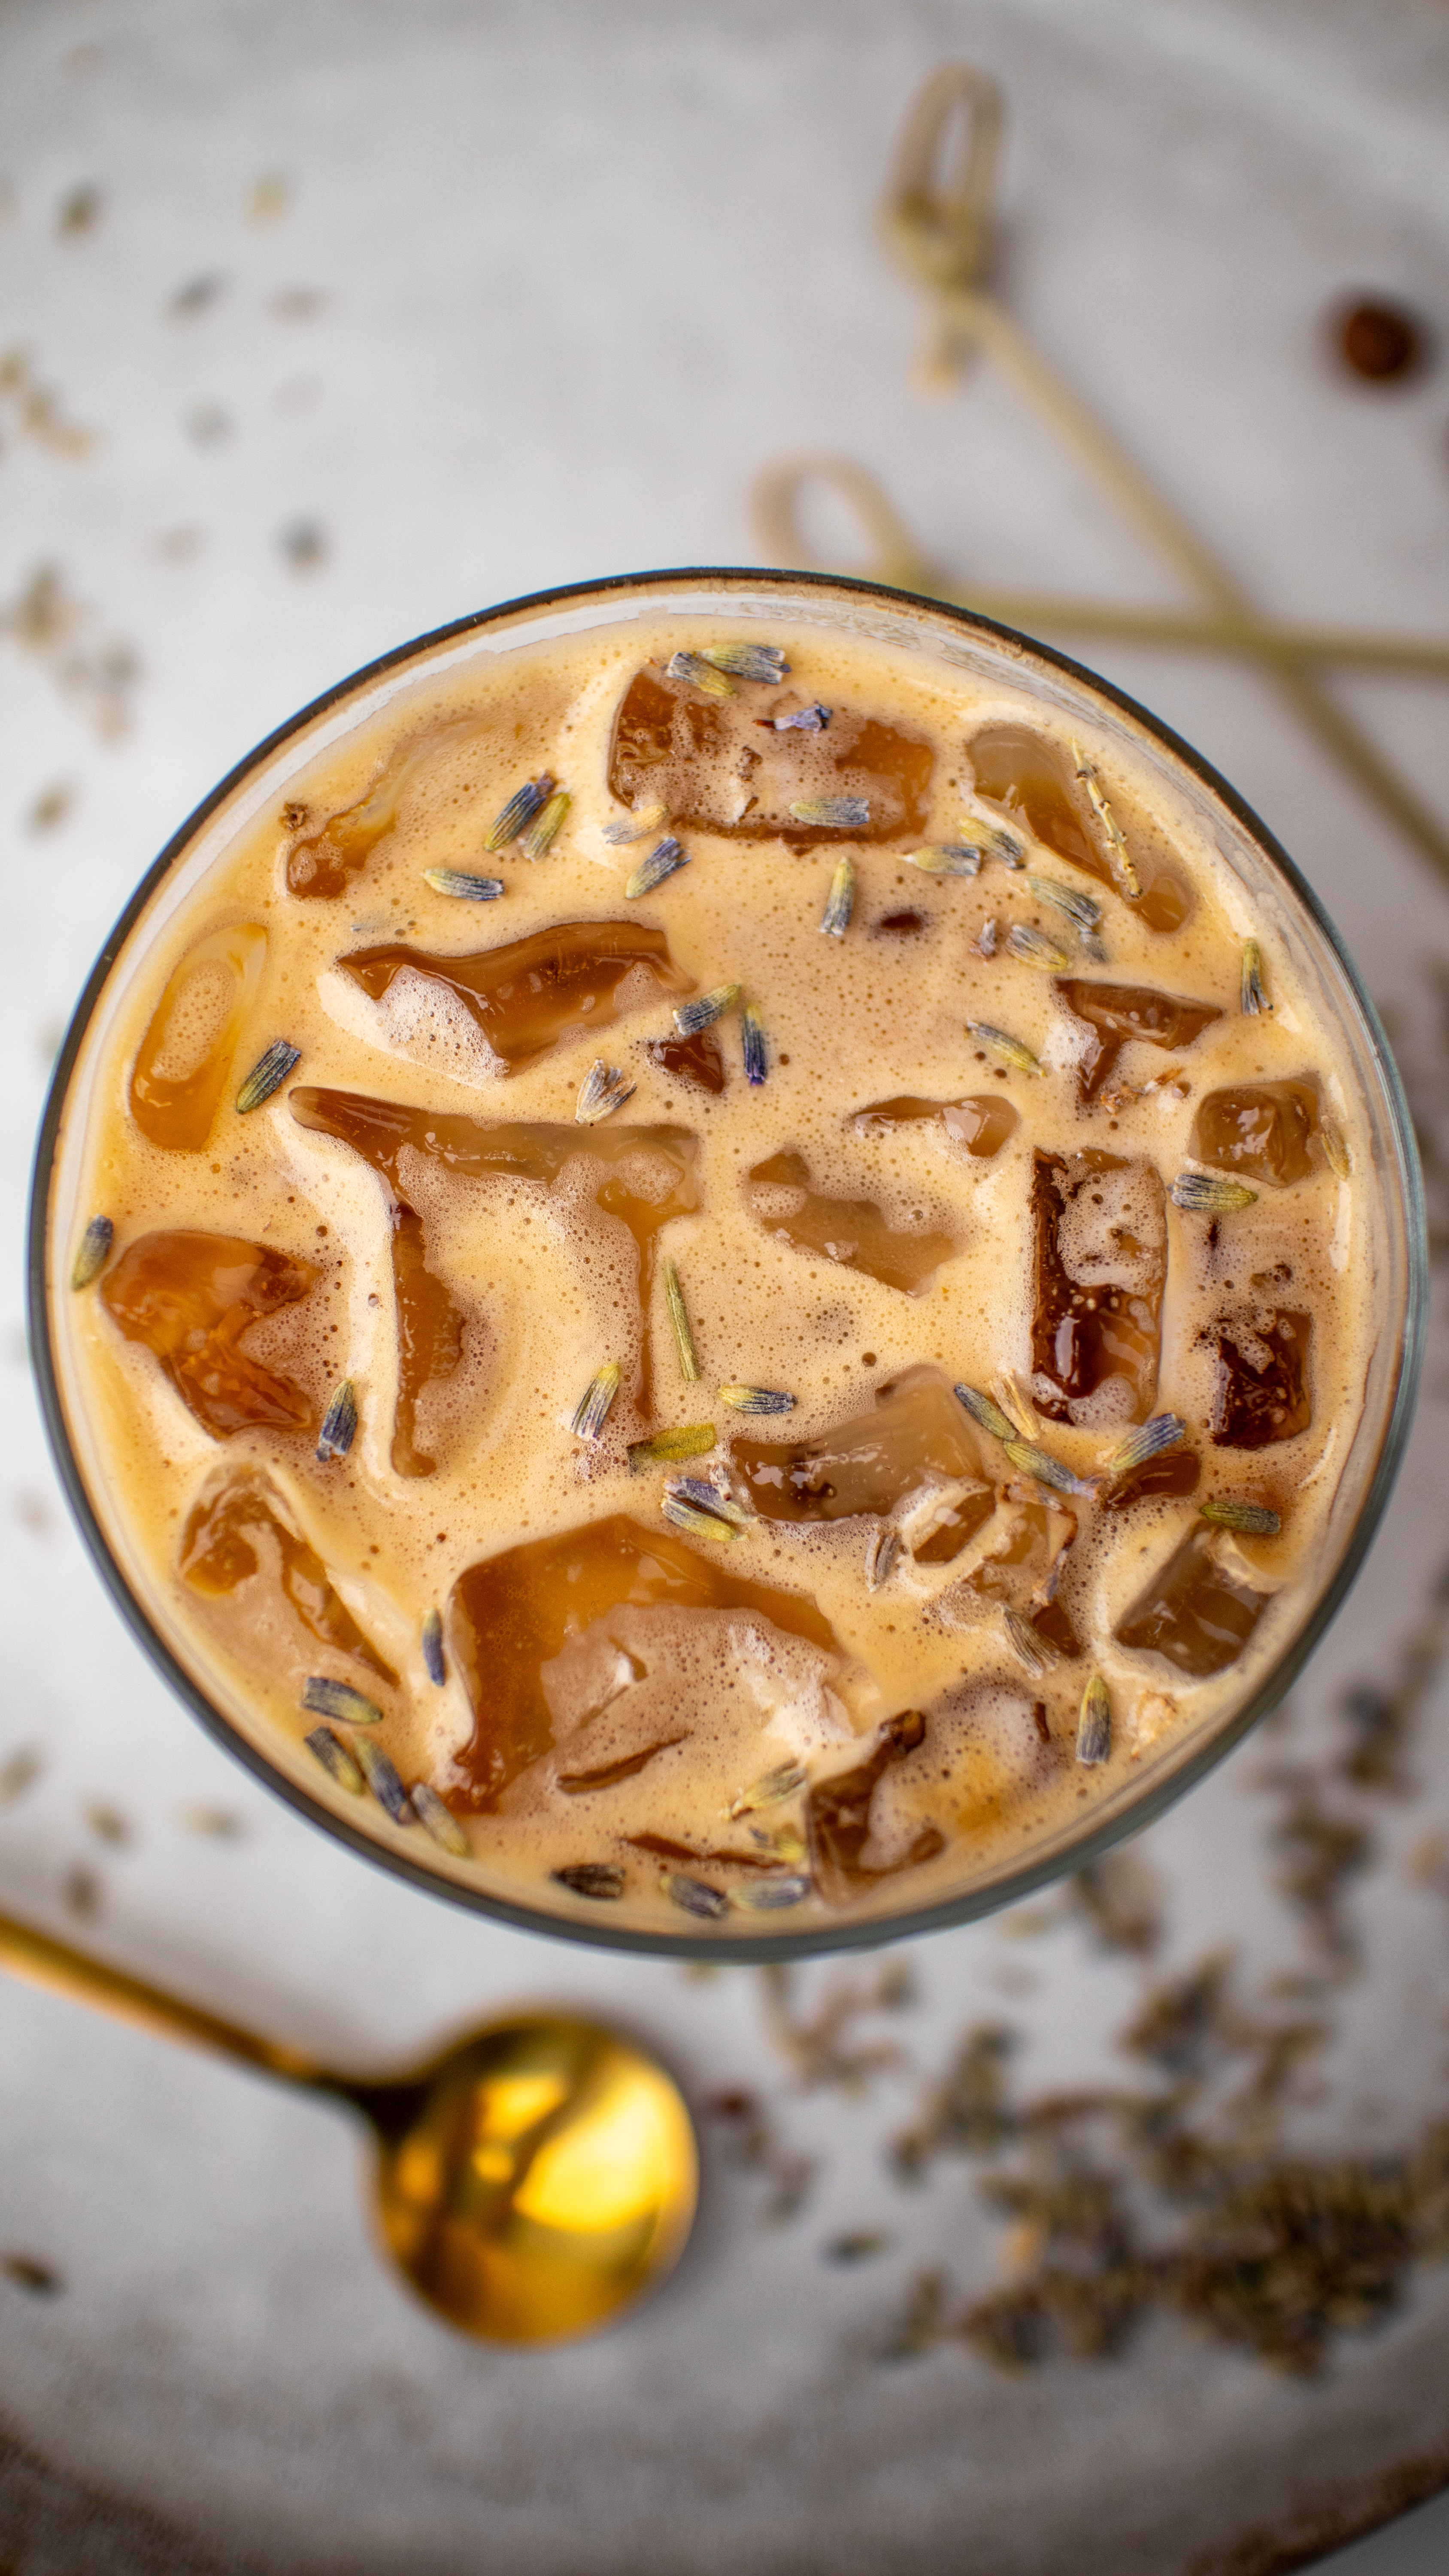
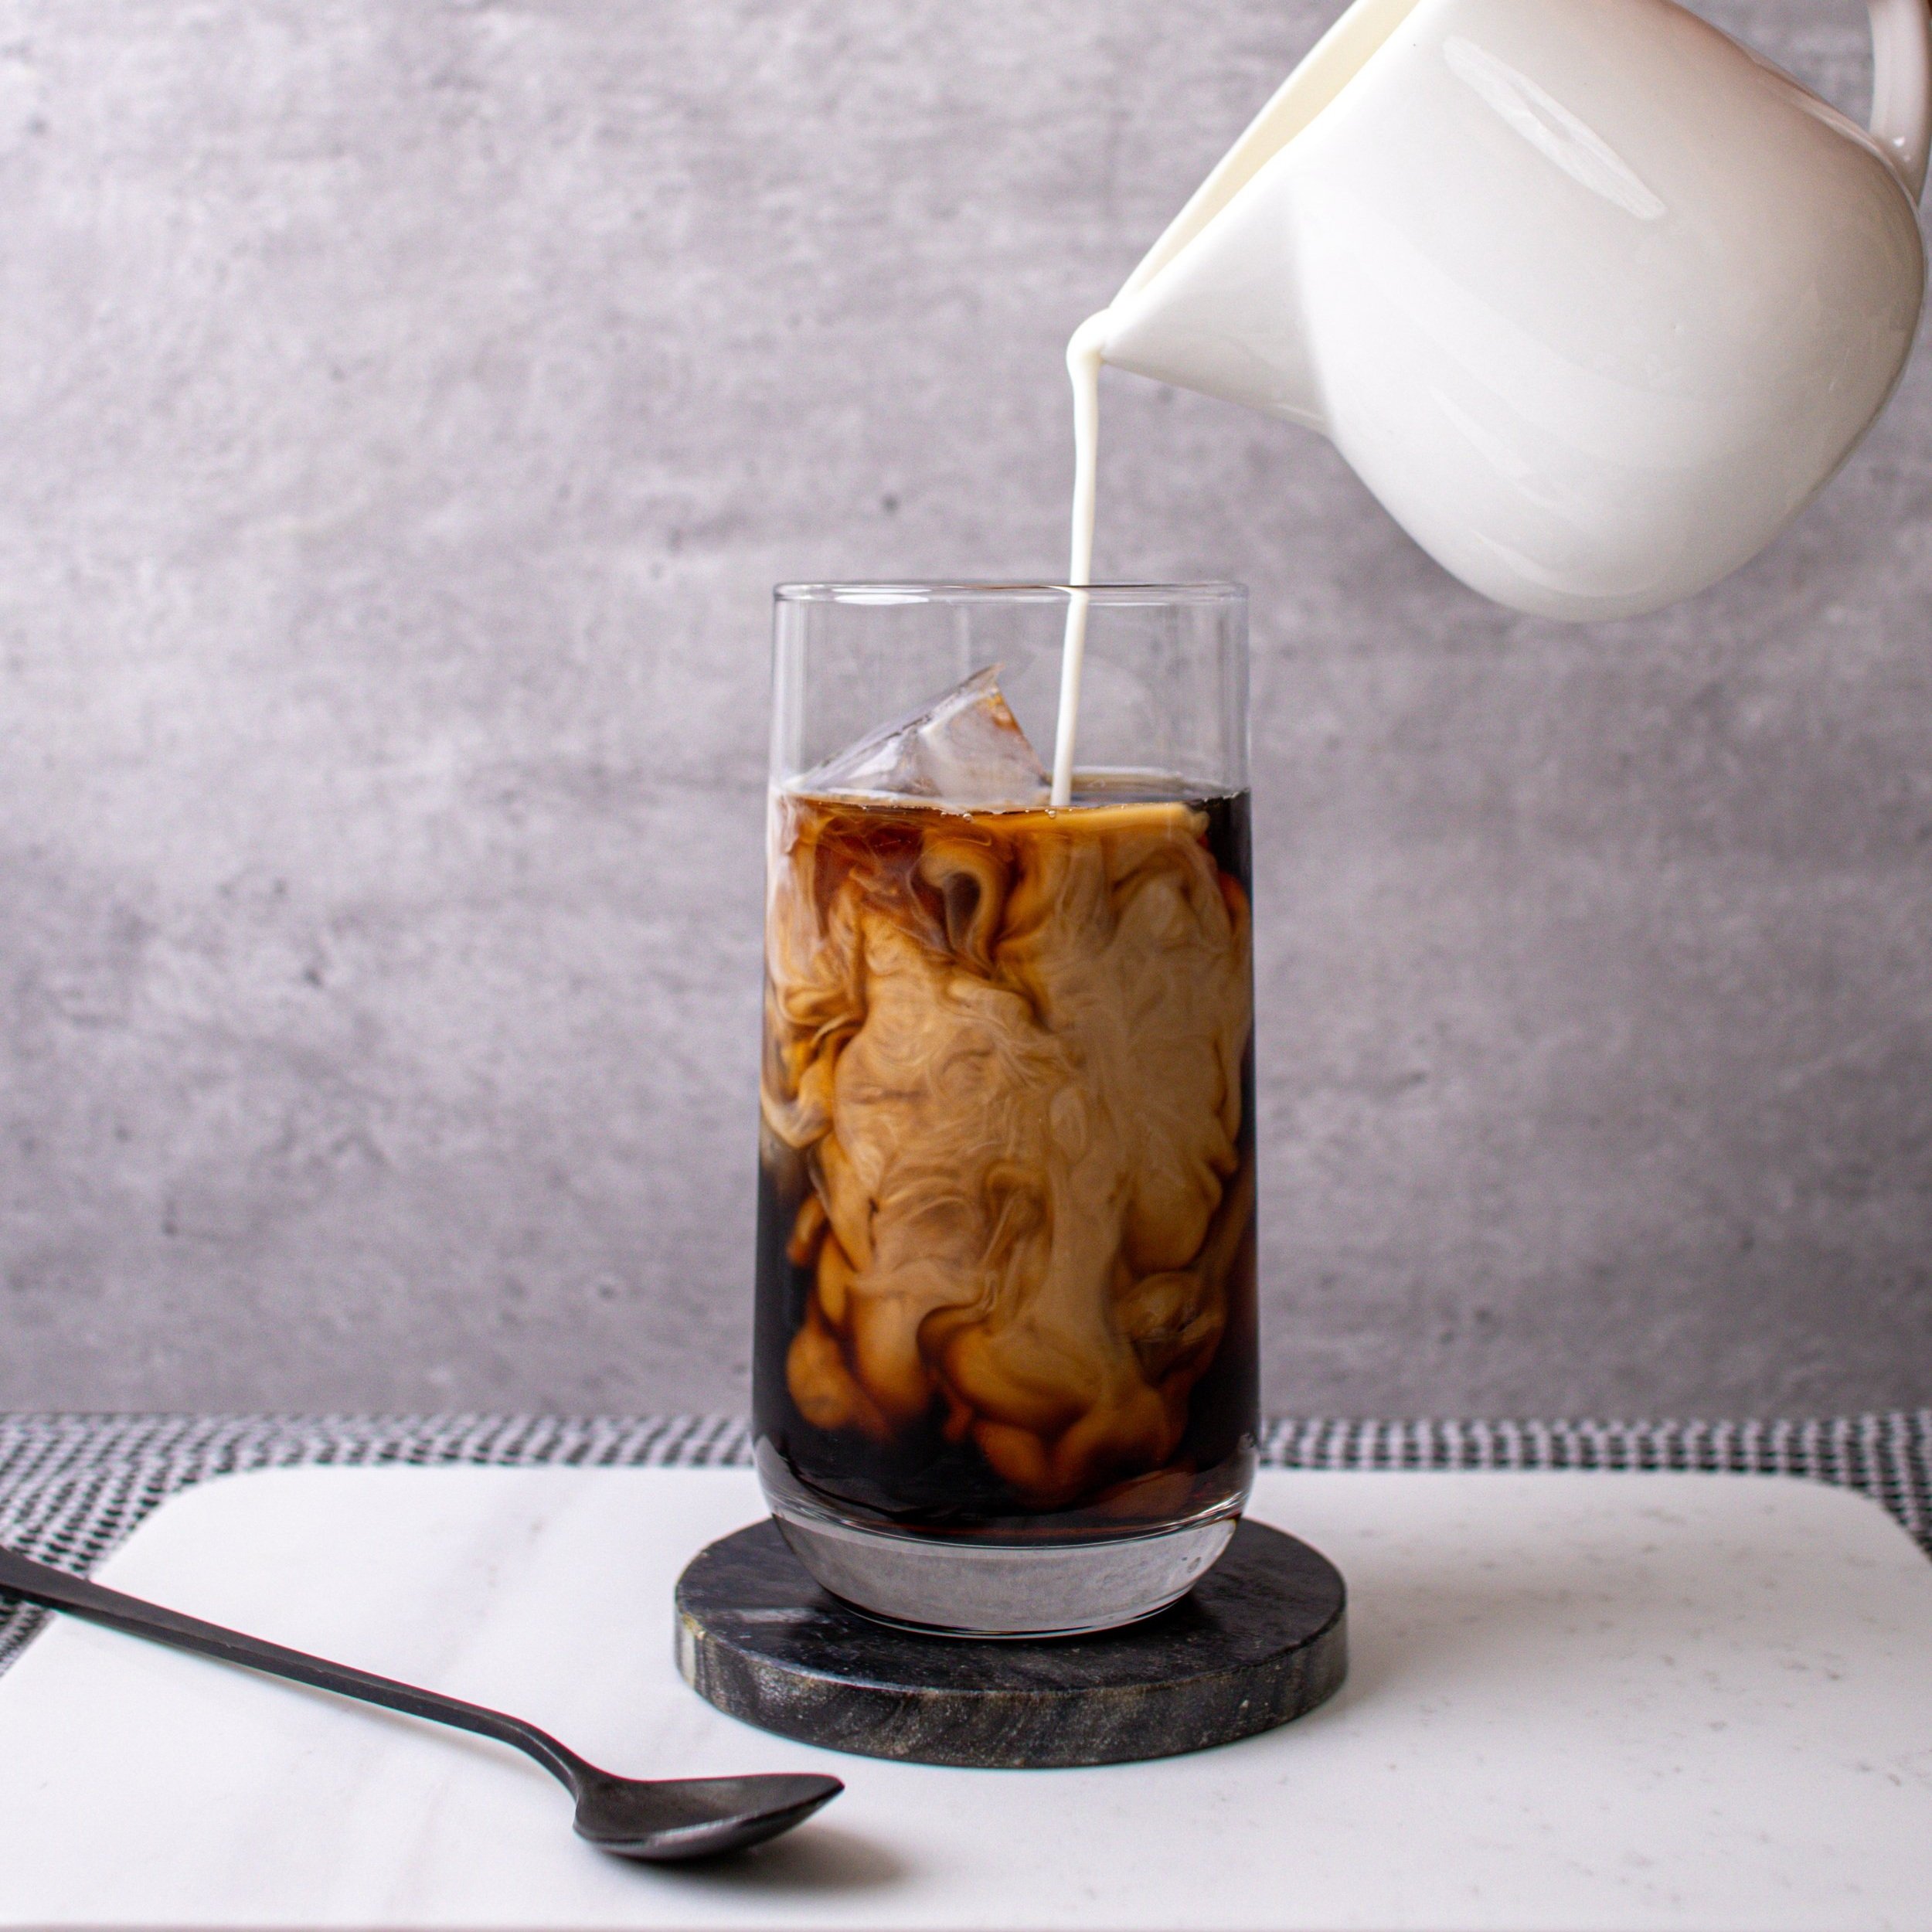
- Toasted Marshmallow Cold Foam – Froth this syrup together with 2% milk and heavy cream and top your favorite iced coffee like this S’mores Latte!
- Toasted Hot Cocoa – Add a spoonful to your hot chocolate for an extra toasty twist.
- Marshmallow Pancakes – Drizzle over a stack of hot cocoa pancakes for a weekend breakfast treat.
- Festive Mocktails – Stir into sparkling water or hot apple cider for a cozy, non-caffeinated drink.

This syrup is the kind of cozy kitchen staple that makes ordinary drinks feel special. It’s like campfire season in a jar—sweet, toasty, and nostalgic.
More Homemade Fall Syrup Recipes
- Homemade Salted Caramel Syrup
- Homemade Pumpkin Syrup
- Homemade Pecan Syrup
- Starbucks Apple Brown Sugar Syrup
- Homemade Brown Sugar Syrup
- Starbucks Spiced Apple Drizzle

Homemade Toasted Marshmallow Syrup
Equipment
- syrup bottle or mason jar
Ingredients
- 1 cup granulated cane sugar
- 1 1/4 cups water
- 9 jumbo marshmallows 1 heaping cup
- 1/2 teaspoon salt
- 1/4 teaspoon vanilla extract
Instructions
- Place jumbo marshmallows on a parchment paper-lined baking sheet.
- Broil for 30-45 seconds, until toasty and golden, but not charred. THIS WILL HAPPEN QUICK! DO NOT TAKE YOUR EYES OFF THE MARSHMALLOWS.
- Tip: You can also toast marshmallows over a gas stove burner, with a kitchen torch, or even a fire pit if you’re feeling festive!
- In a saucepan, combine the sugar, water, and salt.
- Bring to a rolling boil over high heat, then reduce the heat to medium-low.
- Stir the toasted marshmallows into the simmering syrup until fully melted and combined, scraping down the sides as you stir. Note the mixture will become foamy, this is normal. Continue stirring until marshmallows are fully dissolved (5-7 minutes).
- Pour the syrup through a fine-mesh strainer into a heatproof jar or container.
- Stir in the vanilla extract.
- Let cool at room temperature for at least 1 hour before adding a lid.
- Store in the fridge for up to 3 weeks. Shake before each use.


Leave a Comment